The History of Ceramic Tiles
Much like porcelain tiles, ceramic tiles have been around for an age, with the first primitive products emanating from Egypt as long as 25,000 years ago! From those (very) early days on the African continent, the concept of the tile developed as we entered Medieval times when tile production was associated with monasteries where monks would use local clay to fashion hand-made roof tiles by flattening the clay, cutting into shape, and firing on site. These tiles would also have a pattern indented on them using a carved wooden mould which would then be filled in with white pipe clay before being left to dry and shaved flat. The final part of the process involved a lead ore glaze being applied before the tiles were fired to create a hard, durable, ceramic slab.
It was during the Industrial Revolution though that mass tile production really came to the fore as the new production techniques and machinery allowed ceramic tiles to be produced on a massive scale. The Victorians kind of went a bit mad for them and used them in grand public buildings and opulent royal residences. Wealthy households and the landed gentry, seeking to emulate the royals and soon enough this was also co-opted by owners of commercial premises, thanks mainly to the drop in price resulting from the large, cheap labour force that allowed these products to be mass produced
This mass production continued throughout the mid 19th century led by manufacturers such as Herbert Minton and Josiah Wedgwood & Son, with the former reviving the ‘encaustic’ production techniques that died out with the dissolution of the monasteries in 1538. Buoyed by the uptake of this type of decorative tiles (and the associated revenue), more and more manufacturers joined the fray and the tile industry boomed from thereon in. The Arts & Crafts movement later on in the Victorian era saw fashionable designers such as William Morris and William de Morgan refining the processes (and being commercially successful with it), whilst the Art Deco movement from the late 1920s onwards saw the popularity of tiles as wall and floor coverings reach epic proportions. This trend shows no sign of abating either, almost 100 years later!

Why Use Ceramic Tiles
Why not? They’re hardwearing, come in thousands of designs and colour variants, are easy to install and even easier to clean, and if you buy them from Tile Mountain, won’t break the bank either!
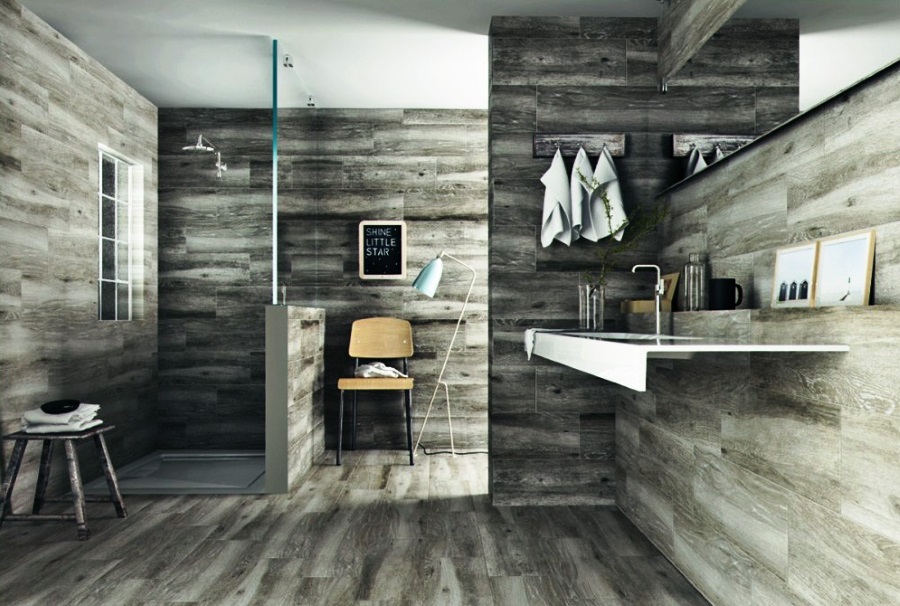
The sheer wealth of styles, finishes, sizes and colours available means that there’s a ceramic tile for every possible setting, and then some! Ceramic tiles are great for use in kitchens and bathrooms alike and thanks to modern inkjet printing tech techniques, can accurately replicate everything from Carrara marble and rustic brick, right through to weathered driftwood and even tarnished metals.
Ceramic tiles do not have the same lifespan as porcelain tiles (ceramic tiles last between 3 – 20 years under ‘normal’ conditions) but they do have the advantage of coming in a wider variety of designs due to the simplicity of the printing process. In addition, ceramic tiles are generally less expensive than their porcelain counterparts due to the low cost of the raw materials required to produce them, meaning you get more bang for your buck if you’re the kind of person who likes to refresh their interiors every 5 years or so.
Installing Ceramic Tiles
The beauty of ceramic tiles (aside from their actual aesthetic beauty, that is) is that they’re incredibly easy to install. Most ceramic tile products can be installed by anyone with a modicum of DIY skills and cutting can be done using inexpensive commercially available tools. For straightforward walls and floor installations, all you’d really need in your toolbag is a manual tile cutter, some tile nippers, a notched trowel, and a grout float.
The range of ceramic tiles available are many and varied – there’s almost certainly a tile for your needs regardless of whether you require an ornate decor tile to accent a bathroom, or some sleek, natural effect tiles to adorn the walls of a lounge or kitchen. As with porcelain tiles, it’s advisable to use a powdered adhesive such as Mapei Adesilex whether installing larger tiles on walls or floors.
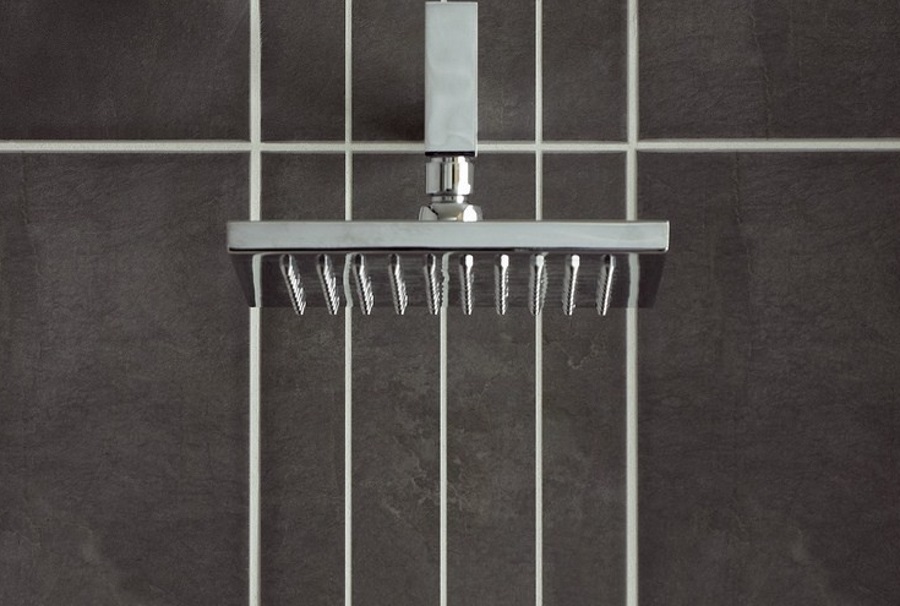
It’s important to remember however that ceramic tiles are porous and as such, you should match the colour of the adhesive you use to the tiles. If you use a dark adhesive to attach the tiles there is the possibility that the colour will be visible through the tiles once it has cured. So, when using lighter hued ceramic tiles such as Brancato, it’s best to match them with light adhesive such as Mapei Keraquick White or Mapei Keraflex S1 White. It’s also worth noting that ceramic tiles can be used with ready mixed adhesive, saving you a lot of time and effort. Use MapeGrip D1 for internal domestic or light duty commercial installations (such as kitchens) or MapeGrip D2 for areas that are likely to get wet such as showers and splashbacks. Be aware however that you can only use ready mixed adhesives with tiles that are 300 x 300mm or smaller.
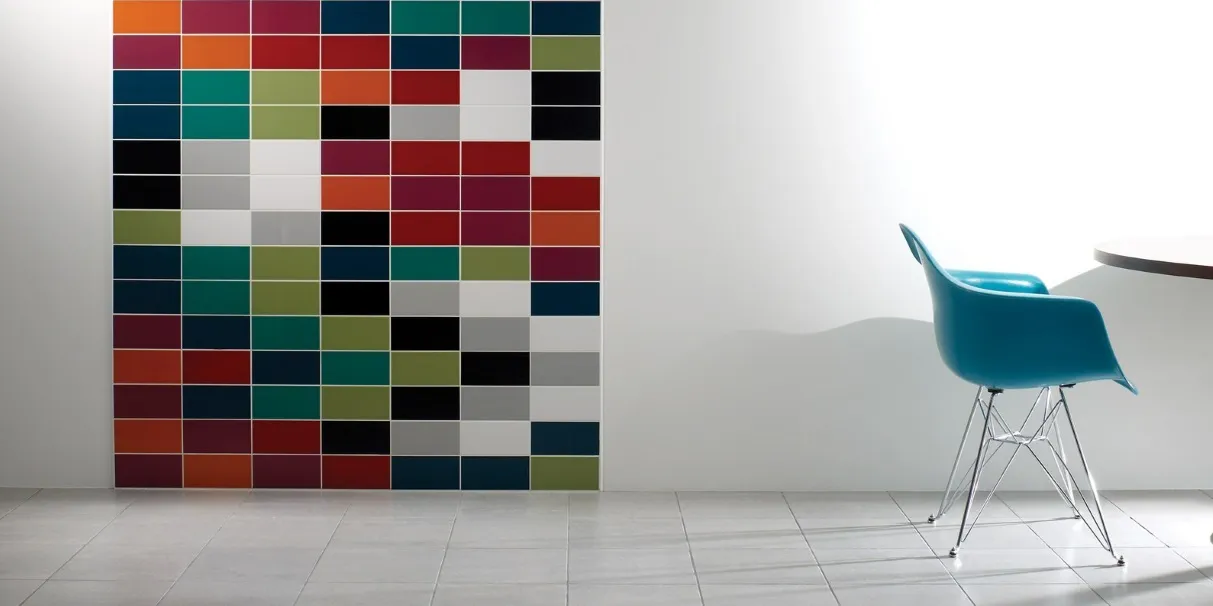
Ceramic Tiles Colours & Types
Here at Tile Mountain, we stock over 236 types of ceramic tiles, meaning you’ll always be spoiled for choice no matter what your renovation project. We’re not going to subject you to an hour of scrolling by listing each and every ceramic tile we have here, however you can easily click through to our ceramic tiles section if, in the words of Depeche Mode, you just can’t get enough of those clay based squares and rectangles.
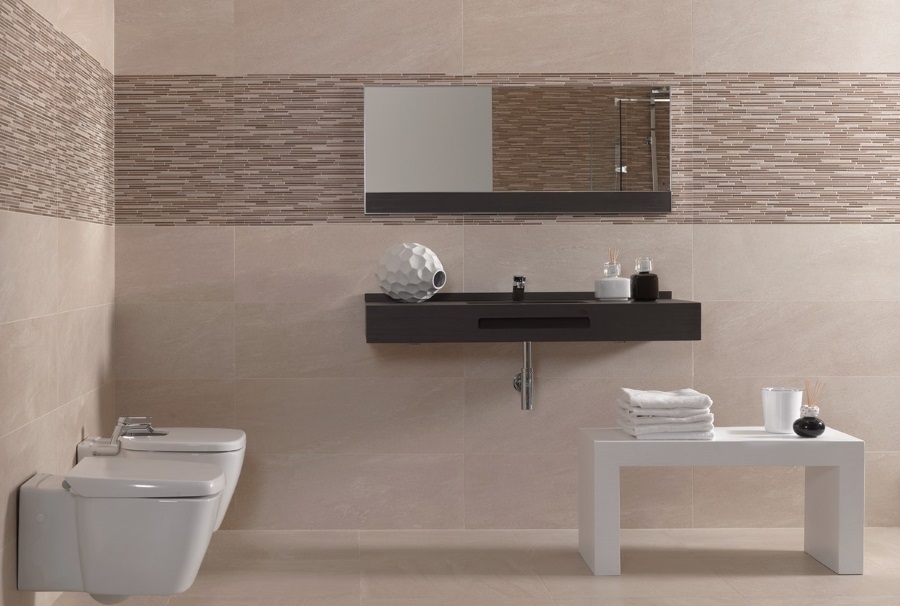
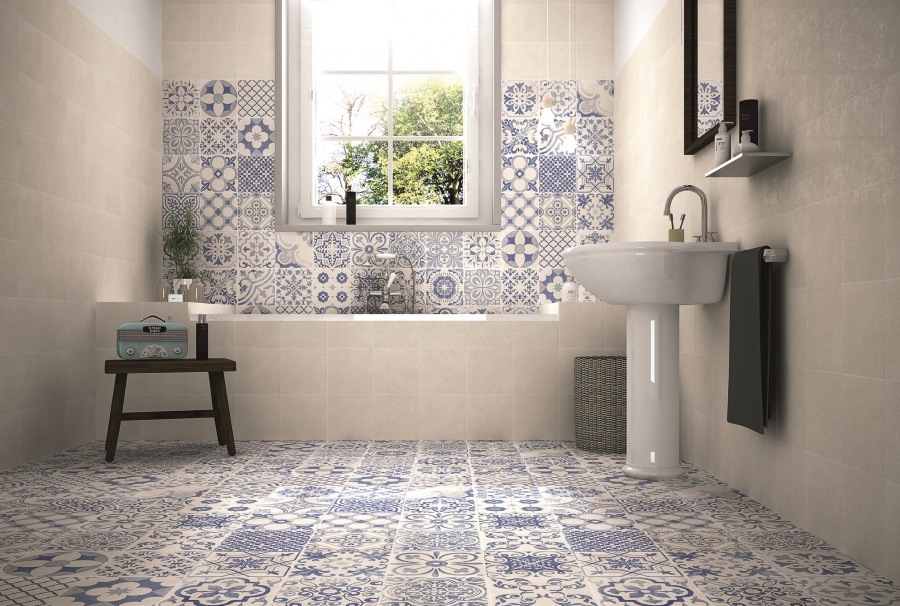
Some of our most popular ceramic tiles though are designed for the bathroom, with Rapolano Grey being a firm favourite amongst those looking for a high-end finish to their WC. These elegant tiles are really set off when combined with the perennially popular Brix Anthracite for an upmarket, ‘hotel restroom’ vibe. With both the Mediterranean and Boho looks being so on point right now, it’s easy to see why encaustic tiles such as Moments and Skyros ranges are so much in demand.
Of course, we wouldn’t be doing our jobs properly if we failed to mention the wall-covering phenomena that are metro tiles. These Art Deco-influenced subway-style tiles have been adopted by homeowners and business owners at a frenetic pace and their de rigeur status shows now sign of dissipating. If you’re late to the party you can check out our Metro Tiles Buying Guide for the full lowdown. If you’re not, head straight to our metro tiles category and see what you could pick up!
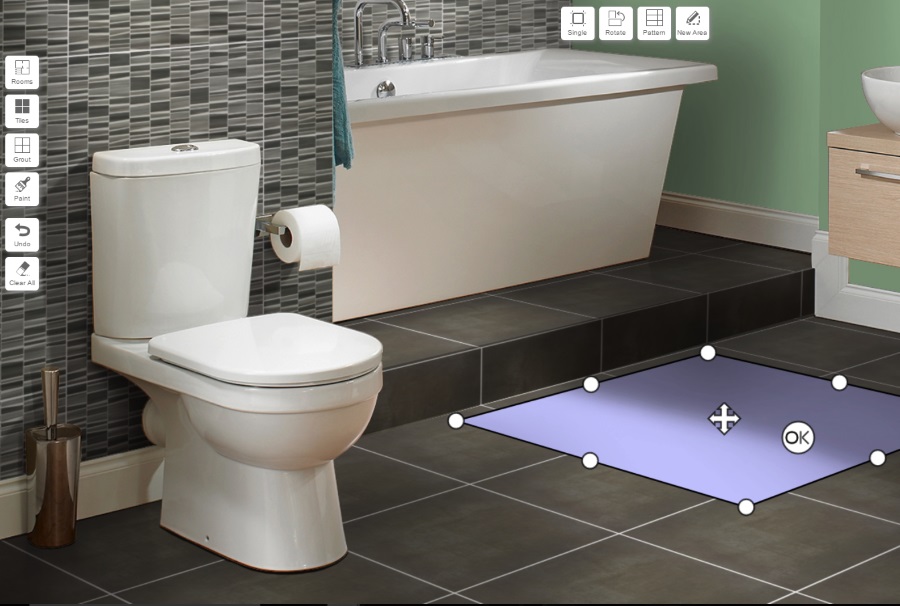
Visualiser
Our Tile Visualiser tool has been created to help decide on colours and combinations, so please do give it a try. Pick from hundreds of tile options, room-sets and even grout colours to create your dream room!
Ceramic Tile Sizes
Just as ceramic tiles come in myriad colours and designs, the choice of size variants is also astounding. The ceramic tiles we stock range from 100×100 (Prismatics) to 300×900 (Brancato). Some of our most popular however come in the form of rectangular, brick like tiles such as the three sizes of metro tiles we offer, Craquele (150×75), Decape (75×280), Savoy (100×300) and Hudson (400×100).
How To Choose High-Quality Ceramic Tiles
The fact that our vast range of ceramic tiles are inexpensive does not necessarily mean they are low quality. Prices vary considerably from the high street where some retailers sell this type of tile at nearly double the price of those sold by online retailers. The best way to know which tile is worth the price is by getting samples of tiles to compare their quality. When you receive your samples, the finish should not have marking, dimples, scratches or imperfections on the face, and if you’ve purchased solid colour tiles, those colours should be clean and crisp and free from fading.
Some ceramic tiles have rectified edges – this means that they have machine-cut, straight edges that allow them to be positioned closer together during installation meaning smaller grout lines. You can check the quality of rectified tiles by running your finger along the edges to ensure that they are straight cut and free from bumps and protrusions. Also, you’ll want to consider the practical side of things – if you are working on a kitchen or bathroom remodel, you want to be sure they are sent in sturdy boxes, and adequately wrapped to ensure they are protected during transit and to make easier work of moving the tiles into and around your project area.
Using Grout with Ceramic Tiles
With so many different variants of ceramic tiles available, sticking to just one style of grout wouldn’t really allow you to stamp your own personal style on your project. Thankfully, there are tonnes of different types and colours of grout available. If you’re looking to create a clean, unblemished look in your kitchen or bathroom, why not team plain tiles such as Linear with dark grout such as Mapei Ultracolour Plus Anthracite to draw the eye and make your walls really stand out. Alternatively, you could plum for modernist tiles like our Basalt range and team with grey grout for that understated continuous aesthetic.
How To Install Ceramic Tiles
Wall Preparation
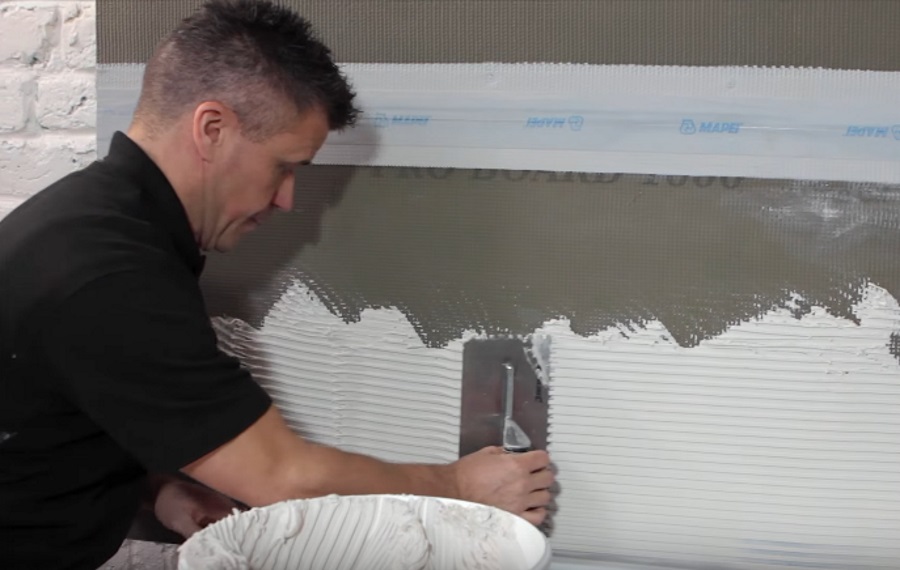
Make sure the wall is suitably prepared for tiling. Wall tiles can be fixed to most substrates including plasterboard, skimmed plaster, and tile backer boards. If you’re tiling onto surfaces such as render, plywood, plaster, plasterboard, or sand/cement screeds you’ll most likely need to prime the surface before beginning to tile so as to reduce absorption. Apply Mapei Primer G using a roller or brush and leave to dry for at least two hours before beginning to tile for improved adhesion.
Floor Preparation
Porcelain is usually the material of choice for floor tiles given its superior longevity, but there are some real head-turners when it comes to ceramic floor tiles too. Regardless of what the tiles you opt for are made of, you still need to ensure that the floor you’re laying them on is level. Mapei Ultraplan Renovation Screed is a godsend for homes with uneven floors – it’s easily applied by hand or pump, and, finished with a trowel or spiked roller. Once your floor is appropriately levelled (leave the screed to dry for 24 hours) you’re all set to start laying your tiles. The same advice provided for when tiling onto render, plasterboard, plywood walls applies here too – so make sure that you’re primed to prime!
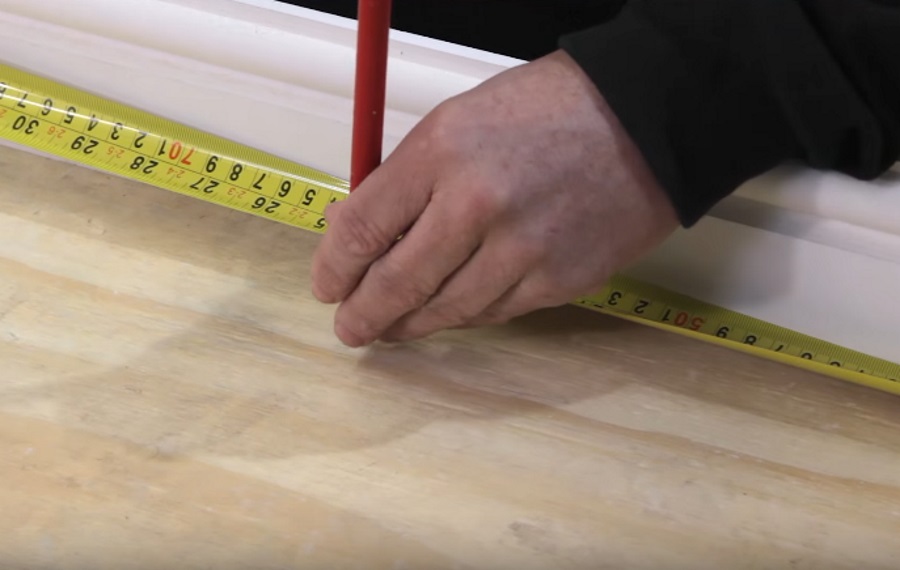
Setting Out
Find the centre of the wall or floor and mark a vertical and horizontal line using a spirit level. Dry lay your tiles, starting at the centre working your way out towards the end of the wall/floor. If you require the tiles at either end to be cut at approximately the same size, do this by adjusting your vertical reference line.
Fixing
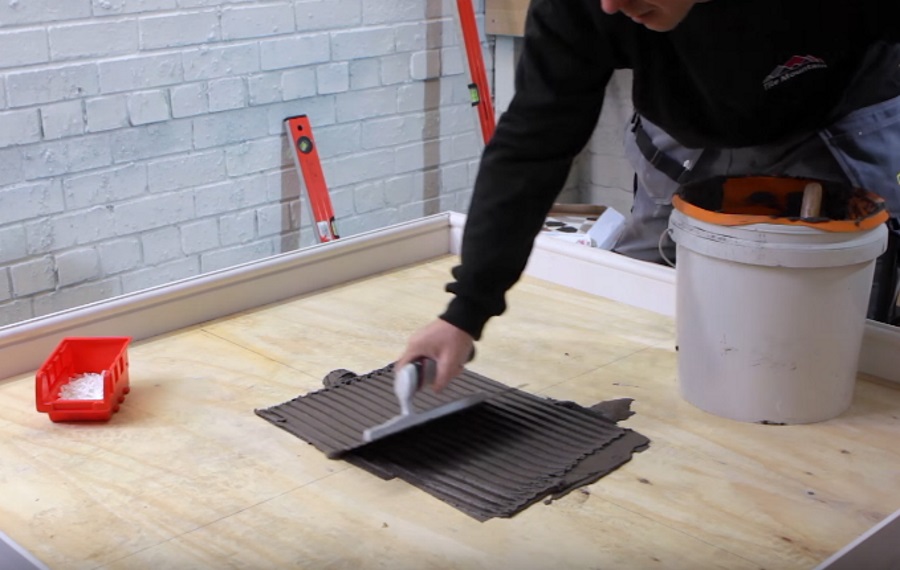
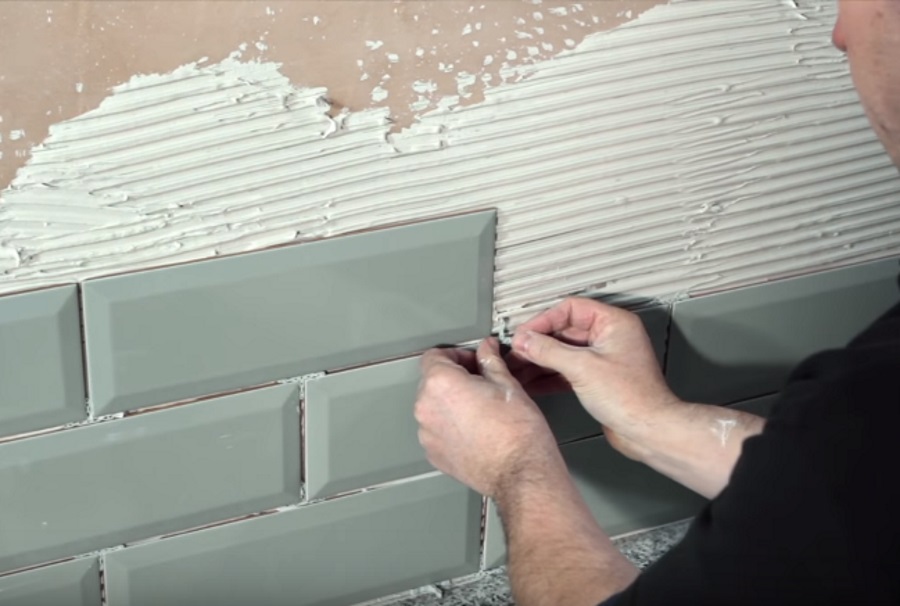
Starting at your middle reference point, apply your tile adhesive to an area of approximately 1m, two at a time using a notched trowel (6mm notch) at a 45° angle to the wall. Firmly press the tile into the adhesive using a slight twisting motion. If you are fixing tiles in a brick pattern, T-Spacers are available for this purpose. Use the required sized spacer between each tile on all sides to give consistent sized grout lines.
Cutting
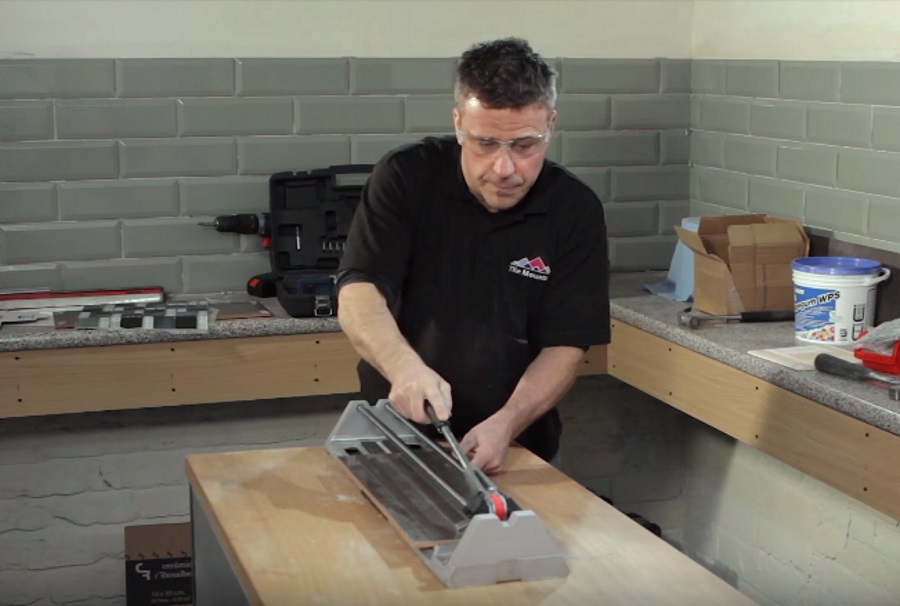
Most ceramic tiles can be cut in a straight line using a score & snap tile cutter, making them perfect for keen DIYers! For irregular cuts such as around plug sockets, an electric diamond wheel tile cutter is beneficial. However, the same type of cut can be achieved using a straight cutter for scoring with a pair of tile nippers. These can be used to nip or nibble pieces from the tile until the desired shape is achieved.
Grouting
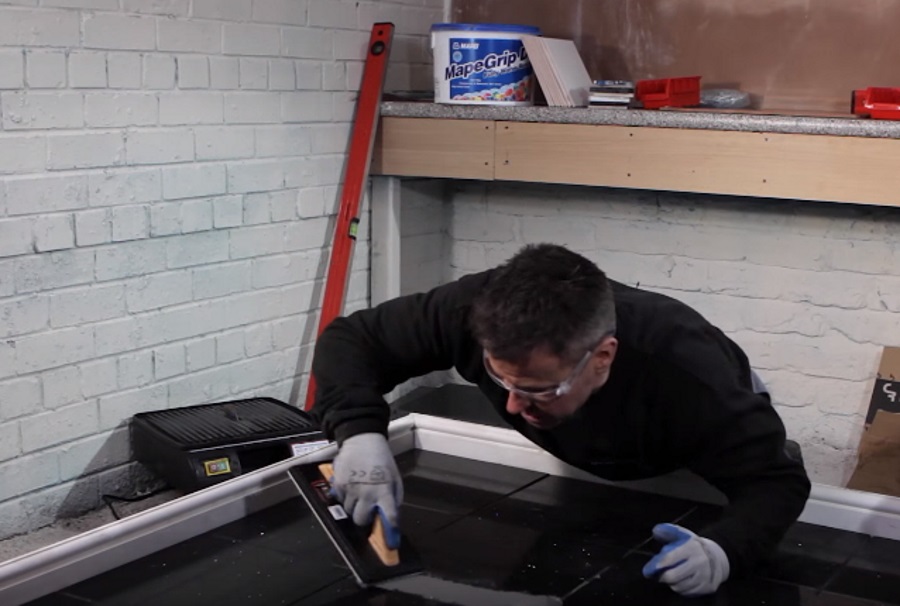
Allow your tile adhesive a full 24 hours to cure before grouting. Mix the grout as per manufacturer’s instructions to form an even paste. Apply using a rubber grout float or squeegee at a 45° angle to the wall making sure to press the grout firmly into the gaps. Wipe any excess grout from the face of the tile using a damp sponge, being careful not to remove the grout from the grout line. After approximately 30 minutes, buff the tiles with a soft dry cloth to remove any grout haze. This can be repeated until the face of the tiles are clean.
Finishing
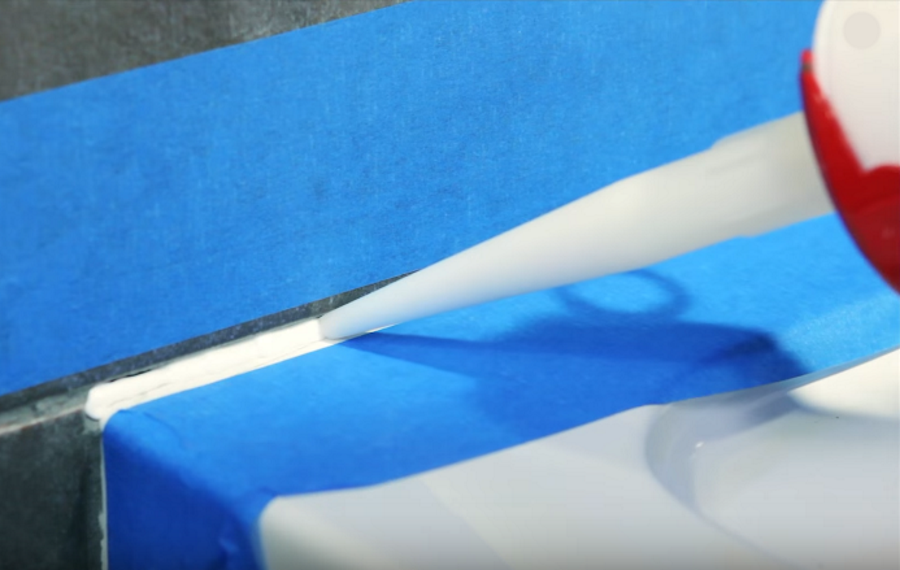
All internal corners (both horizontal and vertical) should have matching silicone applied to eradicate any cracking from movement such as along worktops/stud walls etc.
How To Care for Ceramic Tiles
Providing you have followed the installation advice applicable to the particular tiles you’ve purchased i.e. sealing in the case of Craquele, then the tiles should be extremely easy to care for once they’re installed. For ceramic tiles with gloss or satin finishes, simply wipe down with a damp cloth and warm water and dry or buff with a soft towel to keep them looking their shiny best. For ceramic tiles with matt or riven finishes, use the same method but minus the buffing.
If your tiles have gotten especially grubby then we recommend a splash of Fila Tile & Stone Cleaner in a bucket of warm water (it’s highly concentrated and so can be diluted to suit) and then wipe down the stained tiles in much the same way as described above. To remove really stubborn stains such as grease or wax then Fila PS87 Stain Remover – it’s great for removing ground in dirt and organic stains.
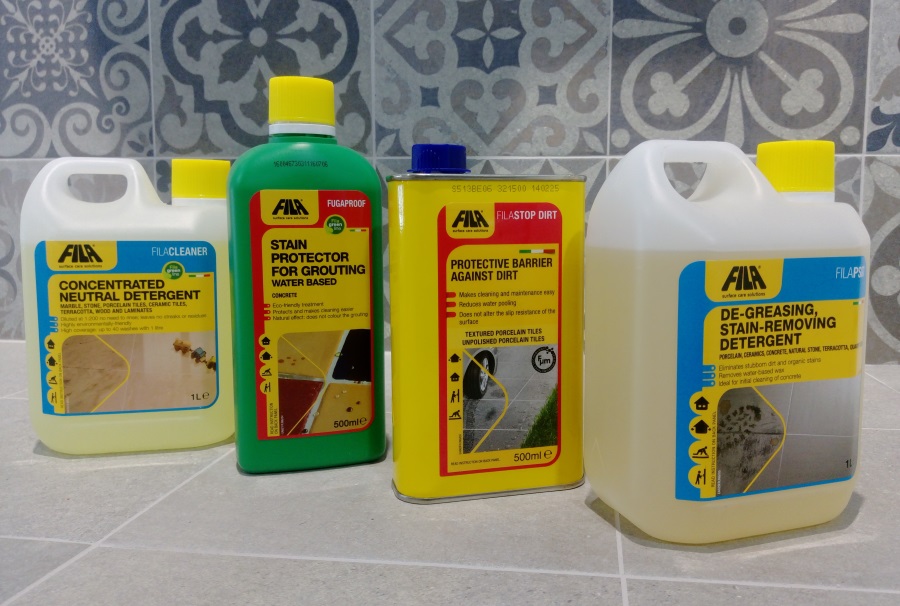
To prevent textured finish and natural effect ceramic tiles getting dirty in the first place you can protect them once they’ve been installed by using Filastop Dirt or Fila MP/90 Eco Plus stain proofing agents. Finally, to keep your grout looking great for years to come, we recommend treating it with Fila Fuga Proof Grout Protector (for tiles deployed in wet areas).
Hopefully this guide will have provided you with all you need to know about porcelain tiles. Feel free to have a click around the rest of the Tile Mountain blog as there’s tonnes of useful and interesting stuff about ceramic tile style and the like and if you have any further questions, just give our customer service team a ring on 01782 223822 and they’ll be happy to help.
Here at Tile Mountain, we not only have a huge range of tiles to suit every purpose, we also have a wealth of tiling knowledge gained from over 30 years in the tile industry, (which we’ll do or best to share with you across these very pages).
Whether you’re looking for the perfect tiles for your next home improvement project, are searching for some style inspiration, or simply need a bit of help and advice, you’re in the right place.