
Those who keep abreast of interior trends (and indeed you out there who fix a keen eye on this very blog) will know that strangely shaped tiles that deviate from the standard squares and rectangle forms are massively popular right now, with hexagons, lozenges and other quirky shapes really capturing the imagination of the tile-buying public. If you don’t believe us then check out our Top Five Irregular Shape Tiles for Kitchens and Ultimate Combinations: Quirky Shapes, Focus Colours & Straight Lines articles. If you do believe us and have bought into the trend yourself but are a bit worried about the work involved when installing this type of tile then read on as we bring you five handy tips for installing irregular shape tiles…
Make Sure You Have Enough Tiles
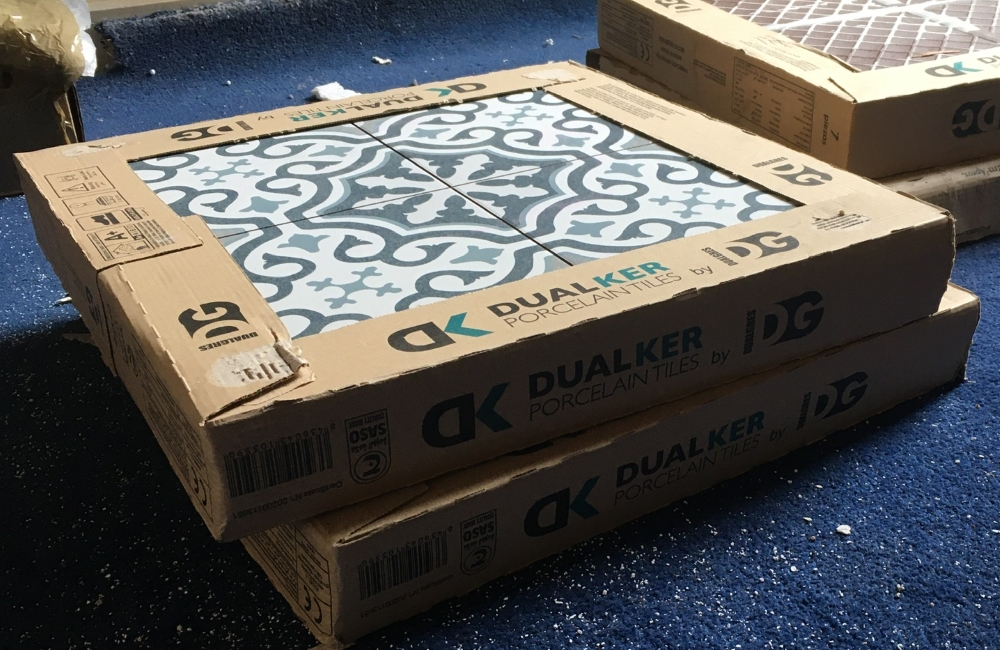
Whilst this is something you should probably consider for any tiling job it’s especially important when installing irregular shape tiles to make sure you have enough tiles for your project. Irregularly shaped tiles can easily throw your calculation off for how many tiles you think you need for your installation. Be sure to triple-check and get advice from the person carrying out the work if needs be.
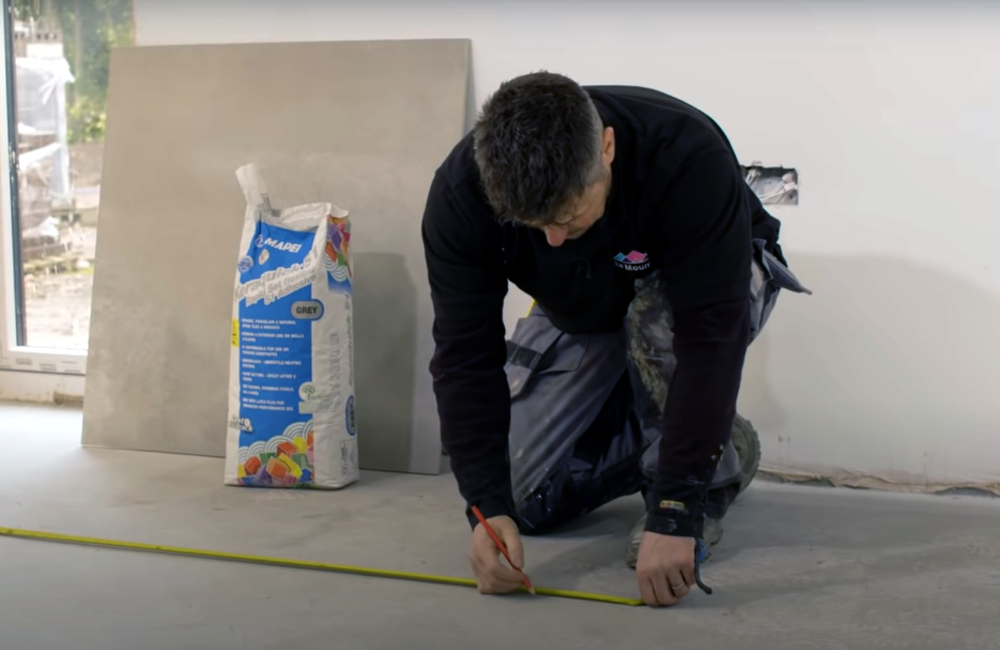
Get Your Planning Right
This one kinda ties in with the previous tip – we can’t stress how integral proper planning is to a successful project. Always tile from the centerline of a wall or floor – this is so that any cut pieces end up at the sides of the room (and so that you can adjust to ensure that any cut pieces at the edges are the same size). In doing this you will end up with a nice symmetrical and professional-looking finish.
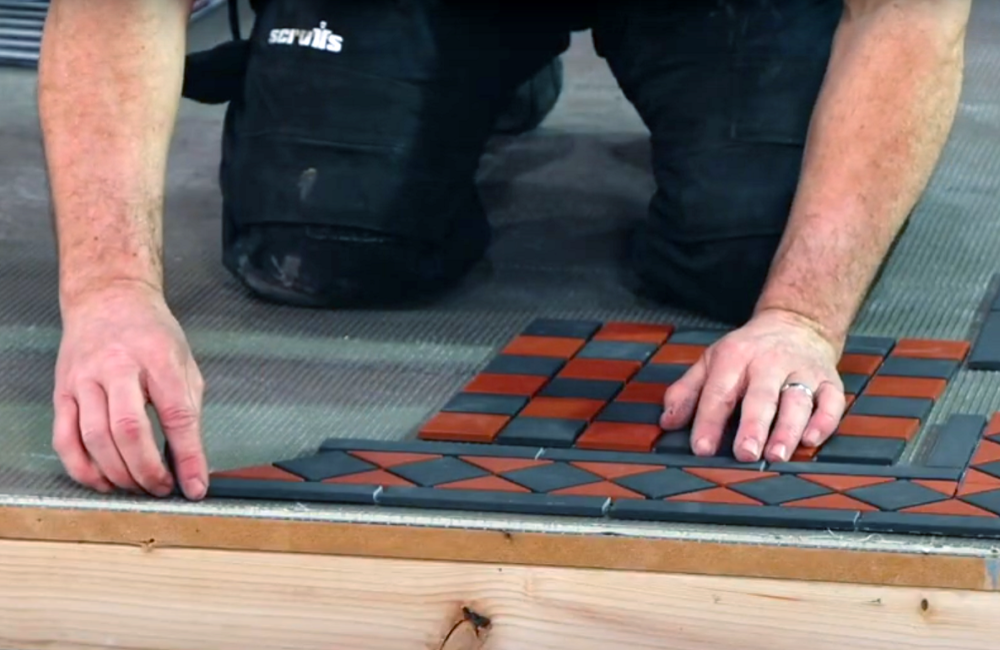
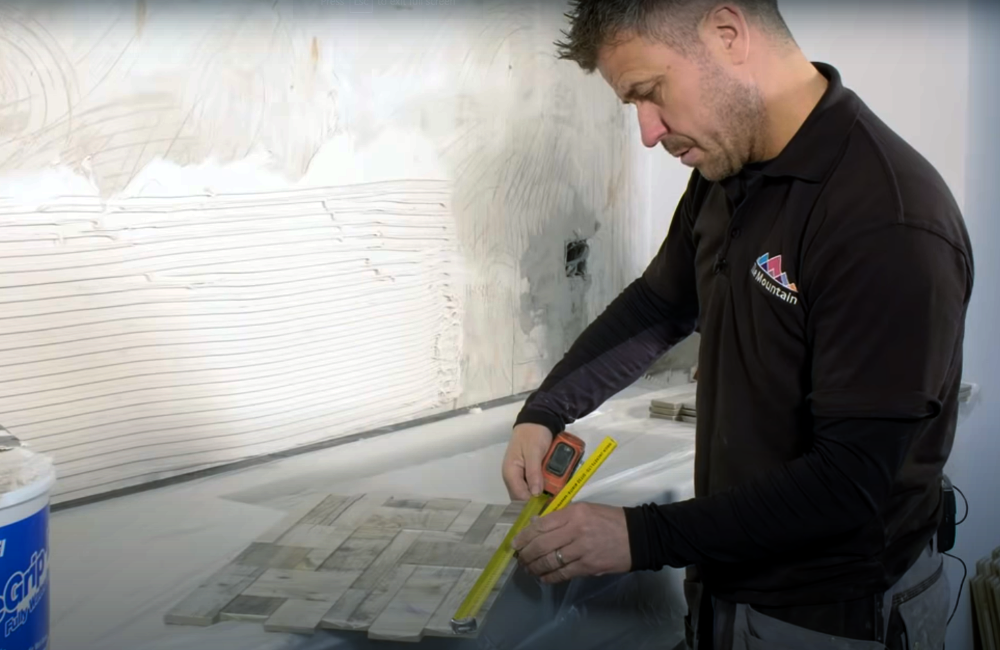
Dry Laying
It’s important to dry lay any project, but even more so with irregular shaped tiles. The different shapes and designs mean that settling on a layout is perhaps a bit more fiddly. Planning is crucial to ensure your project has an aesthetically pleasing look. Dry laying and trying different placement options will allow you to visualise how the finished project will look before you crack open the adhesive and start permanently fixing down the tiles.
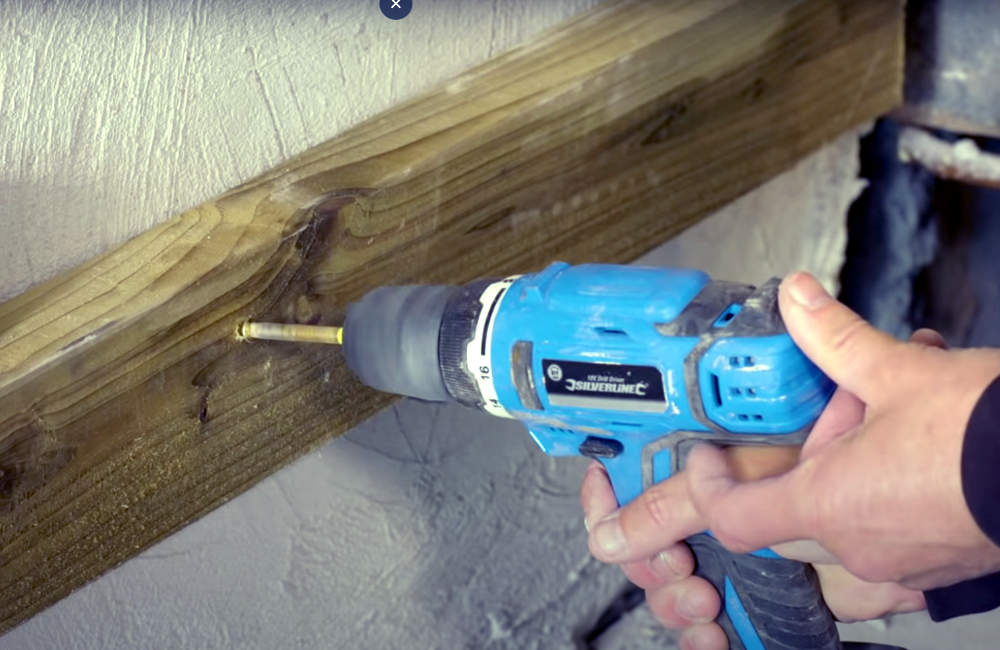
Start As You Mean To Go On
Your first row of tiles will determine how your finished project will look. Don’t make the error of laying tiles without using markers or battens to get straight lines. It’s very rare that walls and floors are perfectly straight, so using your eye or an existing feature such as a skirting board as your guide could mean you end up with wonky tiles and a less than professional end result.
Have A Little Patience!
Due to their weird and wonderful form-factors, many irregular shape tiles can take longer than usual to install. Ensure you have plenty of patience during your project and not to rush. Yes, they may be a little fiddly to install due to more intricate cuts and the increased levels of planning required but a little persistence pays off and will ensure you attain that professional finish.
Taking heed of the above should see your irregular shape tile installation go smoothly, but if you need any further advice you can always give our friendly and helpful customer services guys a call on 01782 223822 or use the LiveChat function on our website and they’ll be happy to help where they can.
Here at Tile Mountain, we not only have a huge range of tiles to suit every purpose, we also have a wealth of tiling knowledge gained from over 30 years in the tile industry, (which we’ll do or best to share with you across these very pages).
Whether you’re looking for the perfect tiles for your next home improvement project, are searching for some style inspiration, or simply need a bit of help and advice, you’re in the right place.