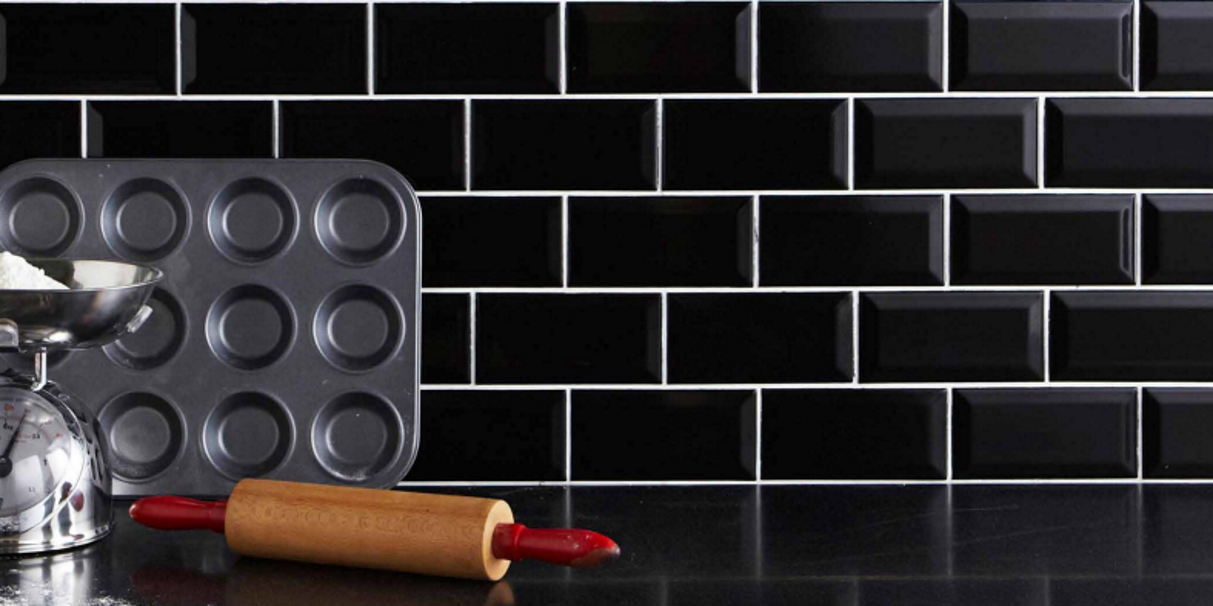
Grout can fade, become grubby, or even start to flake away over time. However, rather than tiling the whole surface again, regrouting tiles can give your tiled areas a new lease of life and have them looking as good as new. This handy guide shows you exactly how to do that…
Before You Begin
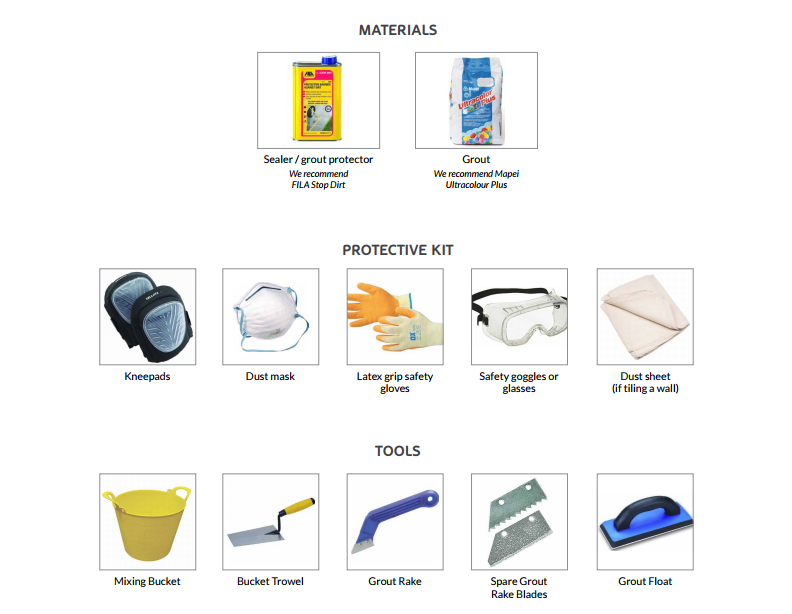
Ahead of starting any tiling project, it’s important to ensure that you have the right tools and materials to complete the job effectively. Below is a list of items that you should have before even beginning to think about regrouting.
Preparation
Before you start put on a pair of protective gloves, eye protection and a dust mask – this job can be quite messy at times! (the old flaky grout will create lots of dust.) If you’re tiling a wall, put a dust sheet down to protect your floors, and if you’re regrouting bathroom tiles put the plugs in the basin and bath to stop dust and debris from blocking up your drains.
Remove the Old Grout
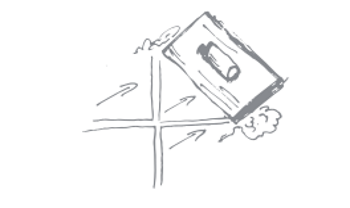
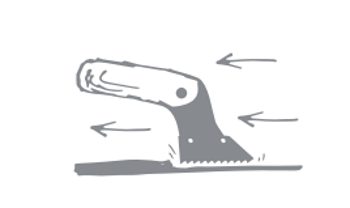 Using a grout remover / grout rake, begin to remove all the old grout from the joints.This bit of the job is the most strenuous physically and so it’s advisable to have a couple of spare grout remover blades as they can become blunt quite quickly (especially if you’re removing grout from a large areas). It’s important to only drive the blade one way – work in the direction of the hooks on the blade and be sure to not miss any old grout.
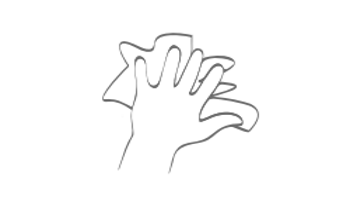
Once you’re done wipe the surface with a damp sponge to clear up any bits of old grout and dust.
Re-apply Your Grout
 Now you’ve got rid of all the old grout and made sure the surface of the tiles is free from dust etc surface it’s time to start applying fresh grout to the joints.
Using a bucket trowel, mix the grout in accordance with the manufacturer’s specific instructions and then place a liberal dollop onto your grout float. We recommend Mapei Ultracolour – it comes in loads of exciting colours and has anti-mould properties too!
Use the float to apply the grout to the joints between the tiles. The rubber side of the float is used to press the grout into the joints. Ensure you wipe away any surplus grout from the surface of the tiles using a sponge as you go.
Cleaning and Finishing
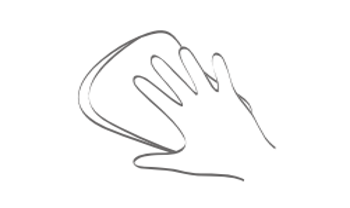
When all the joints are filled with fresh grout, wipe the surface down with a sponge and cold water. Leave the the grout to set for around 5-10 minutes the give the surface another wipe with a sponge and cold water to remove any grout residue from the surface of the tiles. Remember to keep cleaning the sponge throughout so that you’re not just spreading the grout around.To remove stubborn grout residue, we recommend Fila Deterdek Residue Remover.
To finish off, use a clean, soft cloth polish the faces of the tiles once the grout is dry. For that extra sparkle you can use Fila Fuganet Grout Cleaner.
And that’s it. Follow those steps and you can have rejuvenated grout in your tiled areas in no time at all! If you’re after more top tiling tips, visit our YouTube channel – there’ll you’ll find all manner of helpful How To videos on all aspects of tiling.
To download this rather useful guide as a PDF, just click the bar below:

Here at Tile Mountain, we not only have a huge range of tiles to suit every purpose, we also have a wealth of tiling knowledge gained from over 30 years in the tile industry, (which we’ll do or best to share with you across these very pages).
Whether you’re looking for the perfect tiles for your next home improvement project, are searching for some style inspiration, or simply need a bit of help and advice, you’re in the right place.