It’s that time of the week again and that we’re back to deliver another edition of Tiling Trade Tips with our resident DIY expert Craig Phillips, right down your YouTubes. This week’s episode sees our Craig show you how to set out and install tiles for a kitchen feature wall splashback, following on from last week where we covered installing large format floor tiles on the set of Craig’s Dream Build project.
In this video, our Craig will show you how to:
- Correctly measure, set out and dry lay splashback tiles to ensure even coverage with minimal cuts.
- Mix and apply Mapei MapeGrip D2 Ready Mix tile adhesive.
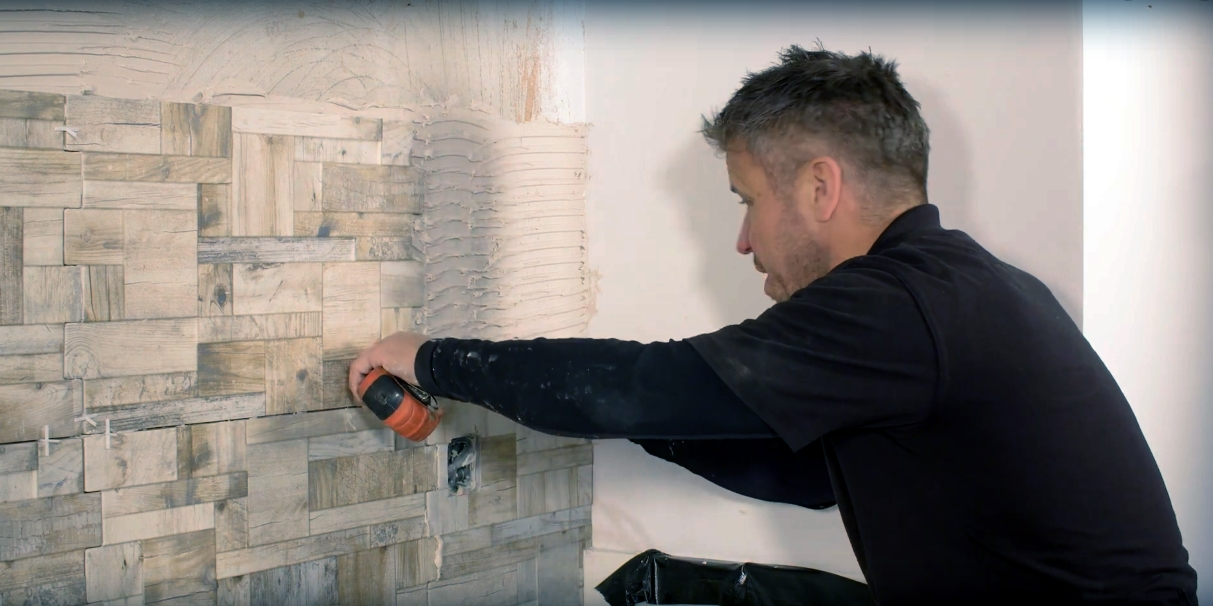
- Effectively spread and comb out adhesive using a notched trowel.
- Attach tiles to the wall and ensure that they adhere properly.
- Mark out and measure correctly for awkward cuts such as those around light sockets and pipes.
- Clean off adhesive residue as you work.
- Leave the adhesive to set for the optimum period of time.
This is the third episode of a new five part series and provides a comprehensive guide to measuring out, cutting, and fixing porcelain wall tiles to ensure that your project has a professional finish. Episode four sees Craig sharing his expert tips on how to correctly and effectively grout different types of tiling installations, passing on valuable trade knowledge along the way so that you can achieve similar results with your own project. You can see that video at the same time next week exclusively on the Tile Mountain YouTube channel – so hit that bell icon and subscribe to make sure you never miss an episode!
Here at Tile Mountain, we not only have a huge range of tiles to suit every purpose, we also have a wealth of tiling knowledge gained from over 30 years in the tile industry, (which we’ll do or best to share with you across these very pages).
Whether you’re looking for the perfect tiles for your next home improvement project, are searching for some style inspiration, or simply need a bit of help and advice, you’re in the right place.