Our expert, Craig Phillips, started his working life as an apprentice bricklayer, and after several years of studying went on to set up his own successful construction company. In 2000, his life took a dramatic change when he won Britain’s first ever reality TV show, Big Brother. Craig put his new found fame to use, and went on to combine his knowledge of construction and media savvy to forge a brilliant career as one of the UK’s leading DIY and home improvement experts.
With his vast knowledge, we thought he’d be the perfect person to help create our series of ‘How To’ videos that are designed to answer the top ten most frequently asked questions that we receive about tiles and tiling.
In our sixth video, Craig takes you through the process of laying and installing underfloor heating mats prior to tiling.
We all know the feeling of waking up early on a chilly morning only to be shocked awake by the feeling of freezing cold tiles on our bare feet. With underfloor heating, you not only have a nice warm floor but it also reduces the need for a radiator, freeing up valuable wall space in what is normally a small room. Today’s underfloor heating is actually quite inexpensive to run and so makes a great option for those who are looking to take on a bathroom project and it’s so simple that nearly anyone can do it. All you need is for an electrician at the end to make the final connections.
The first step is always preparation. Craig recommends fitting pro insulation boards to the floor first to ensure your flooring is energy efficient.
The mats come in various sizes and lengths so be sure to order the correct size you need. Tile Mountain is happy to provide advice on what size you’ll need for your particular space. Just remember, you only want to cover the area you’re going to walk on. So in a bathroom, there’s no need to go under the bathtub or toilet and in the kitchen, you don’t need to go under the units.
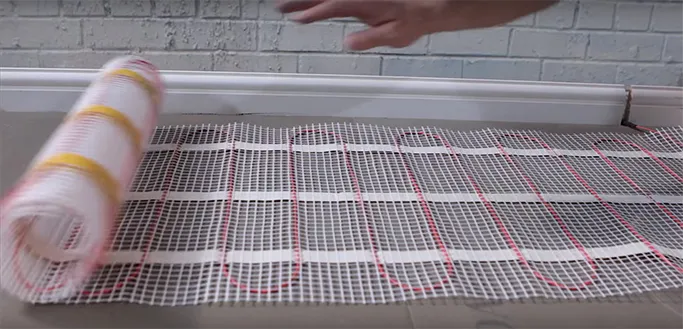
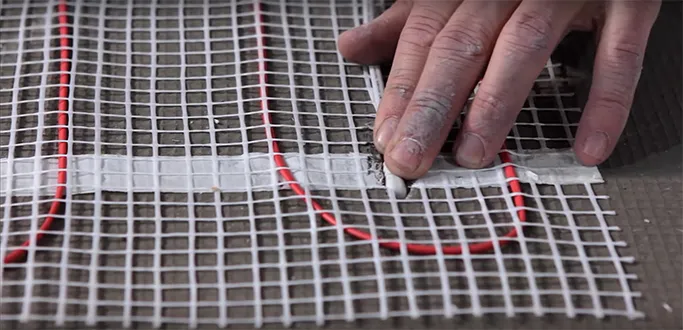
Roll out one length, keeping the mat around 100mm from the skirting board. Using a pair of scissors, cut the fibreglass mesh (not the red element!) and fold over the mat, keeping the elements aligned and roll the mat in the opposite direction.
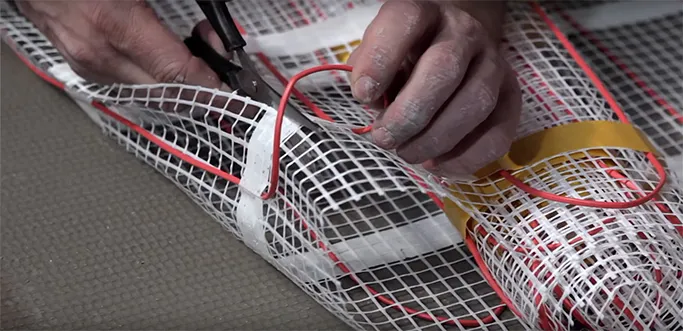
Continue with this method of cutting and rolling the opposite direction until you cover the entire area of the room.
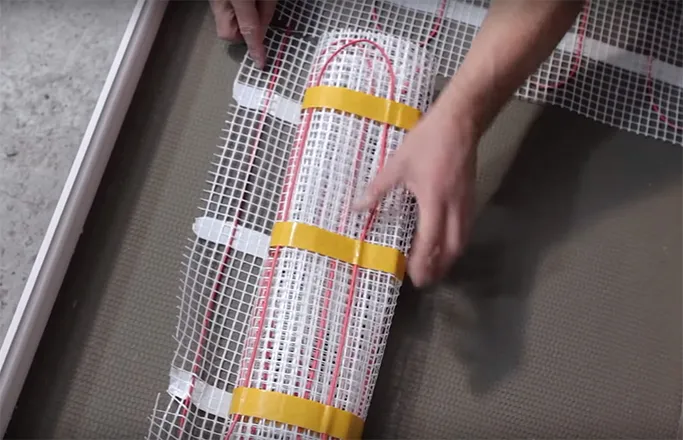
Once you’re happy with where you’ve laid the mat, you can temporarily fix it in position before tiling by peeling off the backing tape and sticking it down.
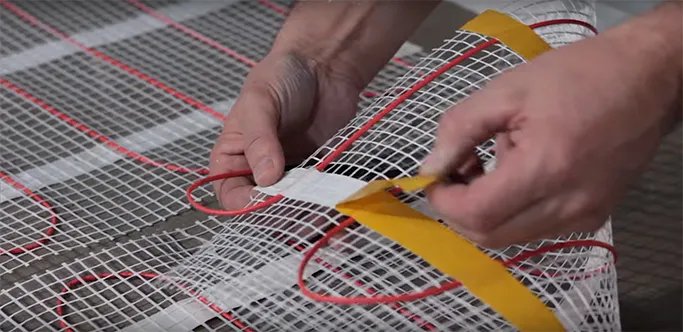
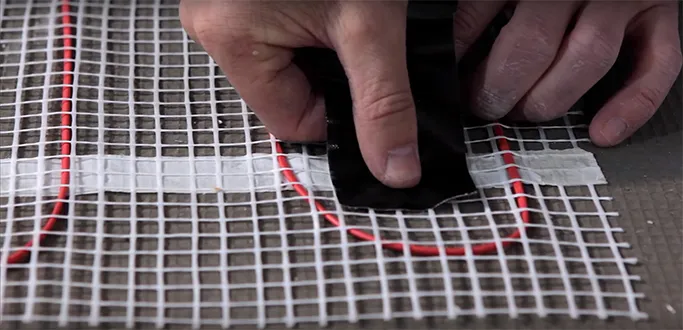
For fitting the probe into position which will be connected to the thermostat, start by laying the probe between the elements.
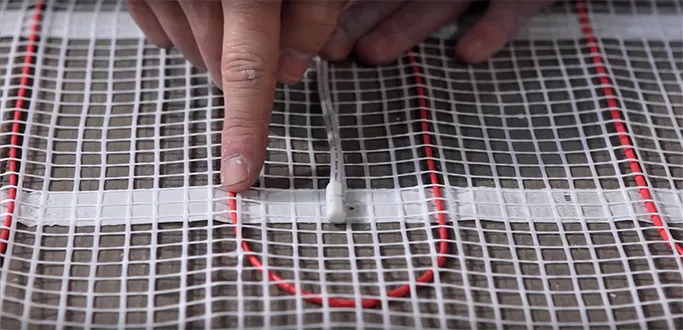
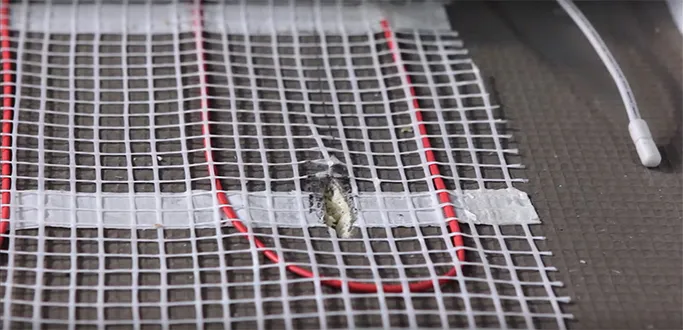
As it will sit proud of the mesh, you’ll want to cut a space in the insulation board so that it’s seated nice and flush and then tape into position.
At this point, you can have your electrician connect the thermostat and test the elements to ensure everything is working properly. Then you’re ready to lay your tiles!
For more information on underfloor heating or to purchase a kit like the one Craig uses, check out our underfloor heating page.
As a multi-award winning interior design content creator, Kimberly Duran is an Interior Design-obsessed American ex-pat, who chronicles her decorating journey and dispenses interior design advice in her personal blog, Swoon Worthy. When she’s not helplessly drooling over all the latest trends in design, she’s adding things to the imaginary ‘shopping basket’ in her head, she likes to get messy tackling DIY projects with her partner in crime, Wayne, stalking eBay for vintage bargains and filling her home with her favourite neutral – gold.