Apparently replacing the sealant on the bathroom tub or shower tray is the most loathed DIY by homeowners according to research by LED Hut. With that in mind, we’re sharing the easiest and most efficient way to use silicone to seal your bathroom that we promise won’t leave you tearing your hair out!
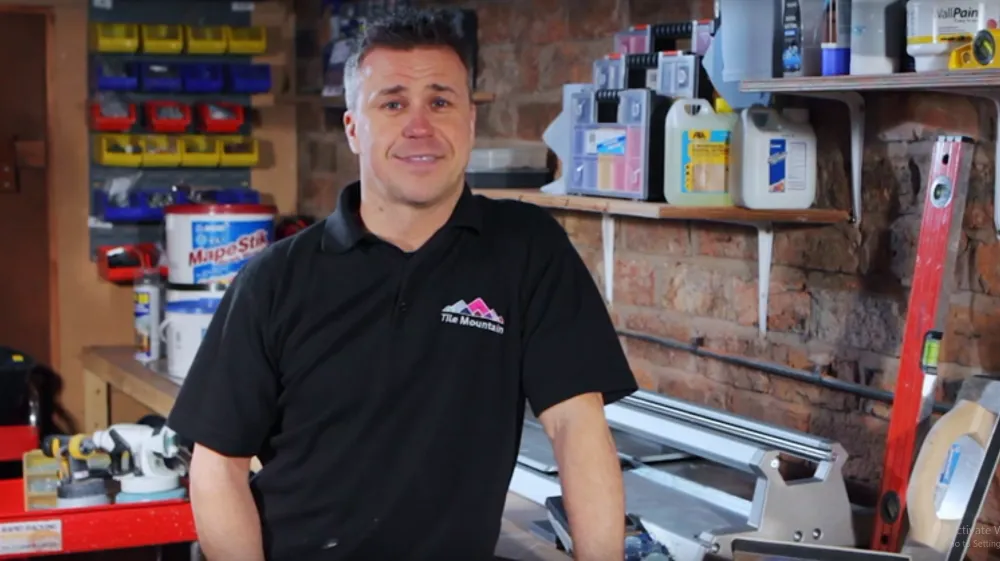
Our expert, Craig Phillips, started his working life as an apprentice bricklayer, and after several years of studying went on to set up his own successful construction company. In 2000, his life took a dramatic change when he won Britain’s first ever reality TV show, Big Brother. Craig put his new found fame to use, and went on to combine his knowledge of construction and media savvy to forge a brilliant career as one of the UK’s leading DIY and home improvement experts.
With his vast knowledge, we thought he’d be the perfect person to help create our series of ‘How To’ videos that are designed to answer the top ten most frequently asked questions that we receive about tiles and tiling.
In our fourth video, Craig takes you through the process of getting the perfect silicone seal around your bath or shower tray with his top tips to make this a job you won’t loathe at all!
A few things to keep in mind when you are sealing a bath or shower tray…
Before You Begin…
- The flexible silicone sealant is a necessity in a bathroom. If you used standard grout between the course of tiles and the bathtub or tray, pressure when stepping on these will cause a hairline break in the grout where water can then ingress and blow out your tiles. And no one wants that! So it’s really important to remember to use a flexible sealant when doing this particular job. If you’re planning a bathroom refresh, explore our range of bathroom tiles to find the perfect style for your space.
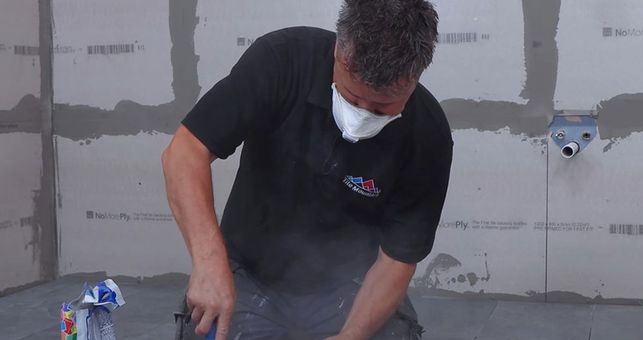
- You’ll also want to make sure your tiles are full grouted (the exception being where the seal will be placed) including the corners and that the grout and tiles are completely dry.
- Leave a 2-3mm gap (the same as the gap between your tiles) between the tub or shower tray when tiling so that the thickness of your seal matches the gap between the rest of your tiles.
Now for the fun part…
Craig recommends using a length of masking tape both above and below where your sealant will be applied, leaving a 3-4mm gap on either side so you have a nice straight and even edge without the mess all the way around.


Craig also recommends applying two layers of silicone. Why? The first, using the nozzle pointy to ensure the cavity is properly filled with no air gaps. After this first application, run the edge of your finger around the applied sealant to ensure the silicone is pressed fully into the gap.

The second layer can follow on quickly from the first. Cut your nozzle 2cm from the top at a 45 degree angle to shape the line of the silicone.

Then run the silicone completely around the bath or shower tray.

Once it’s applied, moisten your finger with a silicon wipe and run your finger over the sealant to create a smooth line.

This is when you can remove the masking tape while the silicone is still wet, leaving a perfectly clean and even band of sealant all around your tub or tray. Leave for 24 hours before using the bath or shower.

Now that wasn’t very hard was it?

There you have our guide on how to silicone a bath or shower tray, we hope it helped! Be sure to tag us in pictures of your DIY results on Instagram, @Tilemountainuk, we love seeing what you’ve been up to!
As a multi-award winning interior design content creator, Kimberly Duran is an Interior Design-obsessed American ex-pat, who chronicles her decorating journey and dispenses interior design advice in her personal blog, Swoon Worthy. When she’s not helplessly drooling over all the latest trends in design, she’s adding things to the imaginary ‘shopping basket’ in her head, she likes to get messy tackling DIY projects with her partner in crime, Wayne, stalking eBay for vintage bargains and filling her home with her favourite neutral – gold.