Luxury Vinyl Tiles have become increasingly popular due to their durability, versatility, and beautiful aesthetics. Whether you’re completely renovating your home or giving it a quick refresh, LVT Flooring offers a practical solution. With the help of our resident DIY expert, Craig Phillips, we’re here to answer the question of how to install LVT flooring, walking you through the essential steps in ensuring a flawless finish.
You Will Need:
- Your chosen LVT Flooring planks
- Rubber Mallet
- Measuring Tape
- Marker Pen
- 6mm packers
- Preferred method of cutting (E.g. guillotine, Stanley knife and straight edge, handsaw, circular saw)
- Silicone sealant
- All-purpose adhesive
1 – Prepare the Planks and Your Floor
You may find a slight colour variation between the packs of LVT you receive. To combat this, open up all your packages and mix the planks around so the colours are distributed throughout your flooring.
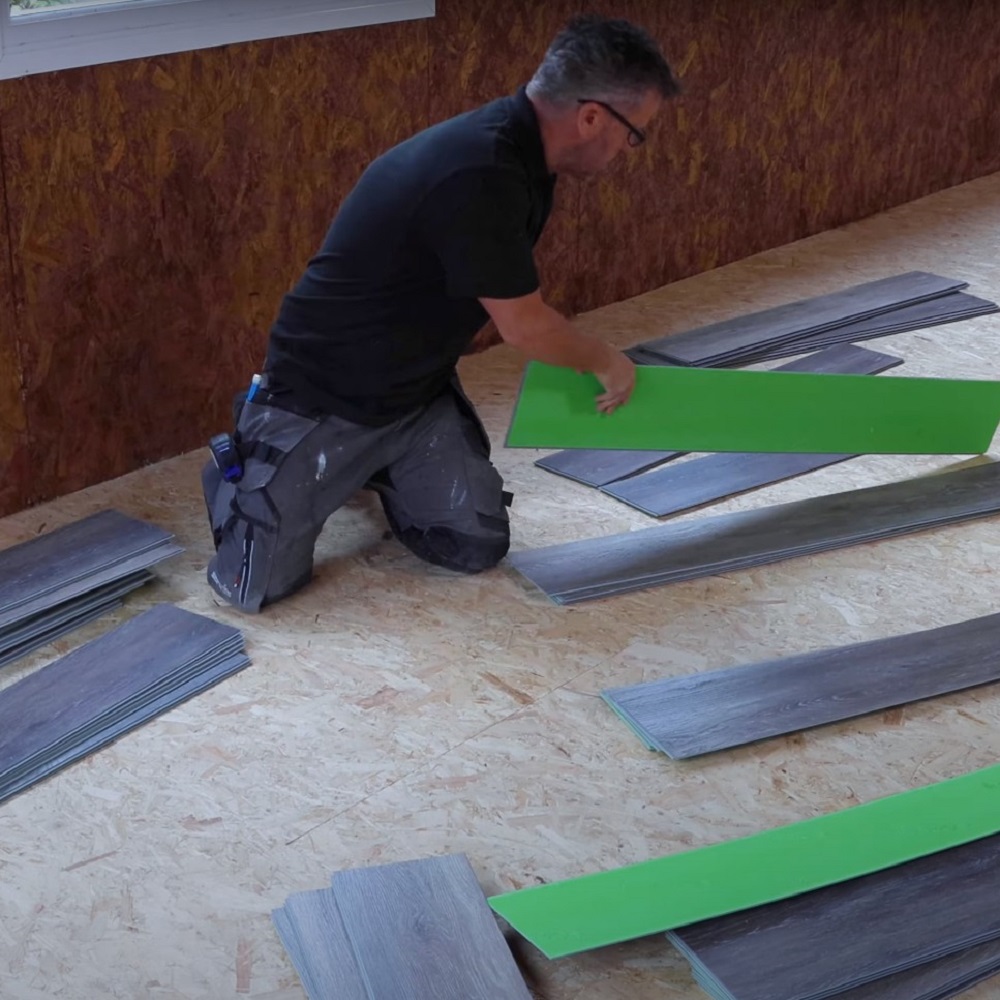
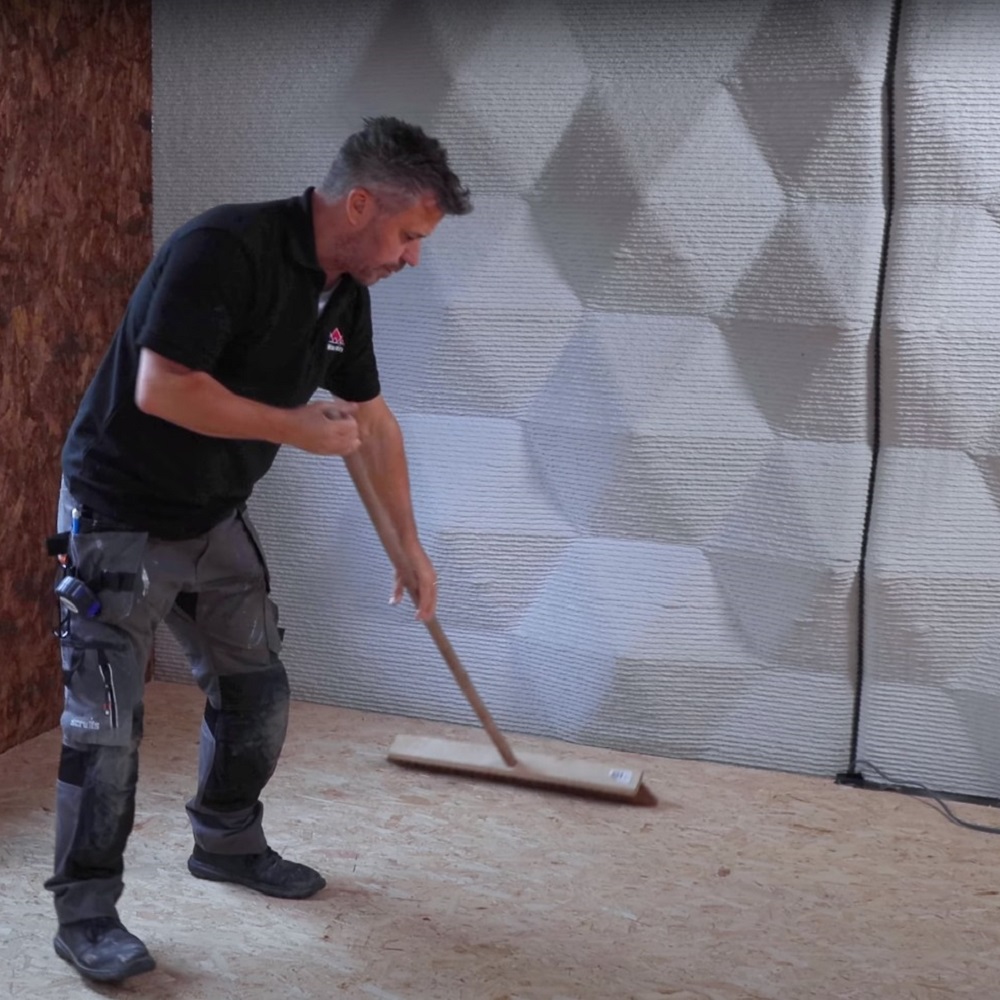
Take time before getting started to ensure your current is suitable for application. Give it a sweep or a vacuum to free it from any dust or debris, perfect for your planks to be placed on top!
2 – Start Laying the LVT Planks
Start from the furthest corner of your room and work your way along the straight wall. Lay your first plank in the corner of the room, up against both the straight edges of the walls. We started with an offcut from a previous job, to ensure a varied layout. Do a dry run of the first row of planks to ensure you are happy with the layout and cut pieces.
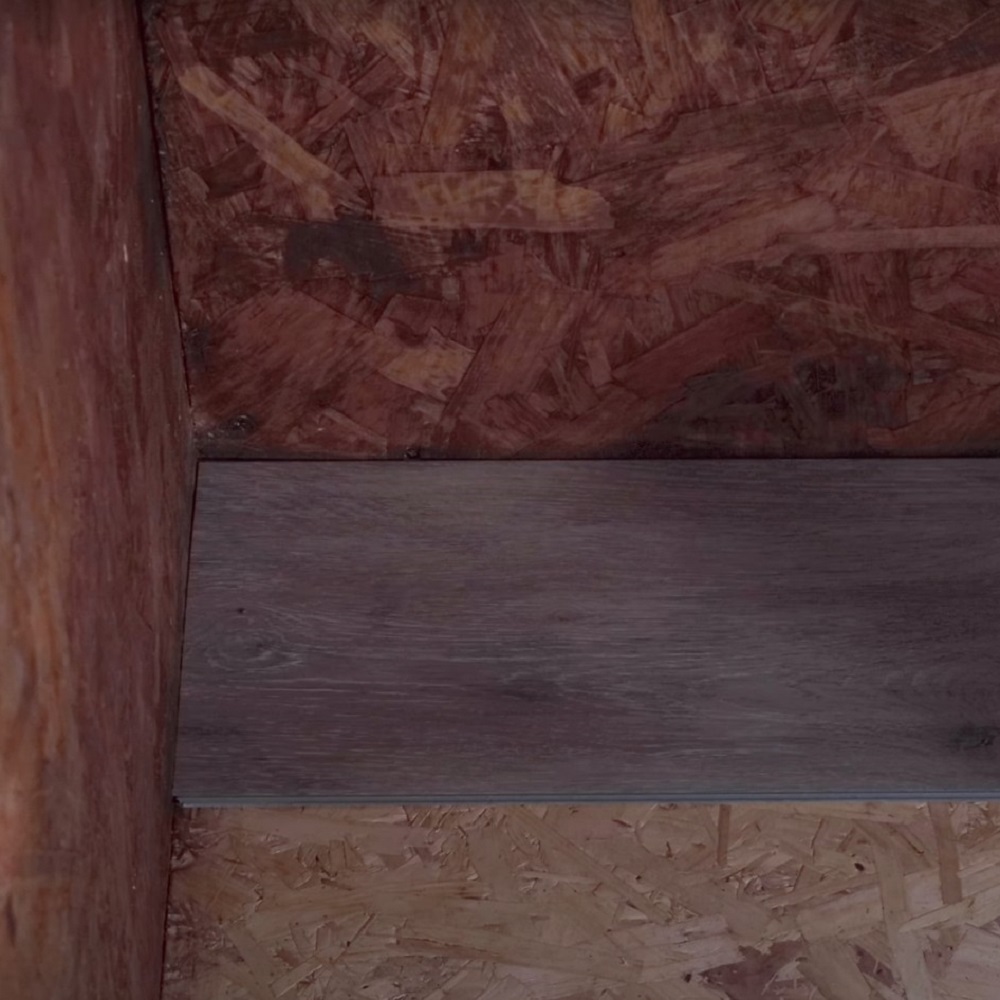
Place your second plank short edge to short edge, up against the wall, and lock into place using a rubber mallet across the joint.
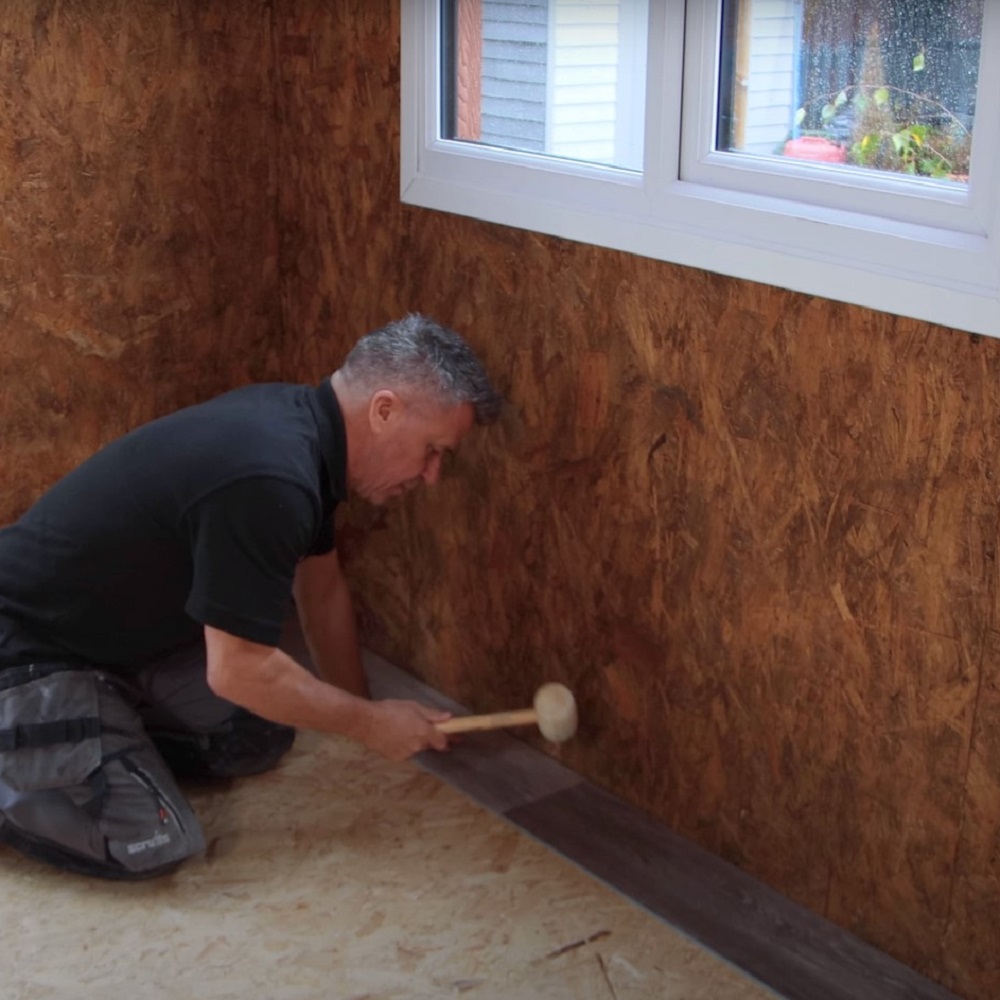
Continue placing your planks along the wall until you come to your final piece.
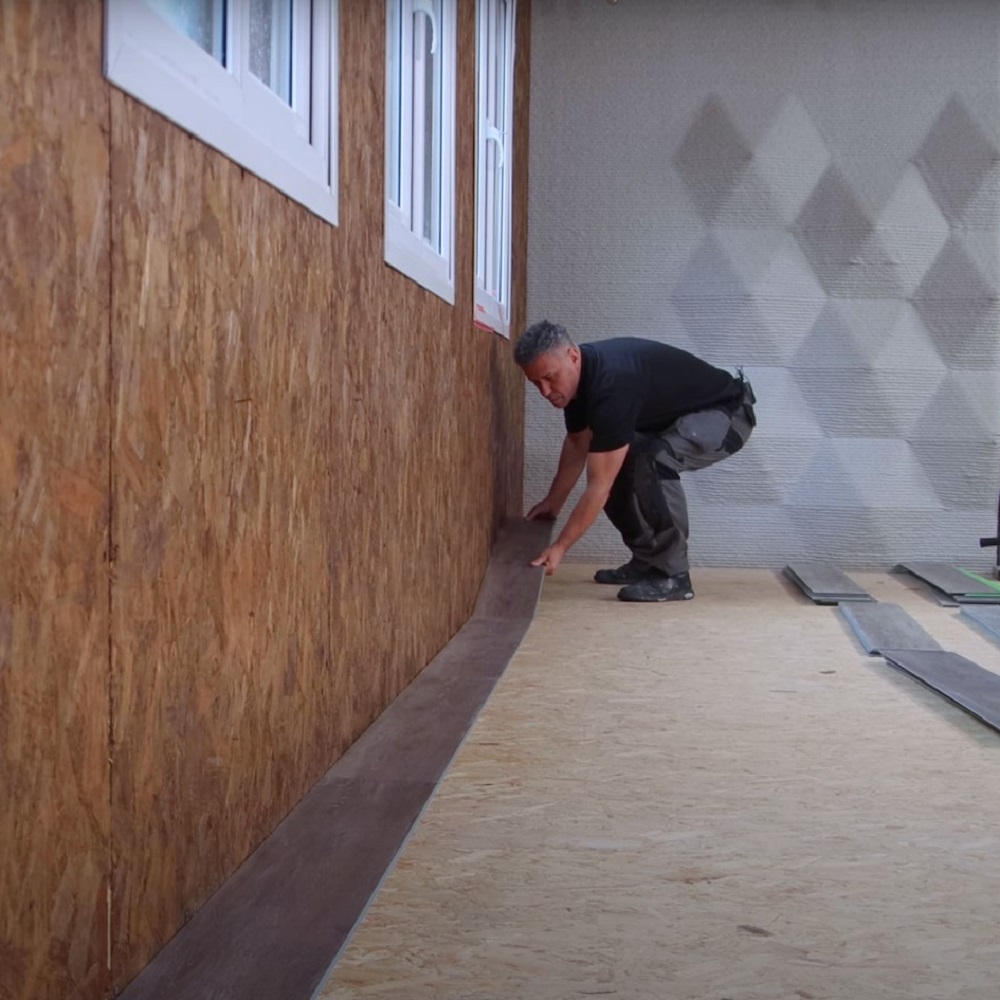
When it comes to the end of your first row, the chances are you will need to cut a plank to fit into the gap. We strongly advise allowing room for an expansion gap against the walls, to allow your floors to expand over time. We are using a 6mm expansion gap. When measuring for your cut piece to slot into the end of your first row, add 12mm to what you’re cutting away, so you can slide the floor along slightly and ensure a 6mm gap at either end.
3 – Cut Pieces
We’re using a guillotine to cut our planks, but there is a variety of ways you can cut yours. This includes a guillotine, a Stanley knife with a straight edge to score and snap, a handsaw or circular saw etc. Just whatever you feel comfortable with!
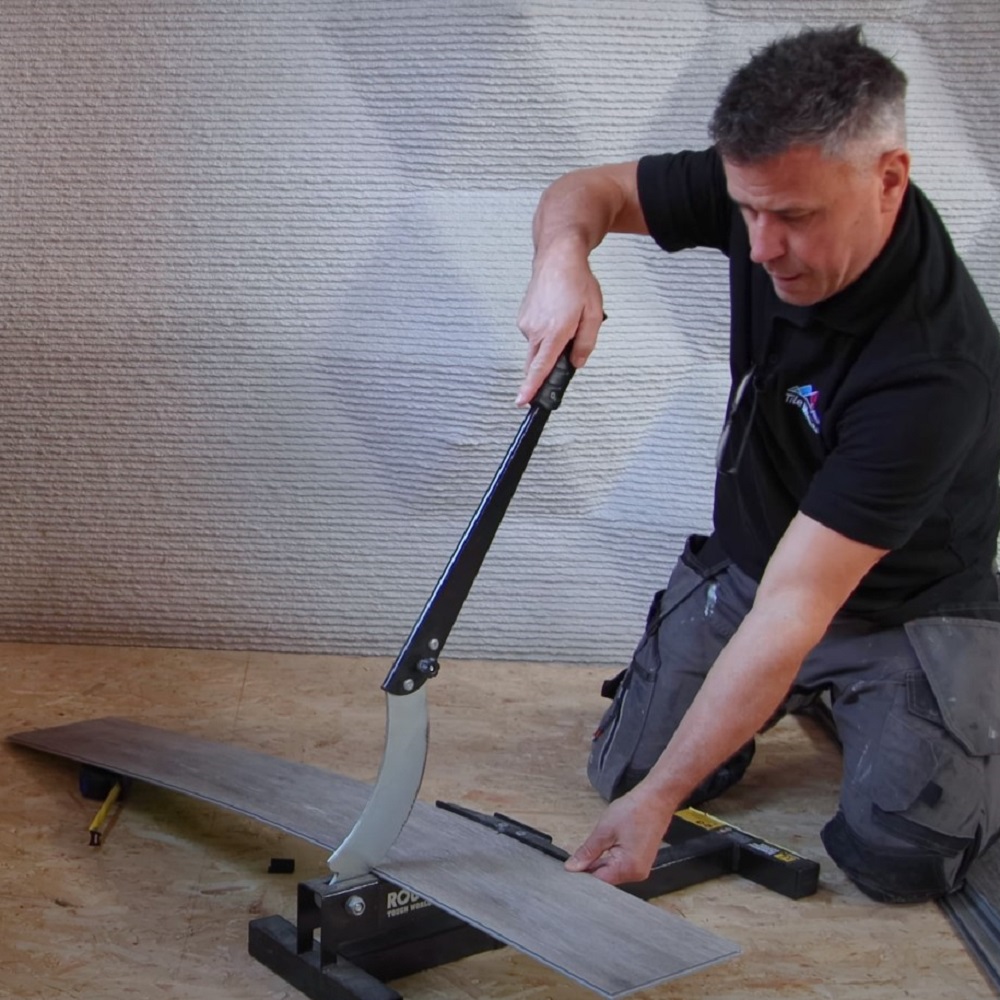
Measure the amount you need to cut away, adding your 12mm expansion joint. Bear in mind most LVT Flooring has a clever interlocking system, so the edge that is cut will have to be placed against the wall, otherwise, your flooring won’t lock into place.
Make a mark where you need to cut, and use your preferred method to do so.
4 – Lay your Second Row
To begin your second row of LVT, we would advise using the offcut from your last row to avoid waste and ensure an even layout. Clip into position and use your rubber mallet to lock it into your first row.
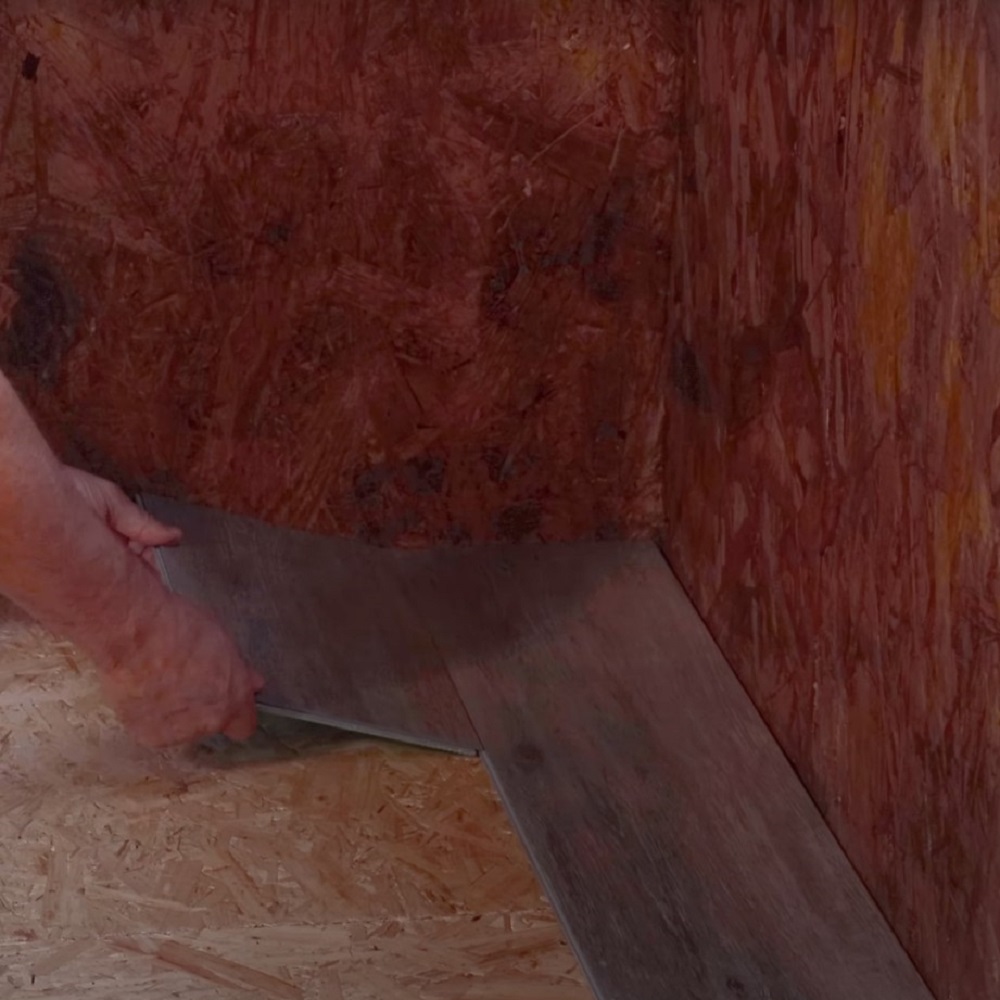
Lay the rest of your second row, locking it into place by tapping your rubber mallet along the joints.
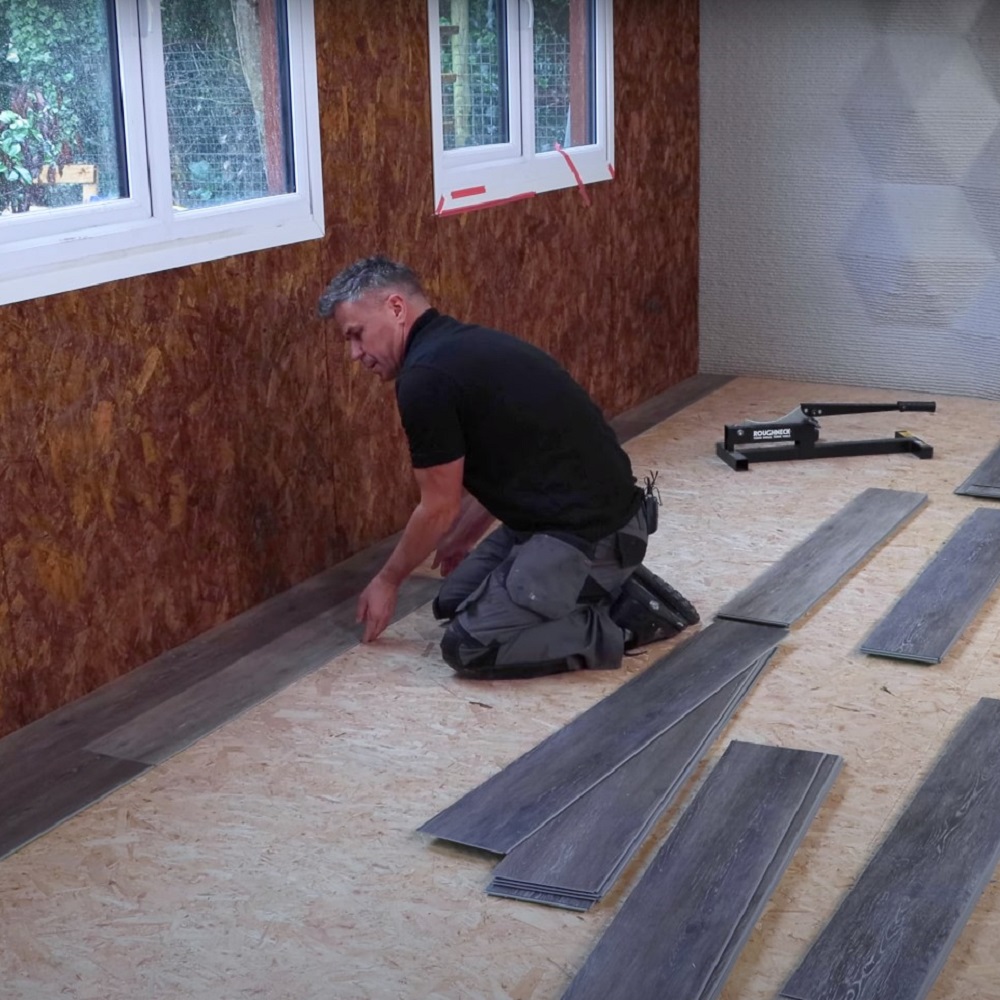
Repeat this along your third row.
5 – Create your Expansion Gap
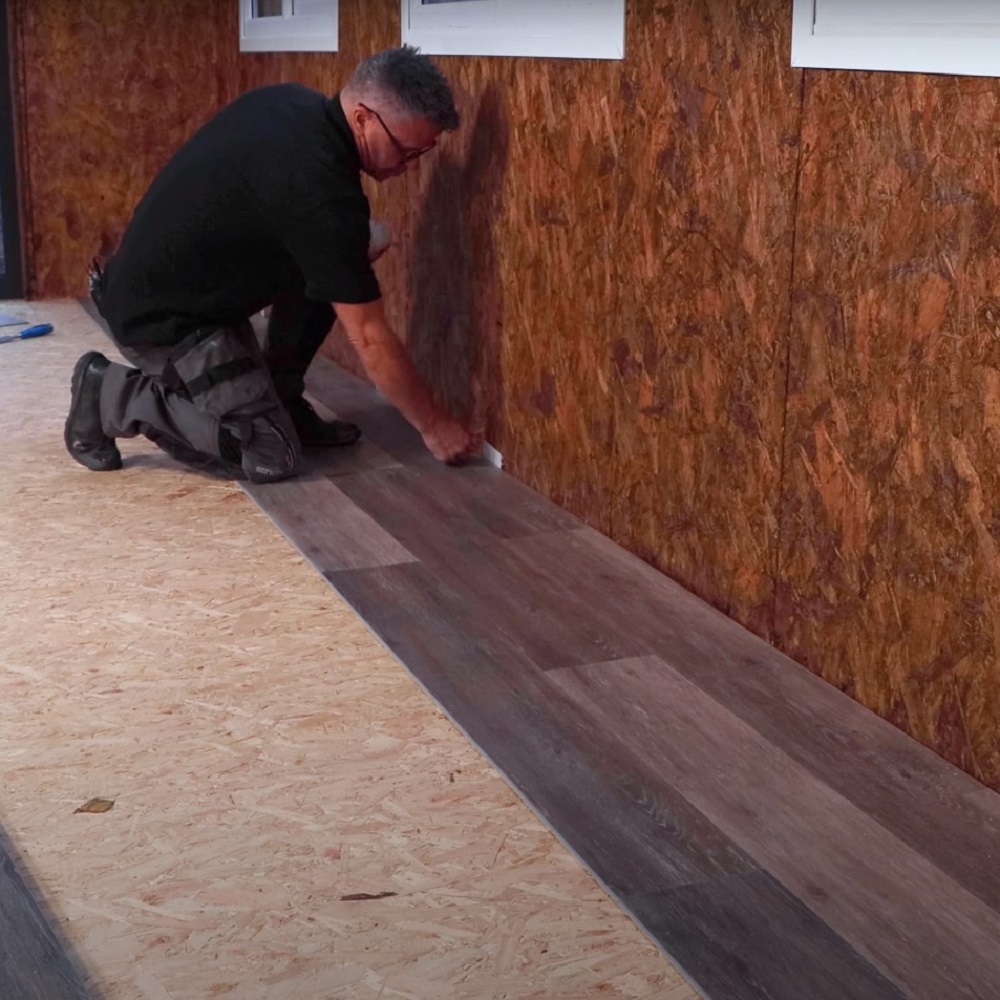
Once you have your third row laid, you will be able to easily lift and slide the flooring away from the wall, so there is 6mm from the wall to the flooring. This is your expansion gap. place your 6mm packers in the gaps between the wall and the planks to ensure this gap is even all the way around.
6 – Continue Your Rows
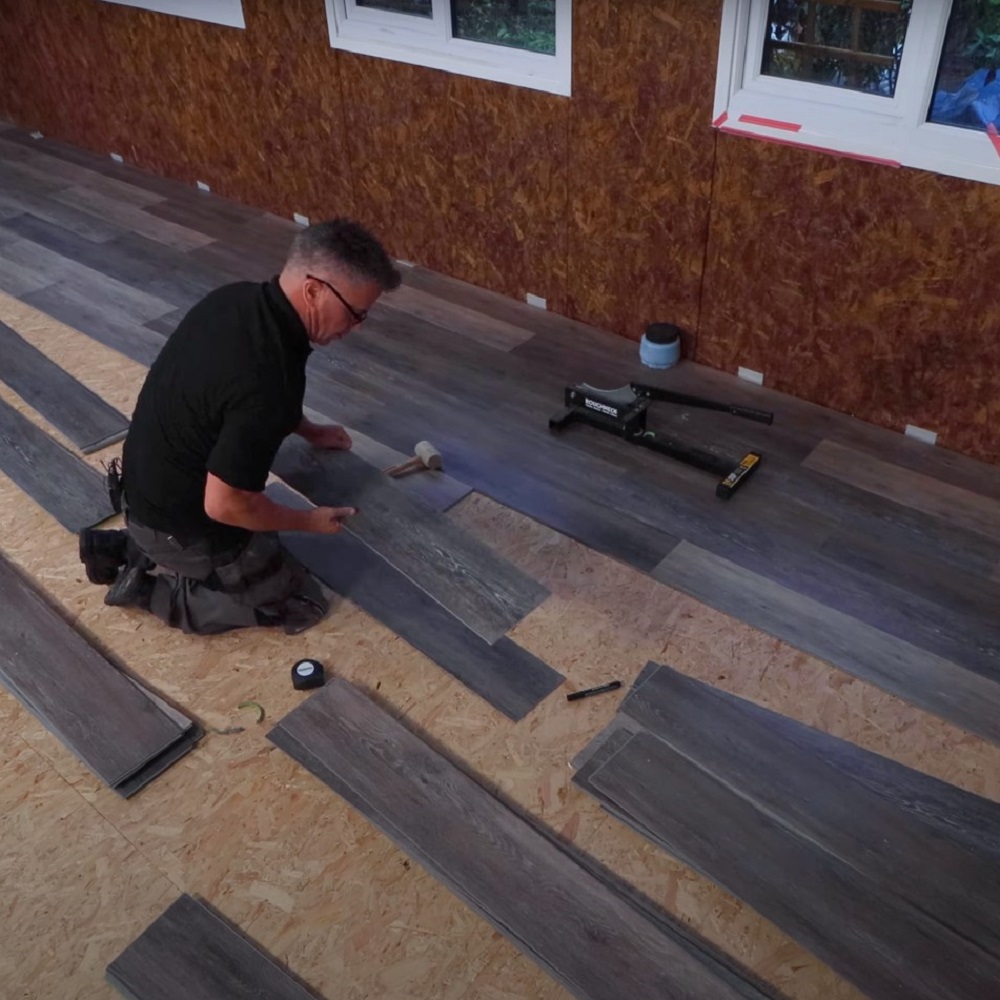
Once your packers are in place and you have your expansion gap, you can continue placing your LVT flooring down in rows, using your rubber mallet to lock it into place.
7 – Cuts Along the Way
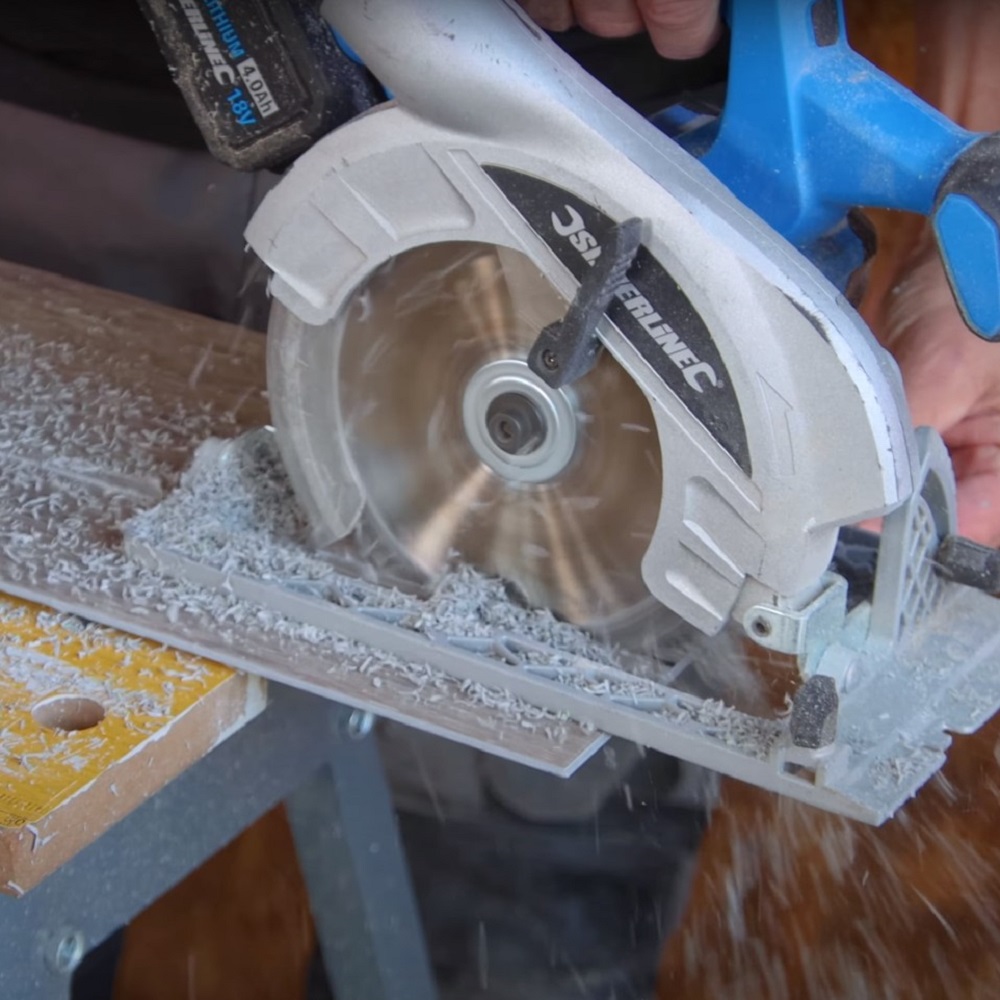
You may find you need to make cuts along the way while laying your flooring. To do this, just ensure you measure correctly, accommodating your expansion back, and only cut edges that are going to be up against the wall, to ensure you can still lock your floor into place. For longer cuts, you may find a guillotine might not cut it. To combat this, use a saw that you are comfortable with and cut along your measurements. Remember, measure twice and cut once!
8 – Finishing Up!
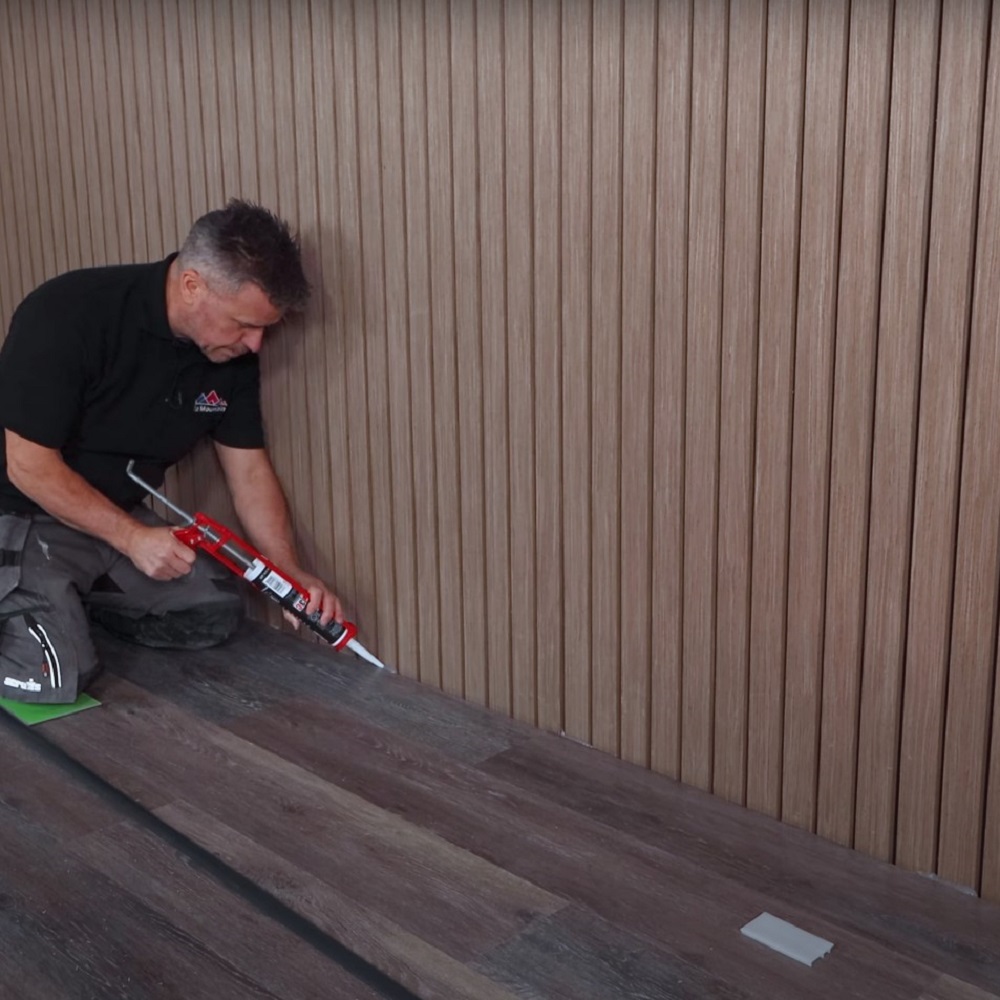
Once all your planks are laid and locked into place, you can begin removing your 6mm packers from your expansion gaps. Use small amounts of silicone sealant all around the edges of the flooring, to lock into place and ensure it doesn’t twist or turn over time. Don’t seal the entirety of the flooring, as you need to ensure there is still space for the flooring to expand should it need to do so.
9 – Covering the Expansion Joint
To cover your expansion joint you have a few options. You can use a scotia bead to cover over it, ensuring you attach this to the wall with your adhesive rather than to the floor, to allow the floor space to expand.
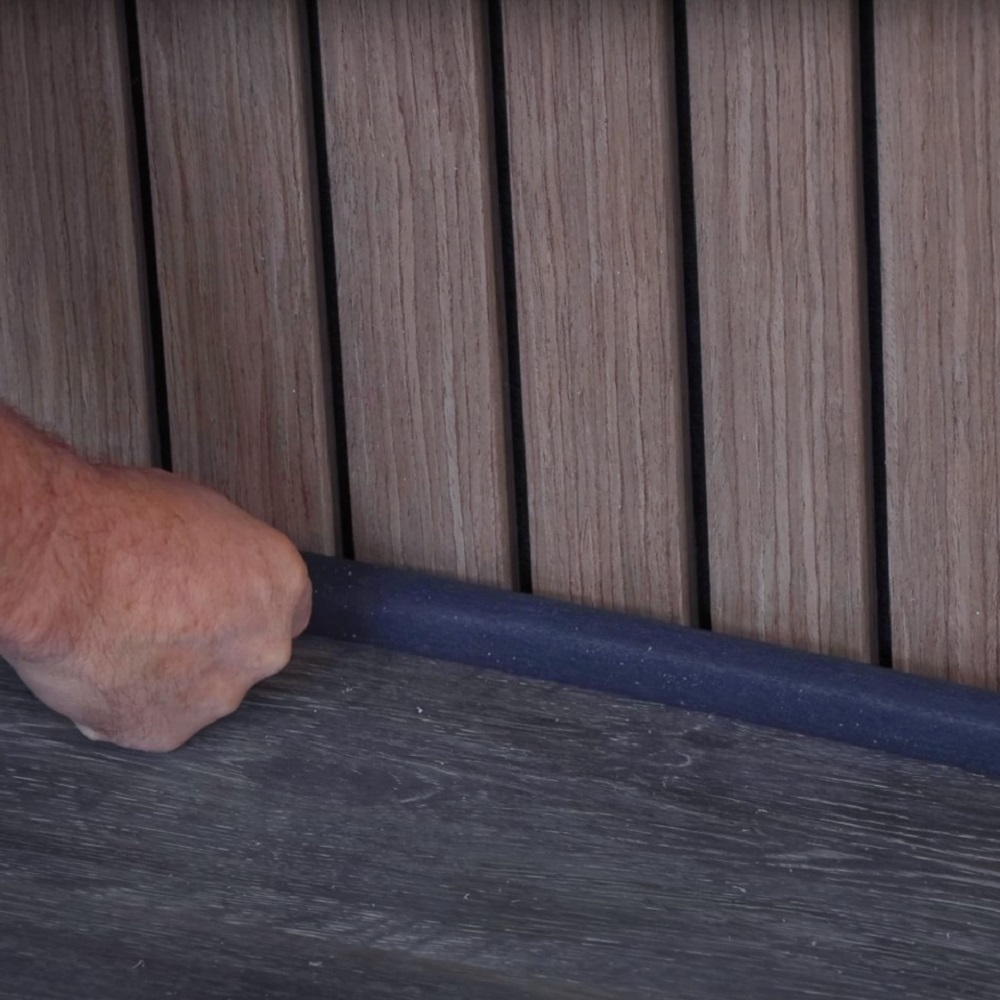
For our project, we’re using planks cut lengthways to attach to the wall, covering the expansion joint, and acting as a skirting board to protect the walls.
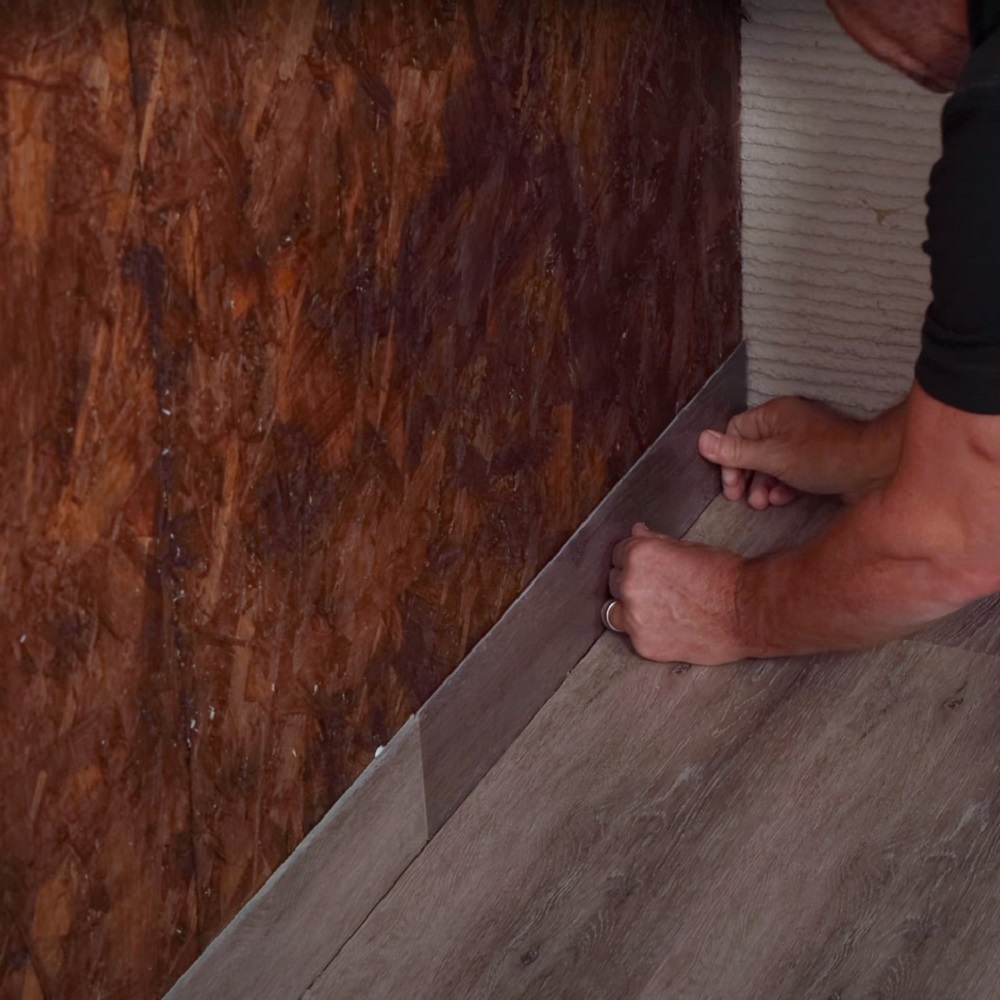
Once your skirting is fixed into place, you can use silicone to disguise the joint between the plank on the wall and the plank on the floor.
![]()
Let us know how you got on in laying your LVT Flooring, we’d love to see pictures too! Tag us over on Instagram, @Tilemountainuk. Check out our YouTube video ‘How to Install LVT Flooring‘ with Craig Phillips!
