If you’re planning on tiling onto your floor that is currently wooden floorboards, there are some measures that you need to take beforehand, to ensure you get the best results later on down the line. Lucky for you, our resident DIY expert Craig Phillips is on hand to help, with his tutorial on how to install cement boards to wood floorboards. Here’s how it’s done:
You will Need:
- Cement boards
- Large drill and paddle mixer
- Cordless screwdriver
- Screws
- Jointing tape
- Scoring tool
- Rubber mallet
- Tape measure
- Pencil/ pen
- Spirit level
- Straight edge
- Flexible tile adhesive
- Mixing bucket
- Serrated trowel
- PPE
– Preparing the Space
Give your wooden floorboards a good sweep to remove any dust or debris before you get started. If you come across any floorboards that feel a bit wobbly, be sure to screw these down to secure them, as this will cause problems down the line. Use your spirit level and straight edge to make marks where the joists are below your floorboards, you’ll be screwing your cement boards to these later.

We’re using cement boards that are 1200mm in length, 800mm wide and 12mm thick. Start by doing a quick dry run of your cement boards, so you can calculate how many cut pieces you will need.
– Cutting your Cement Board
If you’re cutting a straight piece off your cement board, mark where you’d like to cut by measuring with your tape measure and use a straight edge to mark this. With your straight edge still in place, use your scoring tool to score a deep line across the mark. Then, find a block the length of your cement board and place under one side. Apply a quick and harsh amount of pressure to snap the board along the score line.

For smaller, more detailed cuts, mark out the piece you need to cut away with a pen or pencil, and use a hand held cutting tool to cut the piece out. Make sure you check against the area to see if you need to cut more of the board away. This is for when you come across an obstruction in the floor like door frames or pipes. Complete another dry run of all of your cement boards to double check your cut pieces.

Remove any dust or debris from your cement boards, and number the boards in an order so you remember where they need to be placed later on.
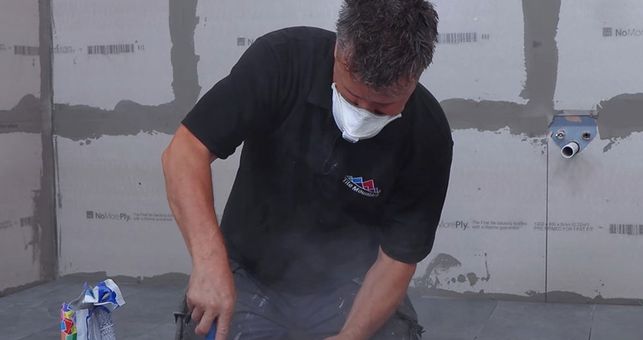
– Mixing your Adhesive
Put some clean water into your large bucket ready for your adhesive. Put on PPE to pour an amount of your adhesive into this water, and mix using a large power drill and a paddle mixer attachment. Mix enough adhesive for the time you have to work with it, before it begins to dry.

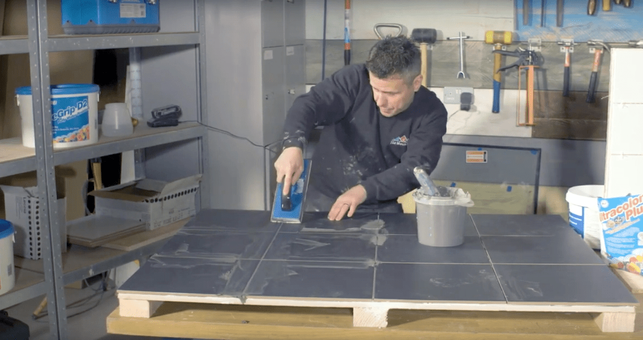
– Applying Adhesive
Apply enough adhesive to the area to cover the size of one cement board, smoothing it over with your trowel. Use the straight edge of your trowel to spread the layer across the space, and then use the notch side to comb through the adhesive, spreading it evenly.

– Laying your Cement Boards
Lower your first cement board into place slowly. Before tapping it down to secure it, wiggle it into the correct position, with an approximately 5-10mm gap against the wall. Check your board is level with your spirit level, and tap it down into place with your rubber mallet, hitting each edge and corner.

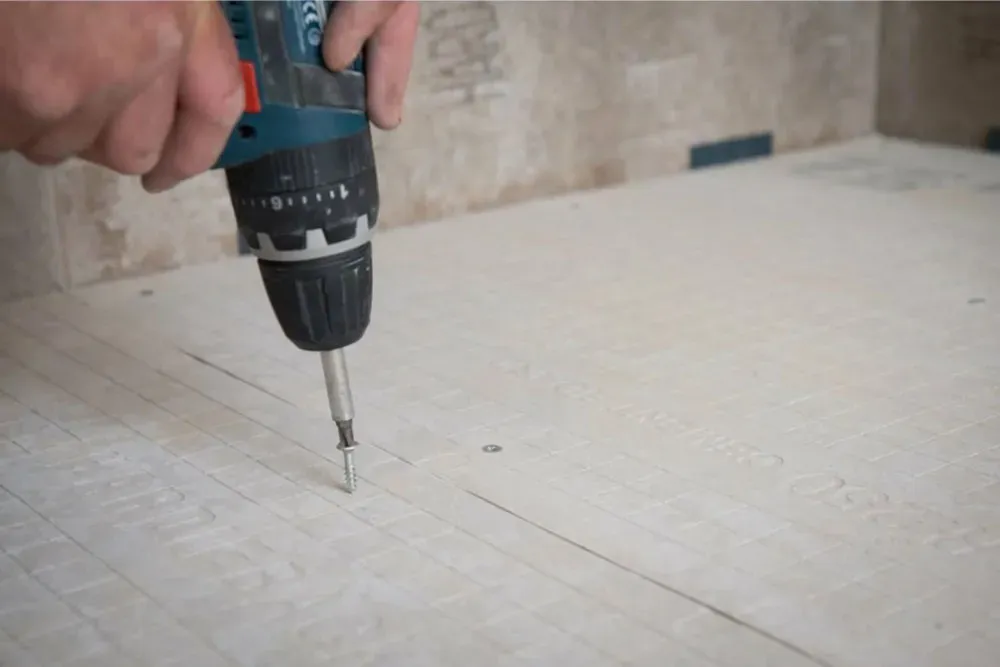
– Screwing the Board Down
To secure the boards in place they will need to be screwed down. The screws will need to go all the way through your cement board, all the way through your floorboard, and catch onto your joists. We use 50mm screws to do this. Using an electric screwdriver, screw into the cement boards where you made your joist marks on the floorboards earlier on, to be sure to catch the joist.

Place the rest of your cement boards using this same method, laying them in the number order you marked earlier. Make sure you include at least 3mm spacers/packers in between each board, to ensure an even lay. These will be removed later on.

If you plan on using your cement boards in a wet room setting, they will need to be covered with a waterproof tanking system for protection,
– Finishing Touches
Remove the packers/spacers from your cement boards and sweep up any dust/debris from the space. Mop any dust from across the joints in your cement boards using a damp cloth or mop. Mix more of your rapid set adhesive and use this to fill in the joints of your cement boards.

Lay reinforced tape over the joints while the adhesive is wet, and spread another thin layer over the top to cover the tape. Allow this to dry and sweep away any extra dust.

There you have our guide on how to install cement boards to wood floorboards, we hope it’s helped you in your DIY journey! Be sure to tag us in picture of your results on Instagram, @TilmountainUK, we love seeing what you’ve been up to!
Once your tiles are fixed in place and ready for finishing touches like fittings or accessories, check out our guide on how to drill through tiles for safe and accurate results.
How to Install Floor Tiles
How to Cut Straight Tiles
How to Grout and Seal Floor Tiles