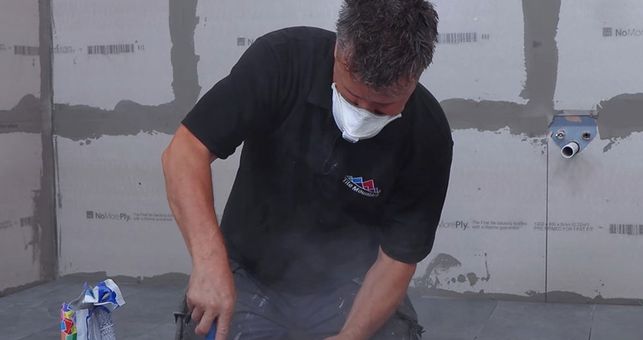
Looking to do a bit of DIY and tile your stud wall yourself? They need a bit of prepping first, and here to help tell you how is our resident DIY expert Craig Phillips. Here’s how to prepare stud walls for tiling:
You will need:
- Spirit level
- Straight edge
- Cordless drill & screws
- Dust mask
- Packers
- Scoring tools
- Detector
- Reinforced tape
- Trowel
- Flexible adhesive
- Large drill & paddle
- Wall boards
- Screws
– Prepare your space
We’ll be working on a stud wall that has already been plastered with plaster boards. If this is the case for yourself, make sure you clean and scrape away any leftover debris from whatever you may have had previously fitted to ensure a flat and even surface.

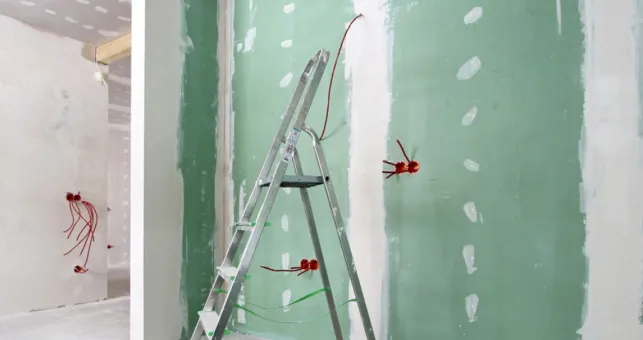
Even if the plaster boards you have fitted to your walls are sturdy and secure, it is still recommended that you secure your wall boards to the studs that sit behind. To do this, you’ll need to find where the studs are behind your plasterboard. Do this by using a stud detector, and make a mark where the detector prompts you to. Carry this mark up along the whole of your wall, floor to ceiling. Your studs should be set with around 400mm between each of them.

– Attaching the boards
Start with a full board in the bottom corner of your first wall, and place a couple of packers under the board to lift it off the floor about 3-5mm, and in between the adjacent wall and board so it’s not flush with your wall. Now you can fit the board to the wall, using a drill with a screw bit and 45mm screws. You should aim to screw in about 12 screws, each into your studs behind the plaster where you marked them earlier.

Place your second full board alongside this, and continue until you get to a position where you’ll need to cut the board. This can be because of an obstruction like your pipes. If this is the case, draw a rough outline of where these pipes will sit on your board, and score around these lines using a scoring tool. Once you’ve sufficiently scored this area, you should be able to snap the piece out. If it’s a straight edge that you need to cut, for example when you get to the edge of the wall, measure how much you’ll need to cut away and draw a line the length of the board. Use a straight edge to score along this length, and snap along the line.

– Staggering the Joints
When it comes to fitting your second row of wall boards, it’s best to stagger the joints about 50%. To do this, simply cut a board in half, and attach above where you attached your very first wall board. Continue across the length of your wall using full boards, until you get to the end where you may need to cut some of your board away. For your third row, start as you did on the first row, with a full board attached first. This also applies for your fourth row, starting with half a board as you did with your second, and so on.

You can now place your wall boards on the rest of your walls. When you get to the door in your room, simply measure how much of your board needs to be cut away and mark it on the board. Score along these lines with your scoring tool and to get a cleaner line, use a hand saw to cut the piece away. Attach your cut pieces as you normally would with a full board. Don’t worry if you notice slight shade variation on your boards, this can happen with different batches.

Now you can remove your packers and begin filling the joints with adhesive. Start by mixing up some floor or wall adhesive. Place some water in a large bucket and mix your powder in with a drill and paddle attachment. Using a trowel, fill the joints with a small amount of your mixed adhesive. Apply some reinforced tape across the joint while your adhesive is wet, and smooth it across the top of the tape to cover it. Continue this across all of the joints.

Repeat this process along the bottom of the last board where it meets the floor and allow your adhesive to dry before applying any tiles to your walls.

There you have our guide on how to prepare stud walls for tiling. We hope you found it useful! Don’t forget to tag us in pictures of your finished results on Instagram, @Tilemountainuk, we love seeing your DIY projects!
How to Cut Straight Tiles
How to Grout and Seal Floor Tiles
What’s The Difference Between Rectified and Non-Rectified Tiles?