The History of Mosaic Tiles
Mosaic tiles – we’ve all seen them, be it on a church floor, ornate mural, or your Nan’s bathroom. Those diminutive ceramic squares of wonder seem to have been around for an age, but many folk don’t know their origins. If you’re one of them then read on as we’re about to dig a little deeper into the mosaics’ back story…
As you’d expect, the history of the mosaic tile is entwined with that of its bigger brothers; ceramic tiles and porcelain tiles, first making an appearance around 4,000 years ago in the Mesopotamian era. Those initial mosaics were hastily fashioned out of ivory, stone and shell and generally used by artists to create portraits and likenesses of gods and kings.
By 200 BC though, the Roman Empire was in full swing and brought with it a raft of new manufacturing processes and aesthetic ideals. Craftsmen soon realised that there was a great deal of money in producing the small ‘tesserae’ (or uniform) pre-made pieces that artists used to create mosaics, and so that’s what they did! Soon, the little blighters were everywhere as Roman artists used tiny squares of stone (marble in particular) to create sprawling floor mosaics depicting the opulence, splendour, debauchery, and squalor of Roman life.
As history moved along into the Byzantine period so did the positioning of mosaics, moving from floors to walls and ceilings. This era saw glass being used more and more with the development of ornate glass tesserae called ‘smalti’, often backed with silver or gold leaf to add opulence. The majority of Byzantine mosaics had religious themes and as such, were often found in cathedrals. If you’re ever in Ravenna in Italy, you can visit the UNESCO World Heritage Sites there and see some fine examples.
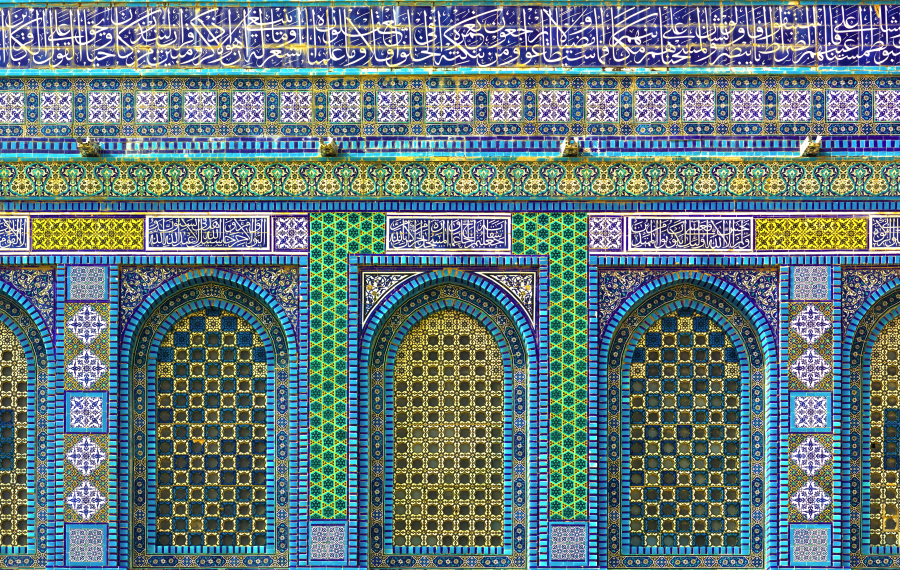
The next wave of mosaic development came during the days of Islamic empires (such as the Ottoman Empire) which had great influence and stretched from the Middle east to North Africa in its pomp. Islamic mosaics often had a strong religious theme running through them and utilised lots of different shaped tiles, with geometric shapes being a firm favourite to create patterns and motifs.
Fast forward to the late 1800s and the Art Nouveau movement was really gathering velocity with the likes of Anton Gaudi and Josep Maria Julol really shaking things up and popularising more expressive, organic mosaic art, something which the great and the good looked to emulate in their own homes. This application of mosaics really set the scene for the way in which they are viewed and used in contemporary settings, right up to the present day.
Why Use Mosaics
Cost effective, easy to install, ability to create your own bespoke designs – they’re just three reasons why DIYers and renovators the world over love mosaics. Whilst domestic installations don’t tend to take an overtly artistic approach ie. creating of large murals, mosaics do allow for some expression of personal style, be it through accents or borders or even via personalised text inset into walls. However, go to any high-end bar, hotel, or even public space, and you’ll see mosaics used in all manner of ingenious ways, both inside and out.
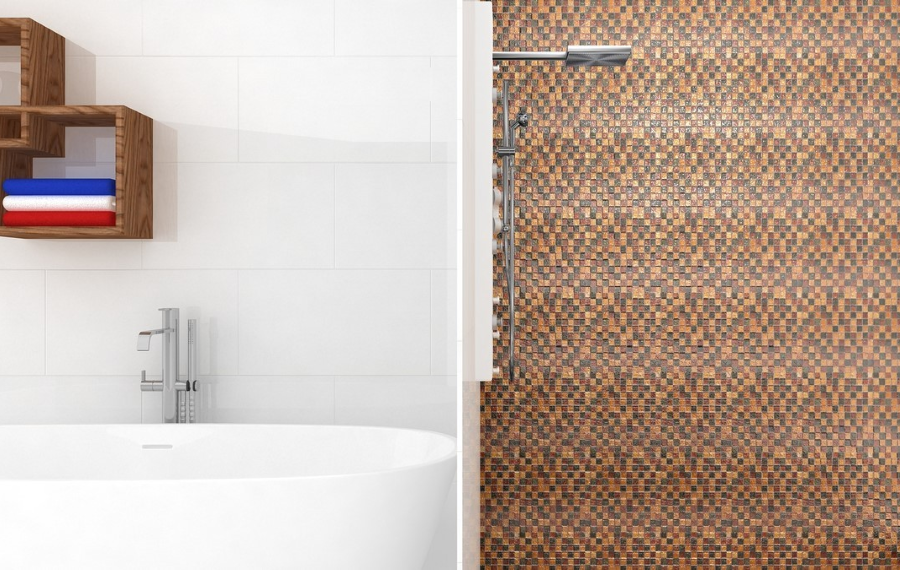
Thanks to the ludicrously large range of mosaics (in every style you could possibly imagine) we stock at Tile Mountain, there’s no end to the design possibilities open to you. Looking to replicate at home the wet room you used when you stayed at that luxury hotel that time? No problem – check out the Toscana Mixed Mosaic. If adding some sparkle and pizazz to a roomscape is what you’re after then you can’t go wrong with the likes of Glass & Stone Mix or Hong Kong Glass.
Installing Mosaics
At first glance, mosaics might seem a right pain in the posterior to install, but they’re really not. A common misconception is that you have to painstakingly grout around each mosaic piece but this isn’t the case at all. Mosaics come in tile-like square panels held together with a fabric mesh that are fixed to walls and floors in the same way as you would ceramic or porcelain tiles (more about adhesives later).
They can be cut using scissors into any shape to fit the space in which you’re installing them and once they’re down, the grout is liberally applied to fill the gaps in between each piece and then wiped off with a damp sponge, just as you would with larger tiles! Instructions on how to install mosaics on walls and floors can be found later on in this guide.
Mosaic Colours & Types
Our mosaic selection knocks most other tile retailers’ into a cocked hat and you’d be here all day even if we only tell you about the most popular ones (hey, a lot of people like a lot of our tiles). However, we wouldn’t be doing ourselves justice if we didn’t let you know about a few absolute corkers that will look great in bathrooms, kitchens, walls and floors, no matter what your personal design style.
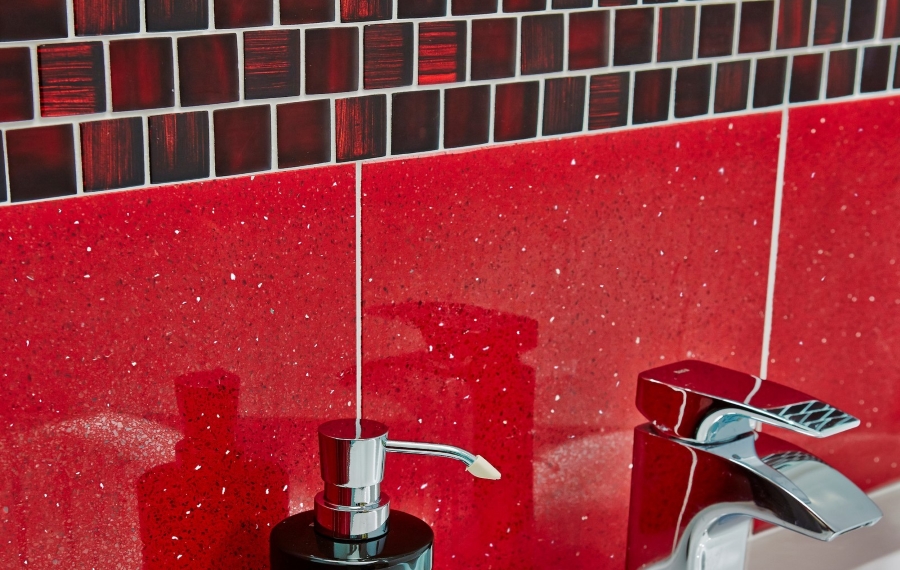
The 155 types of mosaic we stock cover glass, natural stone, glass and stone mix, travertine and even natural stone, so you won’t struggle when it comes to choosing a mosaic to accent your own personal style. Our dazzling Hammered Pink Glass Mosaics are a perennial favourite and are ideal for stamping a bit of glitz to a bathroom floor and/or wall, whereas our Diesel Brick Glass Mosaic bring an array of tantalising tinctures that evoke that petrol emotion. Those are but two you might want to check out, but if you want to get the lowdown on the latest and greatest mosaic styles, point your browser in the direction of our handy Mesmerising Mosaics feature.
Visualiser
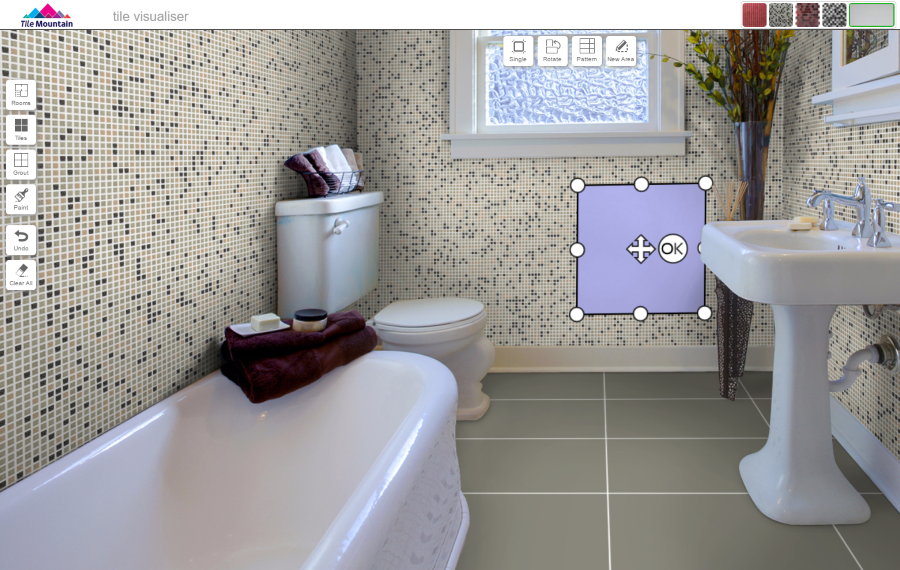
Our Tile Visualiser tool has been created to help decide on colours and combinations, so please do give it a try. Pick from hundreds of tile options, room-sets and even grout colours to create your dream room!
Mosaic Sizes
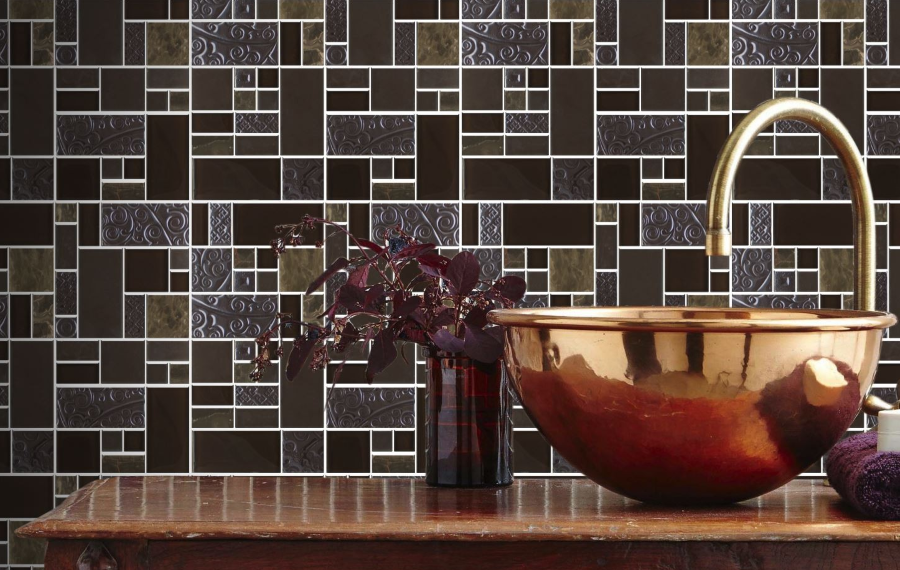
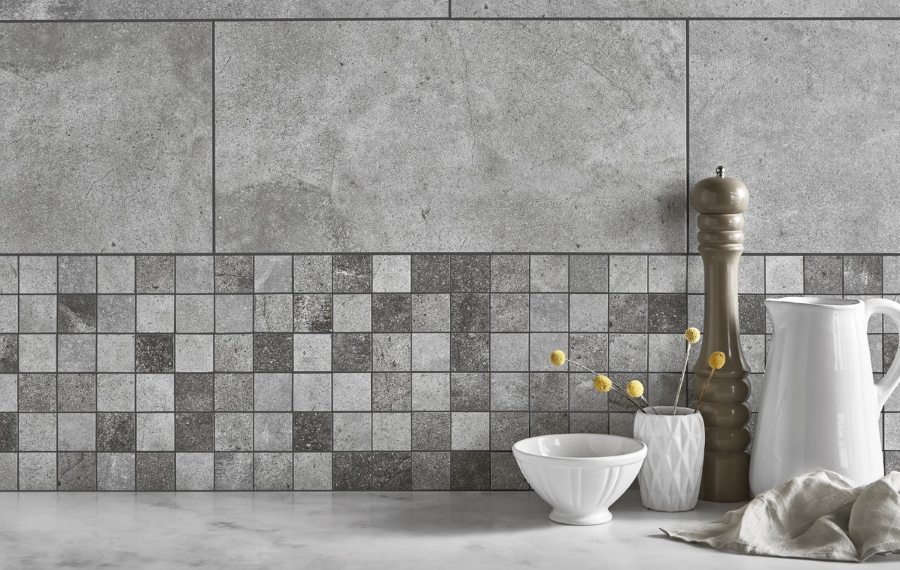
Mosaic sheets are, by and large, 300 x 300 in size and come in a square tile-lie format. The number and size of the chips (the small pieces of tile that make up the mosaic) can wildly differ though. For example, glass mosaics such as Alaska Glass Mosaics generally feature uniform square chips around 23mm sq or 48mm sq, whereas something like Nice Stoneglass Mix Mosaics sport almost modular-like chips in an array of sizes, all within the one tile.
How To Choose High-Quality Mosaics
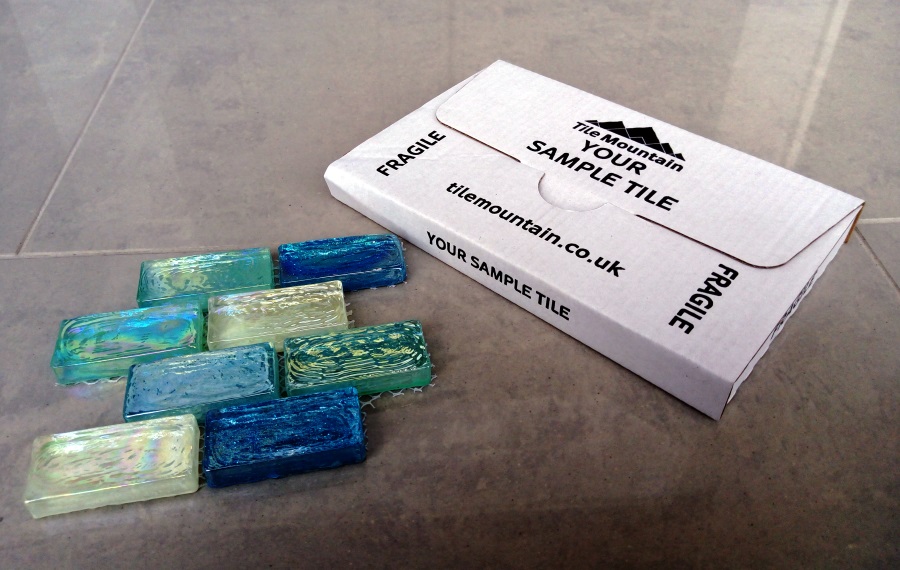
The fact that our vast range of mosaics are inexpensive does not necessarily mean they are low quality. Prices vary considerably from the high street where some retailers sell this type of tile at nearly double the price of those sold by online retailers. The best way to know which tile is worth the price is by getting samples of tiles to compare their quality. When you receive your samples, the finish should not have marking, dimples, scratches or imperfections on the face, and if you’ve purchased solid colour mosaics, those colours should be clean and crisp and free from fading.
Using Grout with Mosaics
As you’ll have gathered by reading this far – there are a lot of mosaic styles to choose from. But did you know that there are plenty of options when it comes to grout too. Granted, the choice of colours is not as extensive as the sheer number of mosaics available, but there’s enough to allow you to express your own personal style.
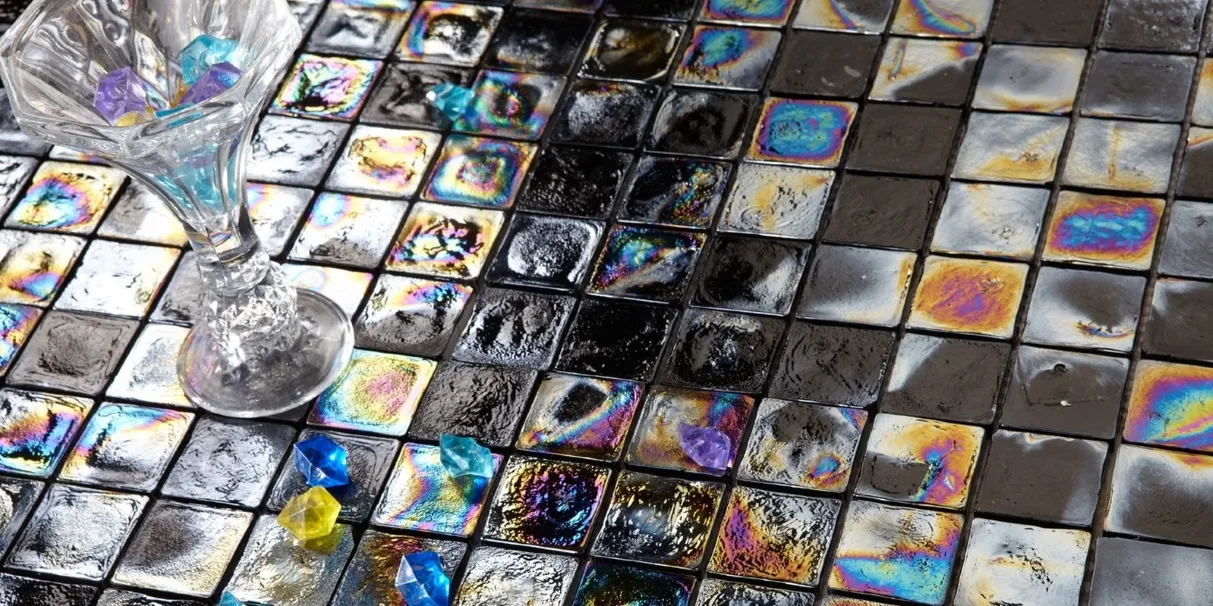
If you’re looking add some detail to a plush wetroom or shower cubicle tiled with something like Toscana and accented using the accompanying mosaic, you can take the sleek aesthetic one step further by teaming these lush grey tiles with and even lusher shade of grey grout. Similarly, if you’ve opted for shimmering iridescent mosaics such as our Hong Kong Silver Mix Glass Mosaics, you could push the boat out and really go for that shimmering style by teaming them with Mapei Kerapoxy Design Grout infused with Mapeglitter Silver.
How To Install Mosaics
Wall Preparation
Preparing your wall to take a massive dose of mosaic action is really not that different to prepping walls for regular tiles. Nearly all mosaics come pre-mounted on a mesh backing and are generally 300 x 300 in size. So, just as you would for ‘normal’ tiles, you’ll need to ensure that the surface is primed and level (if it is render, plywood, plaster, plasterboard, or sand/cement screeds that you’re tiling onto). Applying Mapei Primer G using a roller or brush and leaving to dry for at least two hours before beginning to tile for improved adhesion will help you out no end here!
Floor Preparation
Mosaics come in many different materials including stone, travertine, glass, and marble. Regardless of what the tiles you opt for are made of, you still need to ensure that the floor you’re laying them on is level. Mapei Ultraplan Renovation Screed is a godsend for homes with uneven floors – it’s easily applied by hand or pump, and, finished with a trowel or spiked roller. Once your floor is appropriately levelled (leave the screed to dry for 24 hours) you’re all set to start laying your tiles. The same advice provided for when tiling onto render, plasterboard, plywood walls applies here too – so make sure that you’re primed to prime!
Setting Out
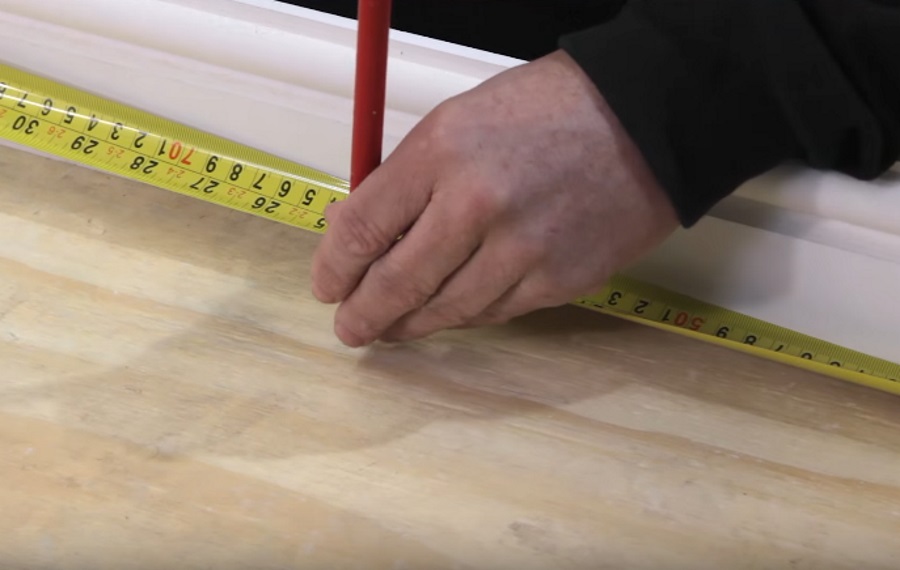
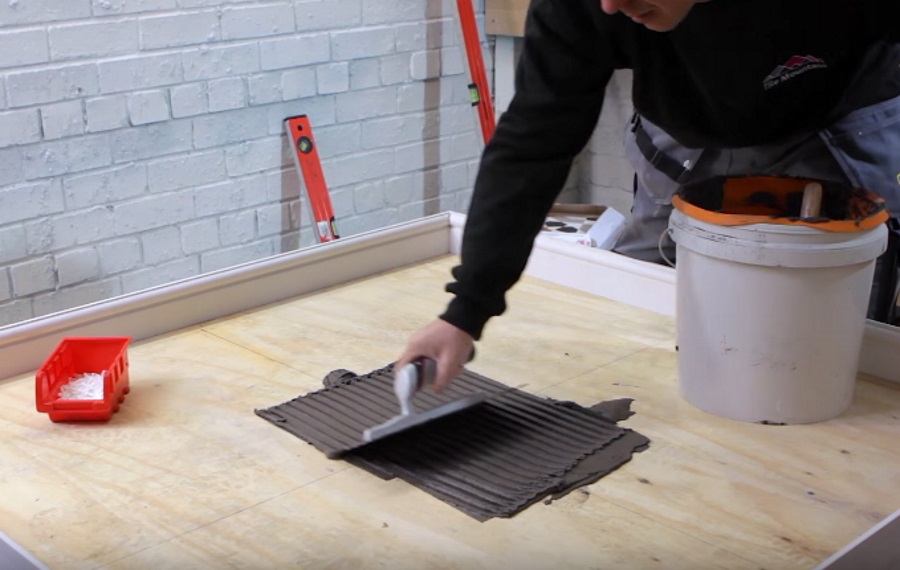
Find the centre of the wall or floor and mark a vertical and horizontal line using a spirit level. Dry lay your mosaic sheets, starting at the centre working your way out towards the end of the wall/floor. If you require the tiles at either end to be cut at approximately the same size, do this by adjusting your vertical reference line.
Fixing
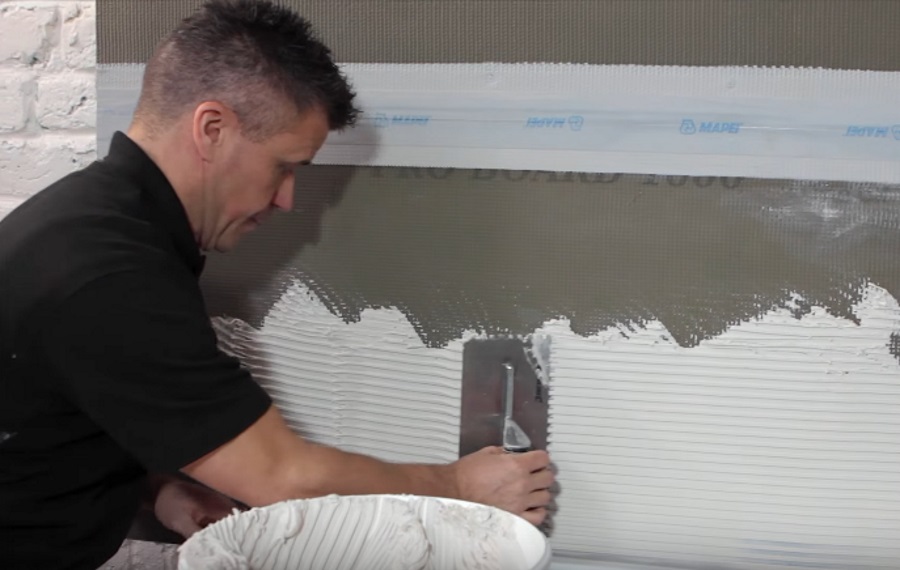
It’s important to be aware that mosaics can be quite fiddly to apply directly to adhesive-coated walls due the mesh backing not being rigid. This means you will often find the ‘tile’ (made up of many mosaic chips) will flop about when being handled. To combat this, we recommend using Mosaic Backer Sheets – inflexible grid-like structures constructed from plastic and which a self-adhesive coating on the back. The mosaic mesh sheets are then attached to the self-adhesive side thus creating a rigid ‘full tile’ which is then much easier to push into the adhesive on walls and floors. Using backer sheets negates the need to push onto each individual mosaic chip and ensures that the pressure you put onto the tile when pushing it into the adhesive is evenly spread and resulting on a flat, smooth surface.
Cutting
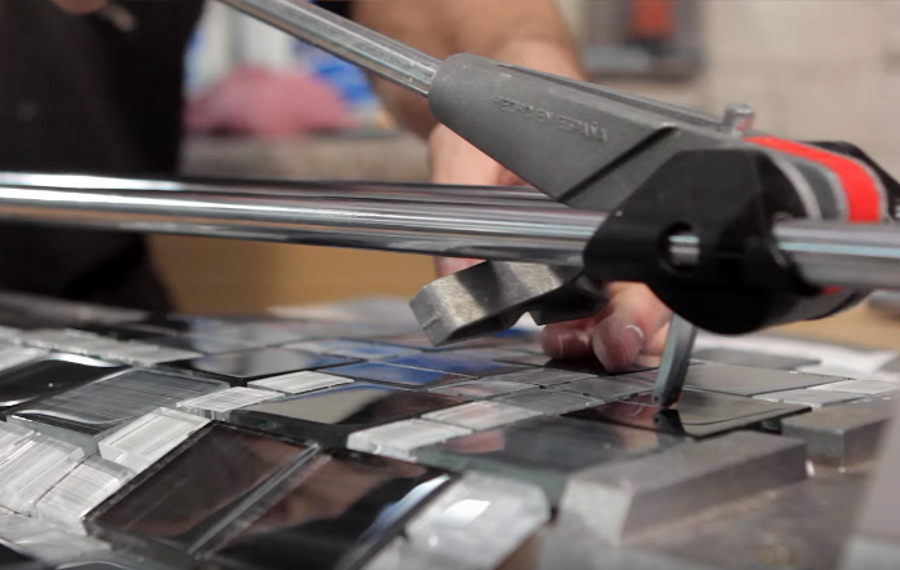
Cutting mosaics is slightly easier than cutting ceramic and porcelain tiles as you can simply cut the mesh backing down to the required size using scissors of a stanley knife. Should you need to cut through one of the actual chips though (such as when resizing to fit in gaps and/or corners) you should use a score and snap tile cutter, just as you would for ‘full’ ceramic tiles.
Grouting
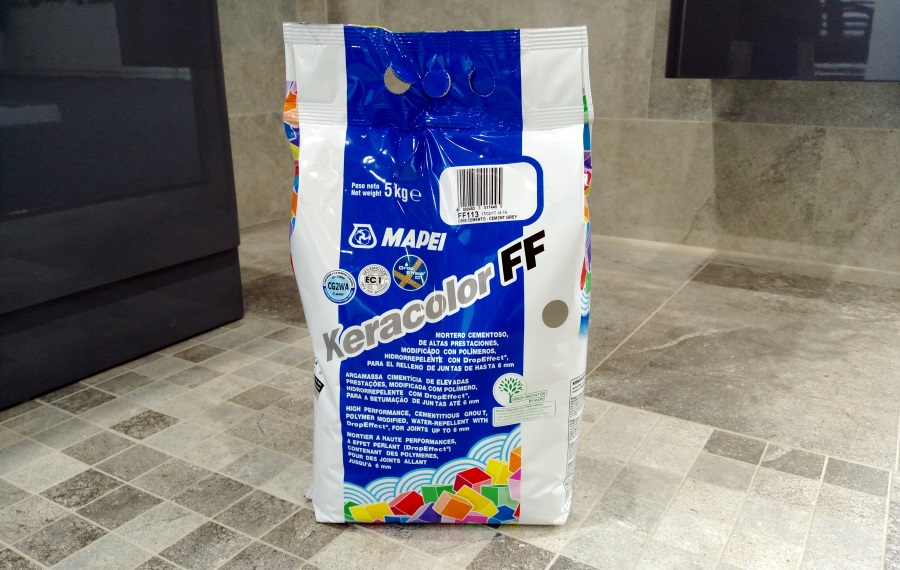
We’d always recommend using Mapei Keracolour grout when installing mosaics as this type of grout is much finer and fits into the smaller cavities much easier. That said, if you want to use the likes of Kerapoxy Design then that’s no problem, it’s just that you’ll find installing using finer grout quicker and simpler.
Finishing
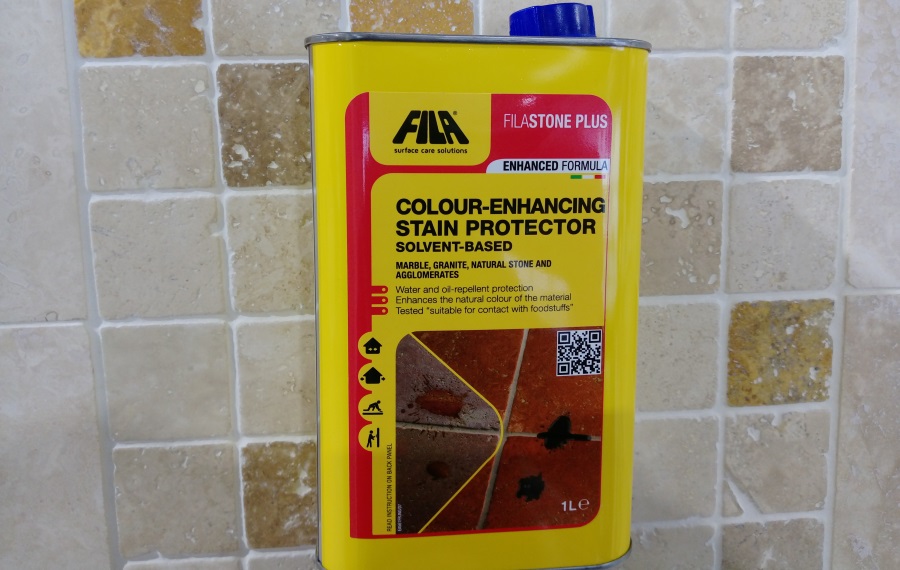
It’s highly unlikely that you’d tile an entire wall or floor using mosaics but in the event of a mosaic sheet being the last tile before a wall edge, worktop counter or shower tray, be sure that you apply a matching silicone seal to prevent cracking from movement. As previously mentioned, mosaics come in all sorts of materials and finishes, most of which do not require any post-installation treatments. The exceptions however are natural stone mosaics such as marble or travertine. These products should be sealed using Fila Stone Plus Colour Enhancing Sealer to keep them looking awesome for years to come.
How To Care for Mosaics
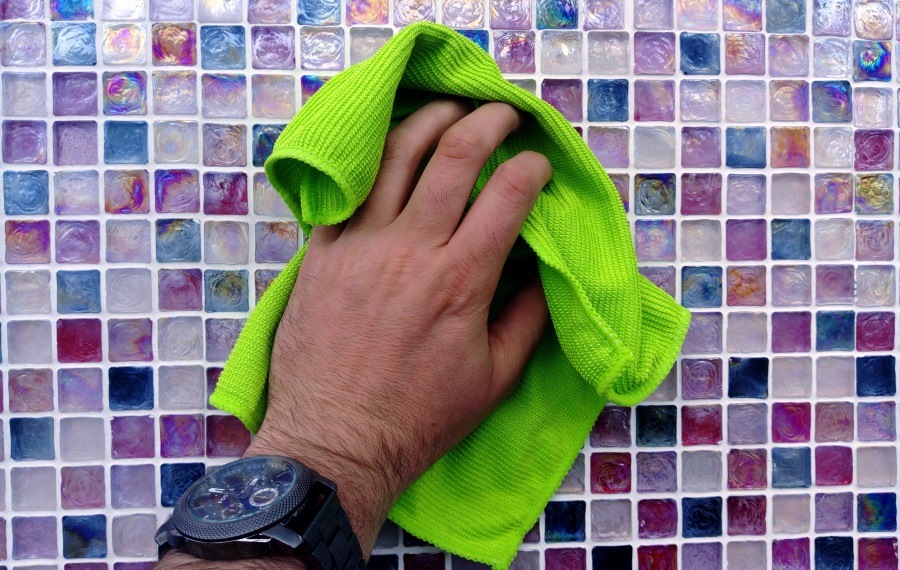
Once installed, mosaics are incredibly easy to care for. Mosaics with gloss or satin finishes, simply require wiping down with a damp cloth and warm water and then dried or buffed with a soft towel or microfibre cloth to keep them looking their best. For mosaics with matt or riven finishes, use the same method but minus the buffing.
If your mosaics have become especially grubby then we recommend a splash of Fila Tile & Stone Cleaner in a bucket of warm water (it’s highly concentrated and so can be diluted to suit) and then wipe down the stained tiles in much the same way as described above. To remove really stubborn stains such as grease or wax then Fila PS87 Stain Remover – it’s great for removing ground in dirt and organic stains.
Here at Tile Mountain, we not only have a huge range of tiles to suit every purpose, we also have a wealth of tiling knowledge gained from over 30 years in the tile industry, (which we’ll do or best to share with you across these very pages).
Whether you’re looking for the perfect tiles for your next home improvement project, are searching for some style inspiration, or simply need a bit of help and advice, you’re in the right place.

