
We’re diving into a topic that may not be the most glamorous, but is crucial in keeping your home sparkling and clean! We’ll be discussing how to clean tiles and grout! Specifically honing in on porcelain and ceramic tiles that most commonly grace our walls and floors. So, whether it’s the aftermath of a cooking session in the kitchen or daily wear and tear in the bathroom, we’re here to help with our guide on how to clean your tiles and grout throughout the home!
Starting with your floor tiles, which are most commonly a porcelain build. Porcelain tiles are typically very durable, which is why so many of us decide to use them across our floors. Check out our variety of beautiful floor tiles if you’re thinking of a refresh!
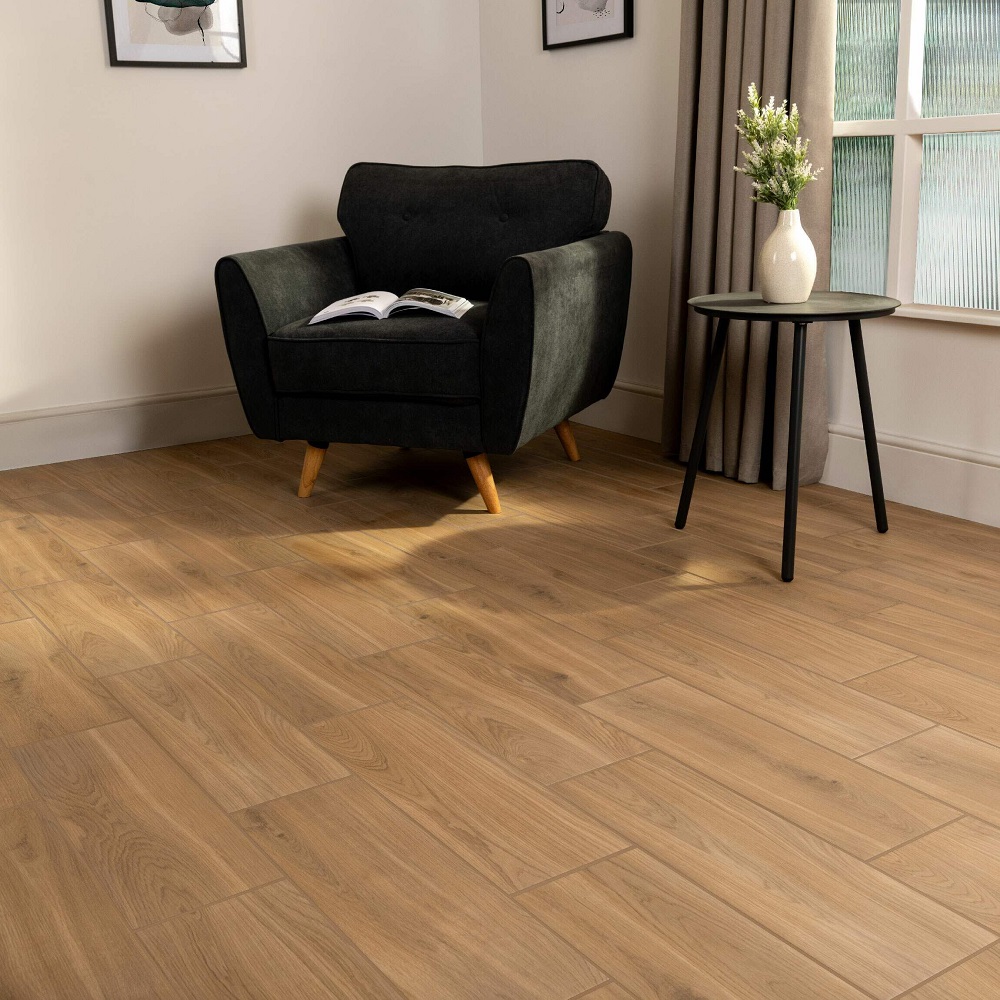
Above, Timber Oak Wood Effect Matt Porcelain Floor Tile
1 – Clear the Space
Remove all your shoes and rugs from the area, and move any furniture that may get in the way of your spring clean! These will only get in the way while you’re in the groove of cleaning!
2 – Dust!
Over time our floors collect a lot of dust and debris, from general day-to-day life. Use a clean brush or vacuum to remove this before you get going with any liquid solutions. This prevents that horrible endless cycle of wet dust that ends up pushed around the area!
3 – Remove the Stubborn Debris
If you’re cleaning the kitchen floor there’s a chance you’ll have stubborn bits of stickiness and debris that the previous step didn’t quite pick up. Don’t worry! grab an old credit card or something similar and scrape the residue away, being careful to not damage any glaze or pattern on the face of your tiles.
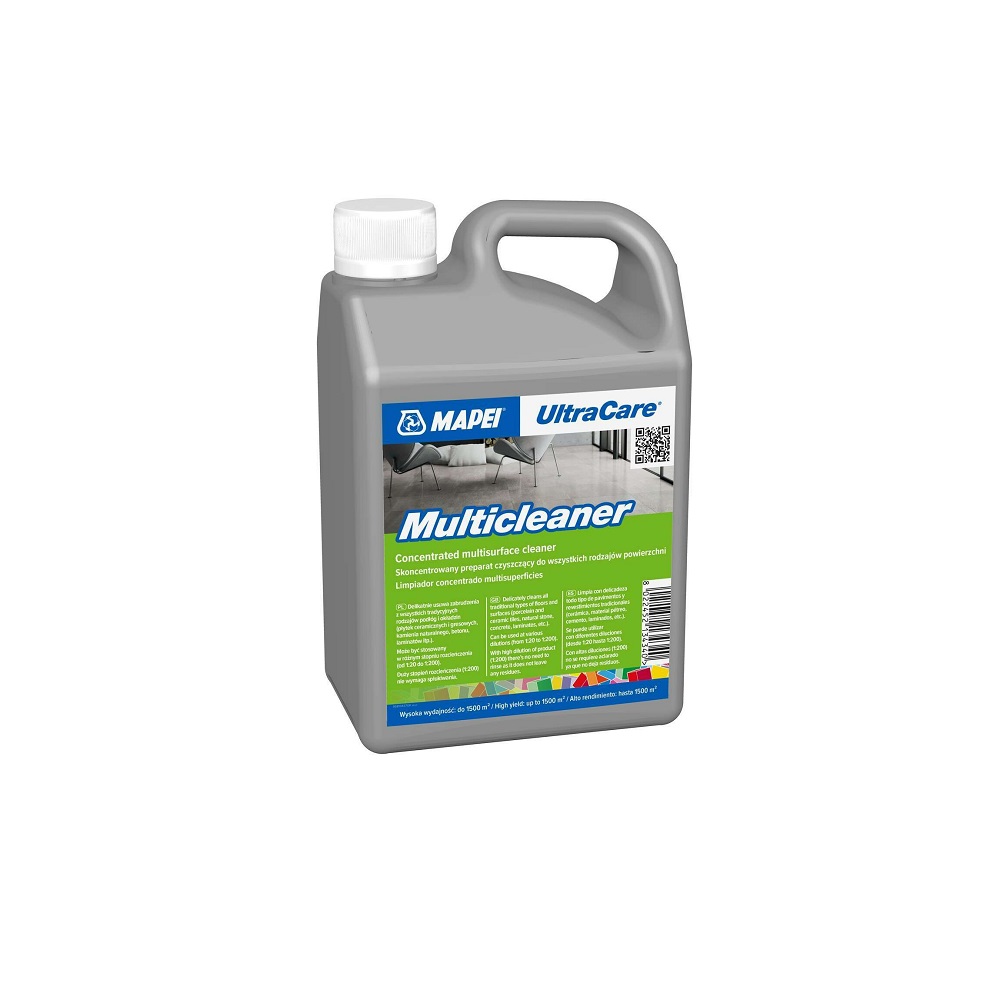
4 – Mix your Solution
For a general clean of your floor tiles, we recommend using the Mapei Ultracare Multi-Cleaner solution. This will need diluting before use, so ensure you follow the instructions on the bottle to do so!
5 – Mop!
Before you get started mopping, ensure your mop is clean and free of dust, otherwise this will defeat the point of cleaning your floors! Dunk the mop into the solution and squeeze out any excess moisture, then wipe across the floor in a circular motion, working from the furthest point in the room to avoid walking on your clean spots!
6 – Time to Dry
Allow time for your floor to dry before walking across it. If you’re in a hurry, dry with a soft clean, dry towel or cloth instead.
Now for your wall tiles. These can be either porcelain or ceramic, and come in a huge variety of shapes, colours, sizes and styles, so there is sure to be something to suit interior design.
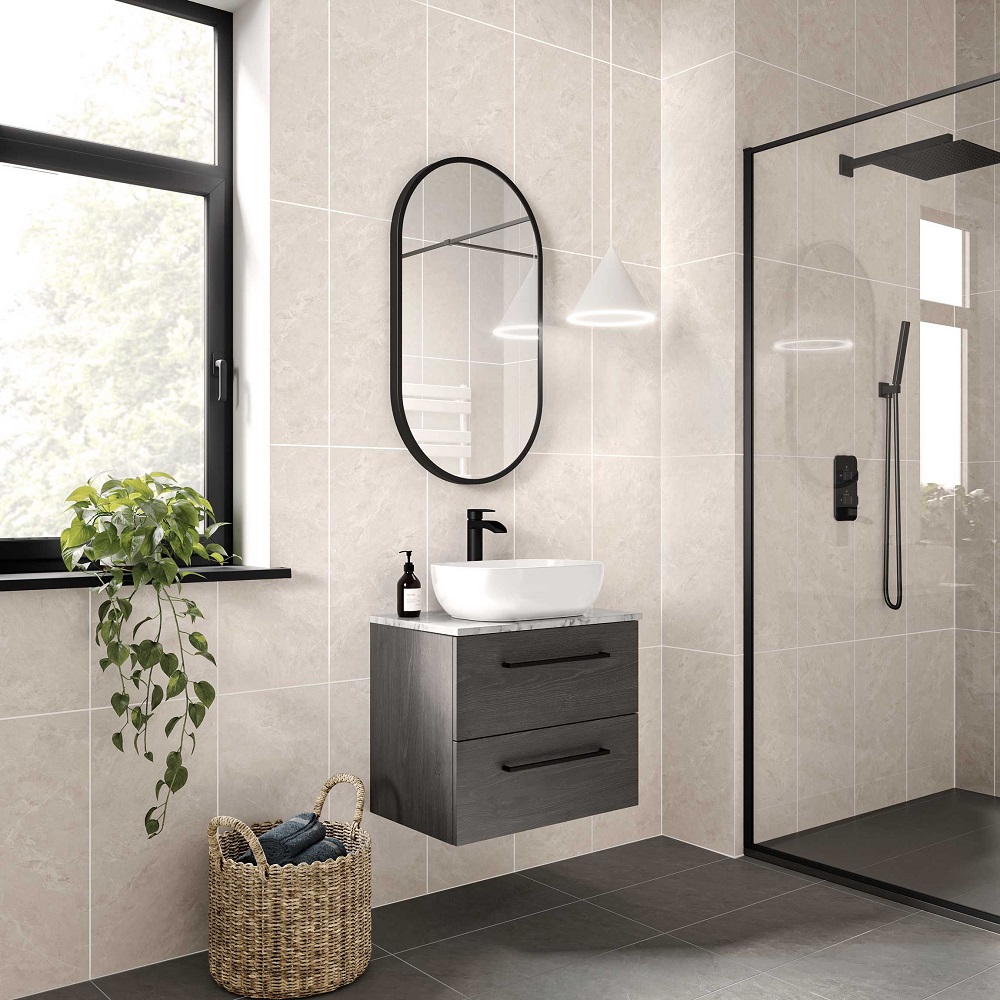
Above, Cloud Beige Marble Effect Gloss Ceramic Wall Tile – Only £10.99!
1 – Clear the area
As with the floor tiles, you’ll need to clear the area you’re looking to clean. Remove any obstacles like wall art, hangings etc. to free up the area.
2 – Dust!
You know need to remove and dust that your walls may have attracted over time. To do this, use a clean, dry microfibre cloth, and just wipe it all away! As with the floor tiles, if you jump straight into using liquid solutions, you’ll end up pushing that horrible wet dusty mess around the area, rather than removing it!
3 – Remove any Stubborn Debris
Using an old credit card or something similar, scrape away any stubborn marks that may be across your wall tiles. If it’s kitchen tiles you’re cleaning, this could be anything from food to sauces, or just general wear and tear from soap and scum within the bathroom. Take care when doing this to ensure you don’t chip away any glaze or patterns that are on the face of your tiles.
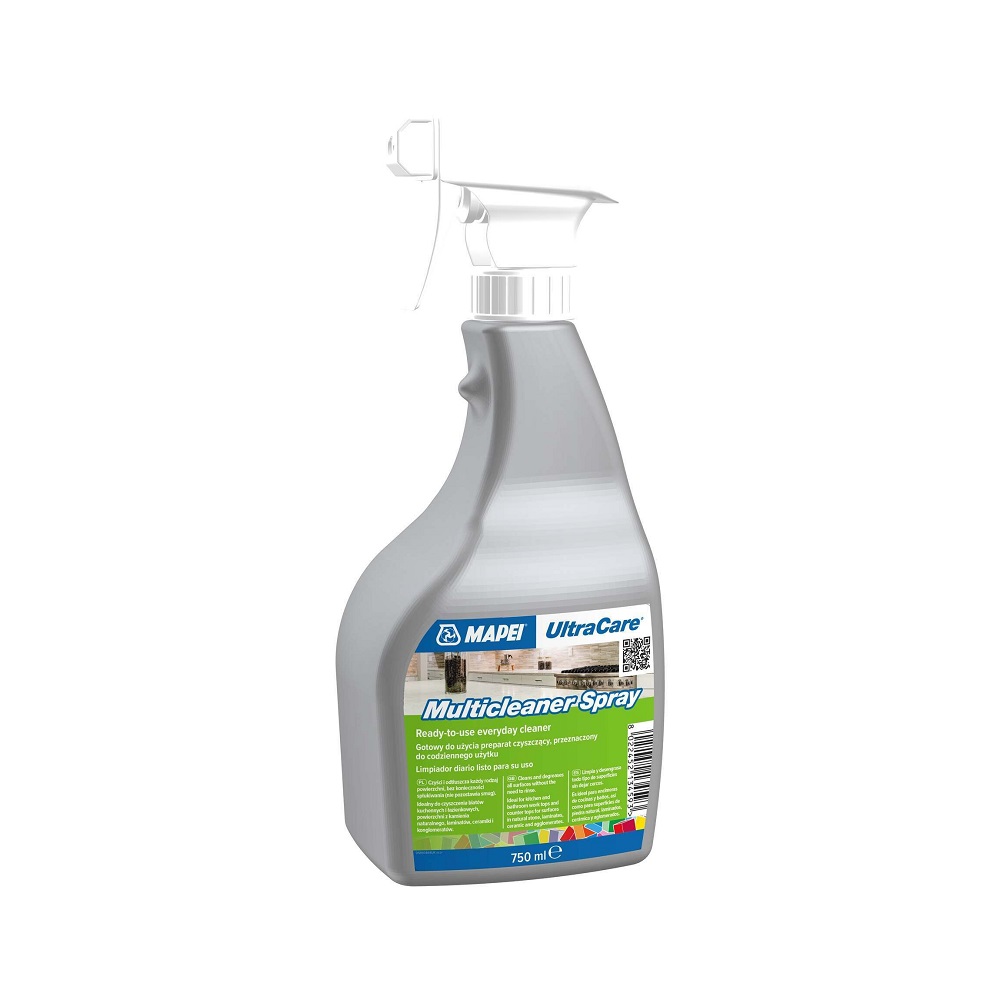
4 – Spray your Wall Tiles
For the walls, instead of mixing your own solution like you need to for your floor tiles, we offer a handy little spray bottle of an already mixed, ready to use solution! The Mapei UltraCare Multi Cleaner Spray is the ideal choice for general cleaning of your wall tiles, and can even be used across tiles that have been pre-sealed without the worry of it damaging the seal. The handy spray bottle ensures you can work in concentrated or larger surface areas, depending on the size of the job!
5 – Wipe!
Ensuring you’re using a clean, soft cloth, wipe your tiles down in circular motions, applying pressure to any stubborn spots!
6 – Time to Dry
Allow your tiles time to dry before replacing any items you previously removed. If you are in a hurry, wipe the tiles dry with a clean, dry cloth and see your tiles sparkle!
For Stubborn Stains –
For extra stubborn stains and marks, we recommend using the LTP Grimex solution. Follow the instructions on the bottle to concentrate on stains across your interior or exterior wall and floor tiles, restoring them to their previous glory!
Preventing Stains –
To prevent stains across your tiles in the future, we would always recommend sealing them upon installation! Tile Mountain recommends using the Mapei Ultracare Stain Protector W Plus. This versatile sealer is suitable for most tile types and provides protection from dirt and stains without ruining the aesthetic of your tiles!
Cleaning your Grout –
To clean your grout, we would recommend using the LTP Grout Stain Remover. This effective stain remover is specially formulated to be used across all types of glazed and unglazed tiles, maintaining their original beauty! Follow the instructions on the bottle to dilute the solution according to the level of staining and work into the stain in your grout. It’ll be gone in no time!
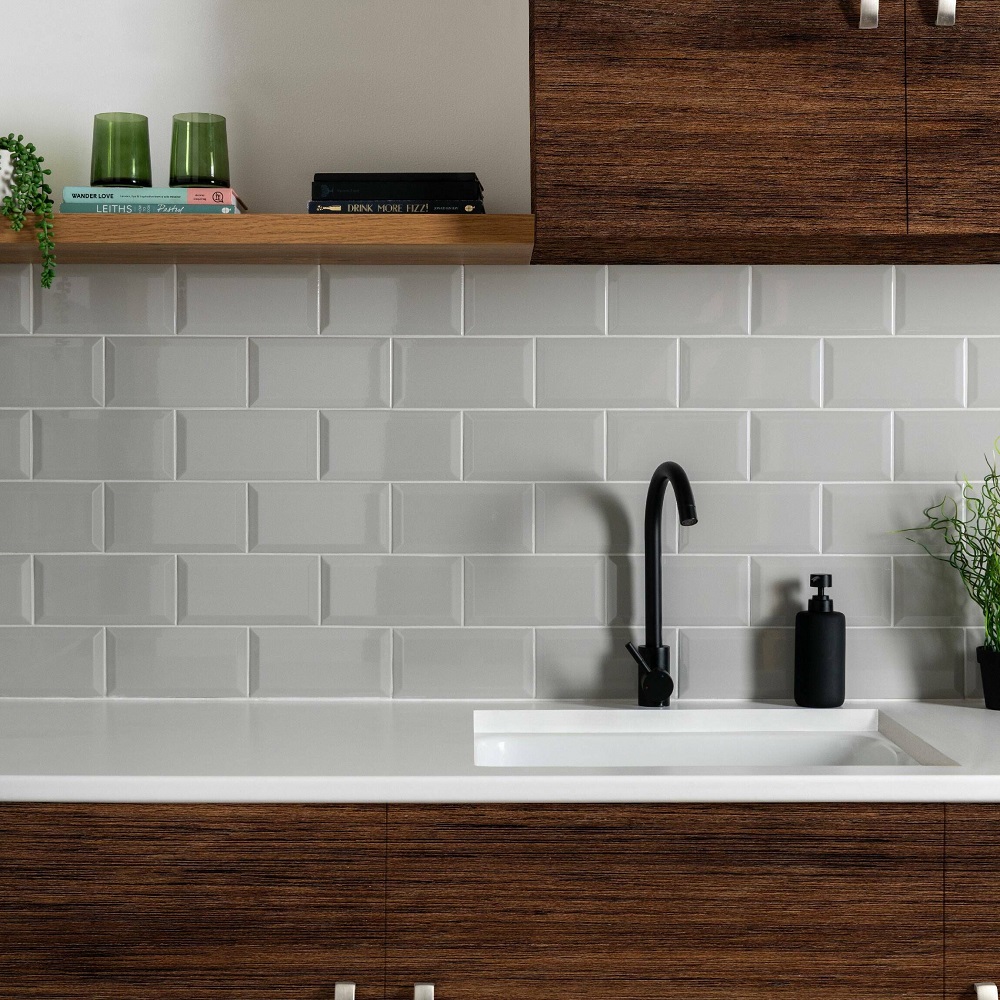
Above, Metro Light Grey Wall Tiles
And there you have it! With these easy tips and tricks under your belt, you’re well on your way to having tiles and grout that not only look fantastically clean but also feel like a breath of fresh air in your home! Don’t forget to tag us in pictures of your perfectly clean tiles over on Instagram, @Tilemountainuk. We love seeing your homes shine!


