If you’re considering embarking upon a new tiling project and have been reading around for tips before you start then you may have seen the term ‘Tile Spacers’ being bandied around. But what exactly are they and why do you need them? Well, if you didn’t know already and want to learn more about what they are and how to use them then read on as we’re about to answers some common questions about these incredibly simple yet ingenious bits of tiling kit.
What Are Tile Spacers?
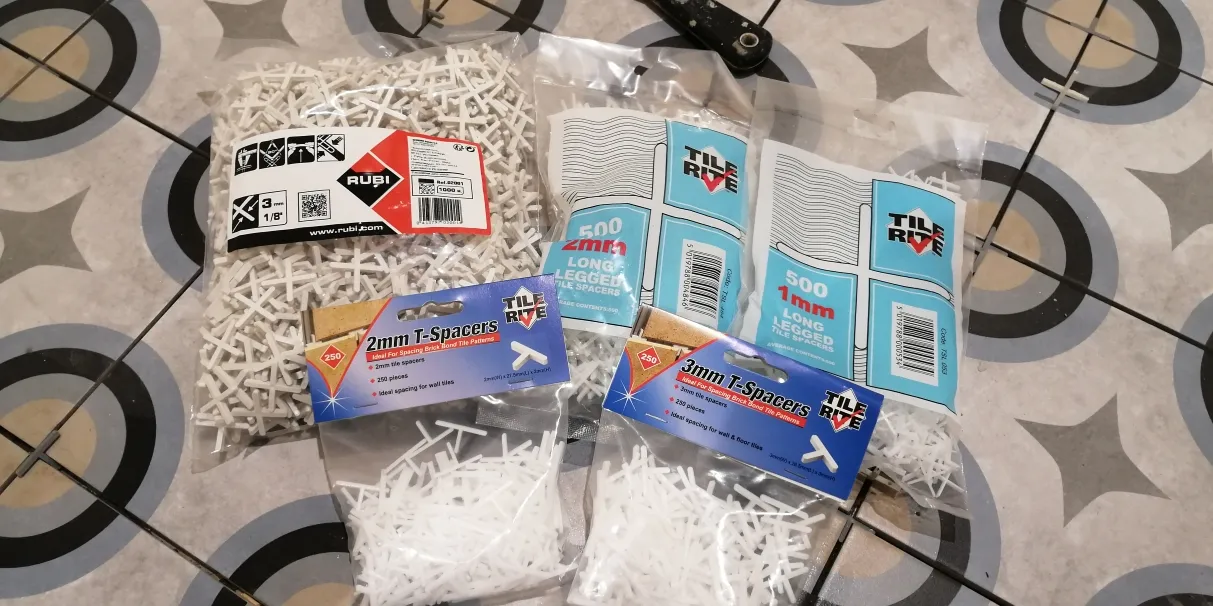
A tiler’s godsend, that’s what. In fuller terms though, they’re small bits of cross or ‘T’ shaped plastic that are placed between tiles when installing them to ensure that the joints between them are of a consistent width. This allows for an even finish when it’s time to grout your tiles. Tile spacers come in different widths usually ranging from 2mm – 6mm and are constructed from a lightweight yet sturdy plastic.
![]()
How Do I Use Tile Spacers?
Once you’ve applied your adhesive and placed the tiles on top of it, simply place spacers at each corner of your tiles and then push the tiles together until the spacer is fully butted up against each corner of each tile. This will ensure an equal gap wherever the tiles meet. You can even do this ahead of even thinking about fixing your tiles with adhesive; using tile spacers when dry laying your tiles allows you to estimate the exact widths of grout joints and makes measuring and cutting tiles more straightforward.
How Many Tile Spacers Do I Need?
Tile spacers are relatively inexpensive but that’s not to say that you should bypass planning out the quantities you’re going to need (nobody likes wasting money, right?). Plus, if you fail to plan and underestimate the number that you require you could end up delaying your project should you have to pop out any buy more. Estimating the quantity of tile spacers for you project is easy – just take the number of tiles you’re using and multiply it by four! It’s always worth getting a little bit extra though to account for breakages and losing them amongst your tiling tools and materials.
![]()
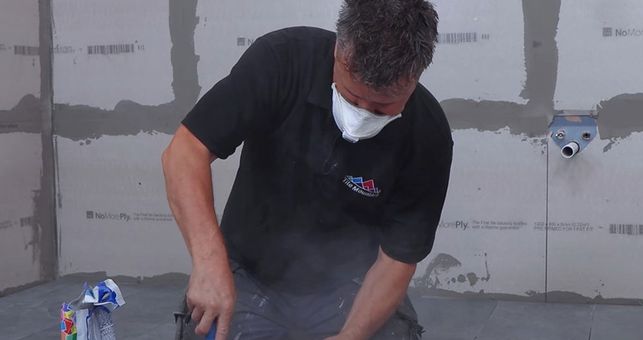
When Should I Remove Tile Spacers?
This can prove to be quite a quandary for the inexperienced tiler – take the spacers out too soon and you risk the tiles slipping and a sub-par finish. Take them out too late and, well, you probably won’t be able to take them out at all as your adhesive will have set. As a general rule, most fast-setting adhesives will be fully cured in around 20-30 minutes, so you should aim to remove any spacers before that period has elapsed. Always check the adhesive manufacturers’ instructions before attempting to remove spacers though. Getting the things out is fairly simple – just flip the spacers out using a chisel or the end of a scaper, give them a rinse and you can use them again next time.
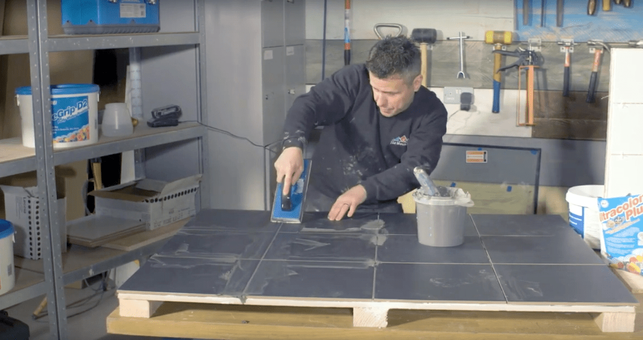
Can I Grout Over Tile Spacers?
This is a big no-no. Leaving tile spacers in situ and then grouting over them can cause you to end up with a substandard result, especially when tiling floors. It may be tempting to simply leave the spacers in place, especially if they don’t protrude above the edge of the tiles. However, whilst the finished job might look fine for a couple of weeks, grouting over spacers will compromise the structural integrity of the grout joint. Over time, you will begin to see small ‘+’ shaped cracks appearing over each embedded spacer as the thinness of the grout on top of the spacers will cause it to succumb to wear and tear where the grout is weaker.
![]()
Can I Use Tile Spacers With Tile Cuts?
Be very careful when using tile spacers on tiles that have been cut as if the cut isn’t 100% accurate you could end up throwing your whole tiling project off-kilter. Nobody wants wonky and disproportionately spaced grout joints so make sure that your cuts are as precise as they can be by using a high-quality tile cutter. If you’ve taken the time to plan your tile layout correctly however, cuts should be at the ends of the room or ends of the wall, meaning that they’re less noticeable and providing a more balanced look to the tiled area.
Can Tile Spacers Be Used With All Types of Tiles?
Yep. Tile spacers can be used with wall tiles, floor tiles, ceramic tiles, porcelain tiles, natural stone tiles – the lot. You might find it slightly more fiddly to use them with hexagonal tiles if the edges are not at right angles but there are tile spacers available that have legs that are set at different angles (they look a bit like old-school aeroplane propellers). Similarly, regular tile spacers might not do the trick if you’re installing 20mm thick outdoor slab tiles as the depth of the tiles means that the spacers kind of get lost. That said, there are many alternative ways to install outdoor slab tiles – check out our extensive guide to find out more.
If you have any further questions though then feel free to give our friendly customer services guys a call on 01782 223822 and they’ll be happy to help out with any queries. And don’t forget, there’s loads of this sort of help and advice content in our Help Centre too!
You might also like these posts on the Tile Mountain blog…
https://wp.tilemountain.co.uk/best-adhesive-and-grout-for-outdoor-tiles/
Here at Tile Mountain, we not only have a huge range of tiles to suit every purpose, we also have a wealth of tiling knowledge gained from over 30 years in the tile industry, (which we’ll do or best to share with you across these very pages).
Whether you’re looking for the perfect tiles for your next home improvement project, are searching for some style inspiration, or simply need a bit of help and advice, you’re in the right place.