Adding silicon sealant around a bath or shower tray provides a professional finish to your project and also performs the important function of keeping moisture from permeating into the installation and causing tiles to become loose. But what when that silicone perishes, becomes discoloured, and damaged? It’s imperative to replace it, that’s what!
Undertaking this task is not as difficult as you might think however, so if you have any old silicone that needs replacing then watch the video above in which our resident DIY expert Craig Phillips shows you how to do just that…

Tools Required
- Silicone Sealant
- Caulk Gun
- Scraper
- Trimming Knife
- Masking Tape
- Dustpan & Brush
- Silicone Wipes
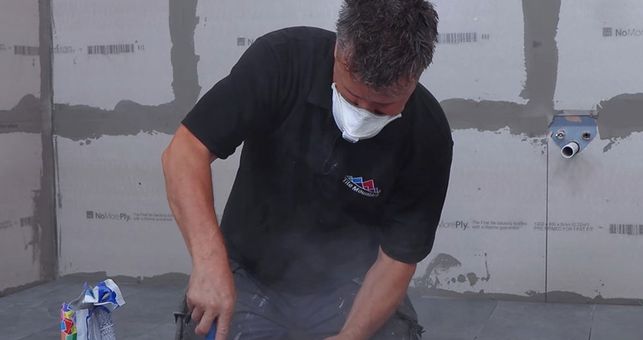
How To Remove The Old or Damaged Silicone

Take your trimming knife and place the blade so it’s flat against the floor where it meets the wall then gently press it into the seal and firmly move the blade along the length of the seal to cut through it. If removing silicone sealant from between tiles and plastic shower trays or baths, be careful not to damage the plastic with the blade.

Next, ensure that any residual silicone sealant is completely removed from the two conjoined surfaces using your scraper, again taking care not to damage any tiles or sanitaryware.

Finally, sweep up any fragments of old, discarded silicone using your dustpan and brush and ensure that the entire area is free from debris in readiness for applying the new sealant.
How To Apply New Sealant

First, load your tube of silicone sealant into the caulk gun and tighten the mechanism so that the stopper is pushed up against the inside of the tube at the bottom. Next, use your trimming knife to slice the cap off the tube of silicone to allow the sealant to flow through it when pressure is exerted on the caulk gun trigger.

Take some masking tape and run a line of the tape along both the floor (or bath/shower tray) and the wall, making sure around 5mm between the edge of the tape and the gap you will be filling with fresh silicone. This will control the proportions of the silicone seal you apply and make it easier to get a straight, clean application.

Next, place the nozzle of the silicone sealant tube right into the gap that you need to fill, slowly squeezing the caulk gun trigger until the sealant starts coming out of the nozzle, all the while maintaining a steady movement across the length of the joint to fill the gap.

Once your first joint is complete, use a silicone wipe to clean any bacteria from your finger before pressing your finger into the excess sealant and running it along to smooth the sealant out.

Next, hold your tube of sealant firmly and then using your trimming knife, cut the nozzle at an angle so that the opening is a little wider and then repeat step three in the process to add a second line of sealant.

Again, use your finger to remove any excess across the entire length of the joint and once complete remove the two strips of masking tape (whilst the silicone is still wet!) to create a straight edge to your sealant joint.
These steps should see your removal and replacement of old silicone go smoothly, but if you need any further advice you can always give our friendly and helpful customer services guys a call on 01782 223822 or use the LiveChat function on our website and they’ll be happy to help where they can.
Here at Tile Mountain, we not only have a huge range of tiles to suit every purpose, we also have a wealth of tiling knowledge gained from over 30 years in the tile industry, (which we’ll do or best to share with you across these very pages).
Whether you’re looking for the perfect tiles for your next home improvement project, are searching for some style inspiration, or simply need a bit of help and advice, you’re in the right place.