The History of Quartz Tiles
Unlike metro tiles and mosaics, quartz tiles don’t have such a long and esteemed history, being as they are a more recent invention. Whilst quartz has been used in tile and glass manufacture for hundreds of years, the ‘quartz tile’ as we know it has only been a commercially available product since the 1960s. Production techniques used in the manufacture of such products have only recently evolved to a point whereby quartz tiles can be produced on a large scale without them being prohibitively expensive for consumers.
Whereas previously these type of tile products were used predominantly in commercial projects (think the lavish overblown public areas in places like Las Vegas casinos and the business class lounges of certain international airports), they really came into their own in the 80s. With the glitz and glam of this opulent decade in full flow, city boys looked to transport the decor they saw in the nightspots they frequented in to their own plush pads. A similar trend happened across the Atlantic and soon, these type of wall and floor coverings became associated with a certain type of affluence and social standing and became visual shorthand for ‘Yuppie’.

As the 1990s hurtled into view the negative connotations dissipated and quartz tiles became more commonly found in purpose-built residences, hotels and public spaces. Towards the end of the decade, premium materials such as granite became increasingly popular in domestic settings and homeowners looked to quartz tiles to emulate the swanky bars and hotels they had stayed in themselves, much in the same way as the city boys had done 20 years prior.
Why Use Quartz Tiles?
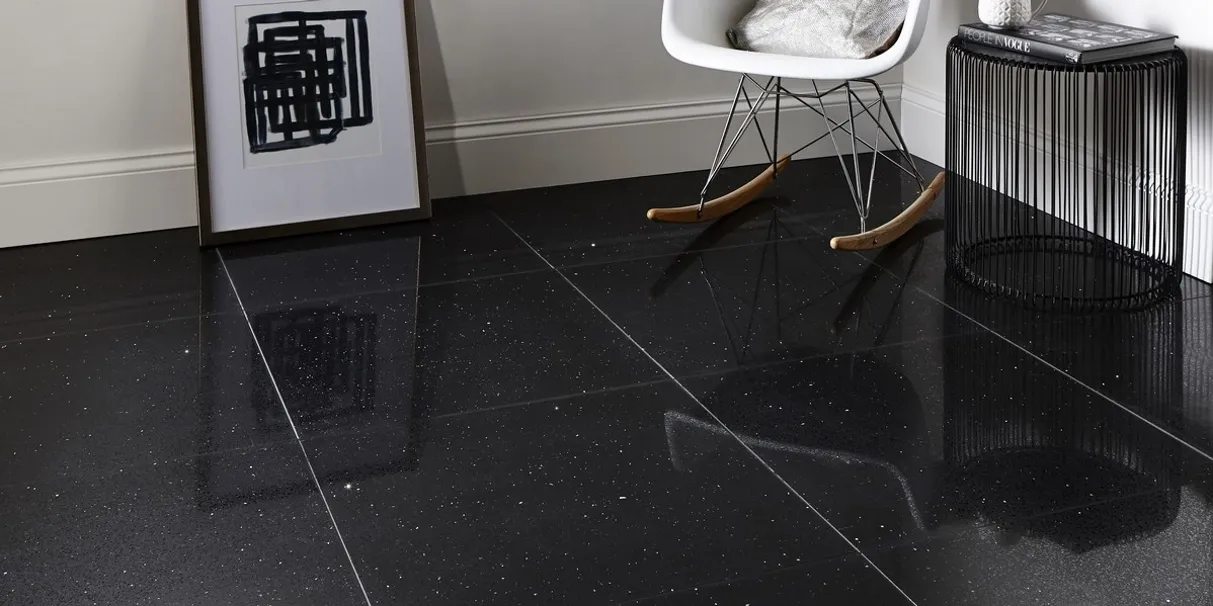
You only have to take a sideways glance at any product from our Quartz Stone range to know that theses tiles represent the pinnacle of shimmering glitz and glamour. Exuding sparkly wonderment from every last millimetre, these premium quality tiles are guaranteed to bring some pizzazz to any wall or floor on to which they’re installed. Their high-gloss finish not only looks great and reflects light around the room but also means they’re extremely easy to clean once they’re down.
Quartz tiles are also incredibly durable thanks to the unique way in which they’re constructed. Unlike standard ‘fired’ porcelain and ceramic tiles (which are essentially made from pressed sand that is then subjected to the intense heat of a kiln), quartz tiles comprise of a sort of ‘cake mix’ of materials comprising resin, quartz pieces, and crushed mirror pieces. When these are combined they result in an incredibly hardwearing end product, thanks mainly to the 93% quartz pieces contained within – that’s the optimum ratio for durability dontcha know.

Installing Quartz Tiles
Be it a bathroom remodel, overhaul of a lounge or kitchen renovation, our quartz stone tiles will undoubtedly bring some sparkly to their surroundings. As with natural stone effect tiles, it’s advisable to match the color of the adhesive you chose to the tiles to avoid a very slim chance of it permeating through and affecting the surface colour. It’s also important to remember that quartz tiles can only be installed using a latex-based adhesive i.e. an adhesive that can be mixed with a polymeric additive such as Mapei Latex Plus. Quartz tiles must be adhered in this way as the underside can be permeated by moisture, causing the tiles to warp meaning that a water-mixed adhesive is off limits.
In terms of where you put them, well, the only limit is your imagination really. The 300 x 600mm variants within the Quartz Stone range are particularly apt for creating an unbroken wall to floor aesthetic whereas the larger 600 x 600mm tiles are great for maintaining a continuous aesthetic where lounges spill into dining areas. If you’re a big fan of shiny things then you can easily accent the twinkling tiles by opting for a matching glitter grout, but more on this later.

Quartz Tile Colours & Types
The luxurious Quartz Stone range comes in five colourways; Red, Cream, Grey, Midnight Black, and Snow White. The two sizes variants of 300 x 300mm and 600x600mm are suitable for use on both walls and floors. Matching mosaics are also available in these colours and are all 305 x 305mm in size.

Visualiser
Our Tile Visualiser tool has been created to help decide on colours and combinations, so please do give it a try. Pick from hundreds of tile options, room-sets and even grout colours to create your dream room!

Quartz Tile Sizes
Our range of quartz tiles are suitable for both walls and floors and come in 300 x 300mm, 300 x 600mm, and 600 x 600mm size variants. We also stock an accompanying mosaic for each of the five colour variants – these are 305 x 305mm. Point your browsers towards our Quartz Stone category to see the full range in its full glory!

How To Choose High-Quality Quartz Tiles
The fact that our vast range of quartz tiles are relatively inexpensive does not necessarily mean they are low quality. Prices vary considerably from the high street where some retailers sell this type of tile at nearly double the price of those sold by online retailers. The best way to know which tile is worth the price is by getting samples of the tiles to compare their quality. When you receive your samples, the finish should not have marking, dimples, scratches, or imperfections on the surface. The base colour of the tiles you’ve sampled should be clean and crisp and free from fading and the quartz pieces embedded within should be more or less equally distributed across the tile (you will need a full tile sample to determine this however).

Using Grout with Quartz Tiles
As mentioned earlier on in this article, there really is some fun to be had when choosing grout to complement your quartz tiles. Top notch grout and adhesive guys, Mapei, have a range of lovely glitter that can be combined with their awesome Kerapoxy Design product to create eye-catching, sparkling grout joints. It’s really simple to do too – just watch the video below and our Craig will show you how.
[vsw id=”WzWlwFMqrog” source=”youtube” width=”425″ height=”344″ autoplay=”no”]
We’d recommend teaming Kerapoxy Pearl Grey with MapeGlitter Silver to really bring out the shine in those crushed mirror pieces in Midnight Black Quartz Stone tiles. To create an equally stunning design Kerapoxy Design Translucent can be married with MapeGlitter Bronze/Gold or MapeGlitter Red to produce a dazzling effect when used with Red Quartz Stone tiles.
How To Install Quartz Tiles
Wall Preparation
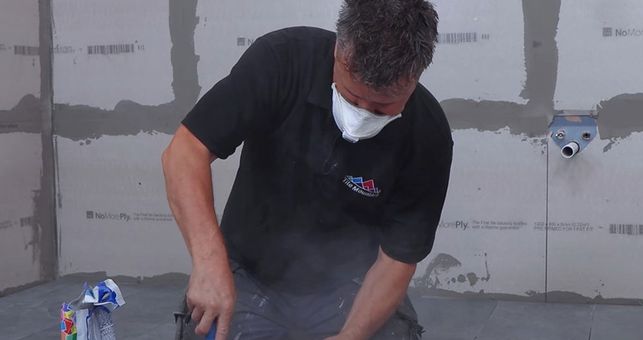
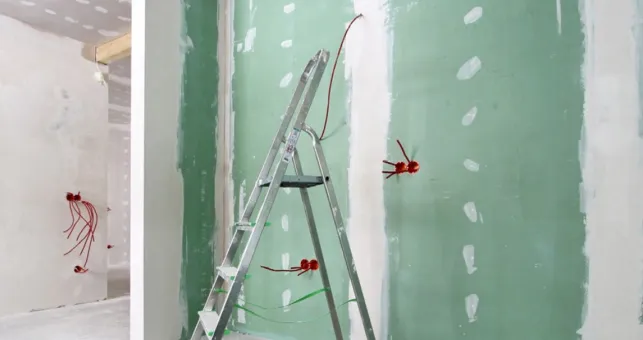
Before even attempting to install your shiny new quartz tiles you’ll need to ensure that the surface is primed and level (if it is render, plywood, plaster, plasterboard, or sand/cement screeds that you’re tiling onto). Applying Mapei Primer G using a roller or brush and leaving to dry for at least two hours before beginning to tile for improved adhesion will help you out no end here!

Floor Preparation
Just as with ceramic and porcelain tile installation, it’s imperative that the surface you’re tiling on to is even ahead of you beginning the job. Mapei Ultraplan Renovation Screed is a godsend for homes with uneven floors – it’s easily applied by hand or pump, and, finished with a trowel or spiked roller. Once your floor is appropriately levelled (leave the screed to dry for 24 hours) you’re all set to start laying your tiles. The same advice provided for when tiling onto render, plasterboard, plywood walls applies here too – so make sure that you’re primed to prime!

Setting Out
Find the centre of the wall or floor and mark a vertical and horizontal line using a spirit level. Dry lay your quartz tiles, starting at the centre working your way out towards the end of the wall/floor. If you require the tiles at either end to be cut at approximately the same size, do this by adjusting your vertical reference line.

Fixing
Starting at your middle reference point, apply your tile adhesive to an area of approximately 1m, two at a time using a notched trowel (6mm notch) at a 45° angle to the wall. Firmly press the tile into the adhesive using a slight twisting motion. If you are fixing tiles in a brick pattern, T-Spacers are available for this purpose. Use the required sized spacer between each tile on all sides to give consistent sized grout lines.
It is important to note that when installing quartz tiles, you must use a non-water-based adhesive. This is because quartz tiles are susceptible to moisture damage from the underside with both the quartz pieces and resin-based construction being effected. To combat this, you should use a fast-setting adhesive such as Mapei Keraquick mixed with Mapei Latex Plus instead of water, using a ration of 1:1. As with the installation of ‘standard’ tiles, it is a good idea to colour-match the adhesive with the quartz tiles you have chosen i.e. team a light coloured tile with a light coloured adhesive such Mapei Keraquick White.

Cutting
Most quartz tiles are quite thick, meaning that it’d be quite difficult (although not impossible) to cut them using a score and snap cutter. To ensure accuracy we’d recommend using an electric diamond wheel tile cutter, especially when taking on irregular cuts such as around plug sockets, taps, pipes etc.

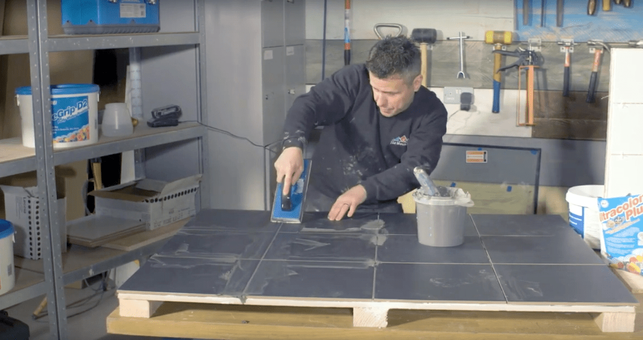
Grouting
Allow your tile adhesive a full 24 hours to cure before grouting. Mix the grout as per manufacturer’s instructions to form an even paste. Apply using a rubber grout float or squeegee at a 45° angle to the wall or floor making sure to press the grout firmly into the gaps. Wipe any excess grout from the face of the tile using a damp sponge, being careful not to remove the grout from the grout line. After approximately 30 minutes, buff the tiles with a soft dry cloth to remove any grout haze. This can be repeated until the face of the tiles are clean.

Finishing
Quartz Stone tiles do require post-installation sealing. We recommend using Fila MP90 Polished Porcelain & Stone Sealer to keep them at their sparkling best throughout the life of the tiles.

How To Care for Quartz Tiles
Once installed, quartz tiles are incredibly easy to care for as most (if not all) feature gloss finishes. Cleaning is simple and merely entails wiping the tiles down with a damp cloth and warm water and then drying and buffing with a soft towel or microfibre cloth to keep them looking their best.
If your quartz tiles get a bit too grubby then we recommend a splash of Fila Tile & Stone Cleaner in a bucket of warm water (it’s highly concentrated and so can be diluted to suit) and then wiping down the stained tiles in much the same way as described above.
Here at Tile Mountain, we not only have a huge range of tiles to suit every purpose, we also have a wealth of tiling knowledge gained from over 30 years in the tile industry, (which we’ll do or best to share with you across these very pages).
Whether you’re looking for the perfect tiles for your next home improvement project, are searching for some style inspiration, or simply need a bit of help and advice, you’re in the right place.