
Buying tile online can be tricky, especially if you’re a touchy-feely type who wants to get up close and personal with the tiles before making a purchase. Here at Tile Mountain we totally get this (we’re touchy-feely types too!), which is why our free tile sample service allows you to order up to free totally free cut samples or unlimited paid-for full size samples. However, couple of cuts or even full-sized porcelain tiles might not be enough for some to fully visualise how a room will look adorned with new tiles. If that sounds like you then fret not as we have developed a handy tool we like to call the Visualiser that helps you get a feel for how a wall or floor will look in all manner of roomscapes, all via the magic of technology. Here’s how you use it…
Step 1: Go To The Tile Visualiser Tool
It’s all very well us extolling the virtues of our tile-tastic interior design tool if you don’t know how to get to it, is it? Well, it’s here, but it can also be accessed via the product page of the tile you’re looking at:

Step 2: Click To Open & Choose Your Room
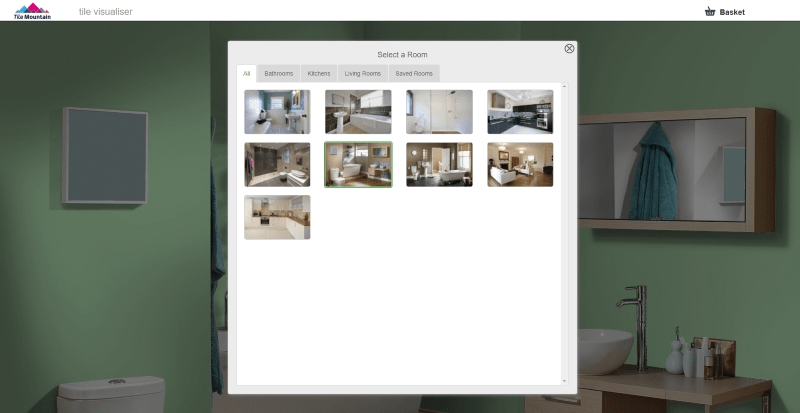
Once you’re on the page of the tile you want to take a closer look at, click the ‘Visualise These Tiles’ button and you’ll be whisked away to the visualiser itself. The first screen you’ll see is the ‘Select A Room’ page. There are nine different roomscapes to choose from including kitchen tiles, just click on the one that best represents the room you’re going to be tiling
Step 3: Choose the Tiles You Want To See
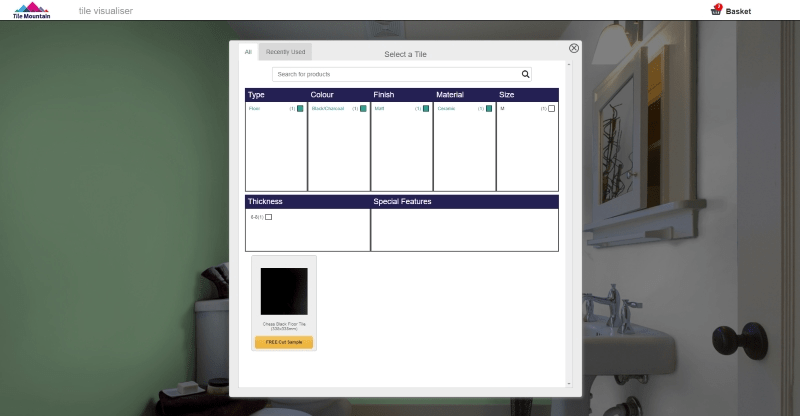
The next screen will invite you to choose the tile (or indeed tiles) that you’d like to see in the room you’ve selected. You can refine by type, colour, finish, material, size, and even thickness or special features. Once you’ve done that, just click the tile(s) you want to see.
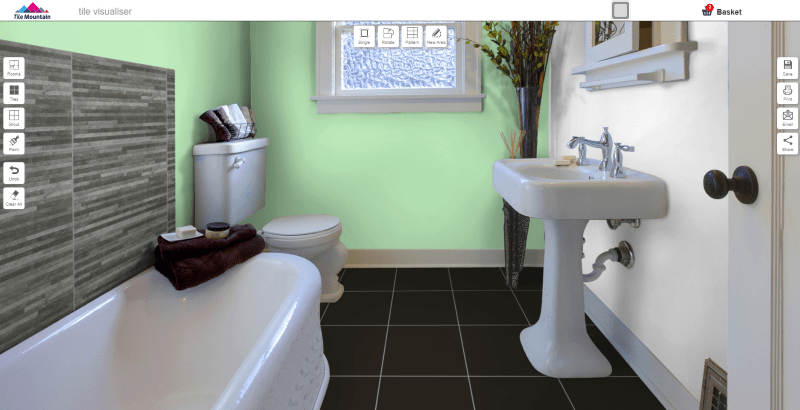
Step 4: Get Decorating
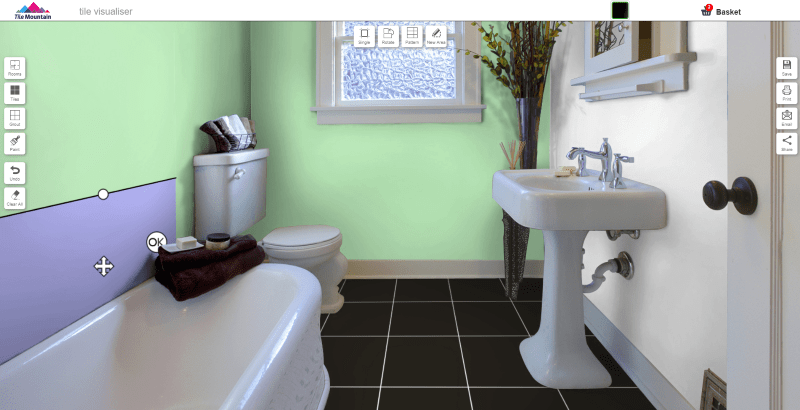
This next bit is where the fun really begins. Just click on the surfaces you want to see your chosen tile on et voila! As if by magic it will appear before your very eyes on said wall or floor.

Step 5: Tile Whatever Area You Like!
From here you can chop and change the type of tiles used as you see fit, even choosing to tile only certain areas that you define if you wish. Just click the ‘New Area’ icon at the top of the screen, draw a box on the surface you want to tile, drag to resize, pick your tile, then click on the area you selected and you’re done!
Step 6: Adjust As You See Fit
Before tiling your selected area you can also adjust it to pretty much whatever proportions you like. Just drag the edges of the box to expand or decrease the area or click and drag on the cross icon to move the whole area. Once you’re happy, click in the box, select ‘Tile Area’ and your selected tiles will be rendered to that area!

Step 7: Play Around With Your Grout Lines
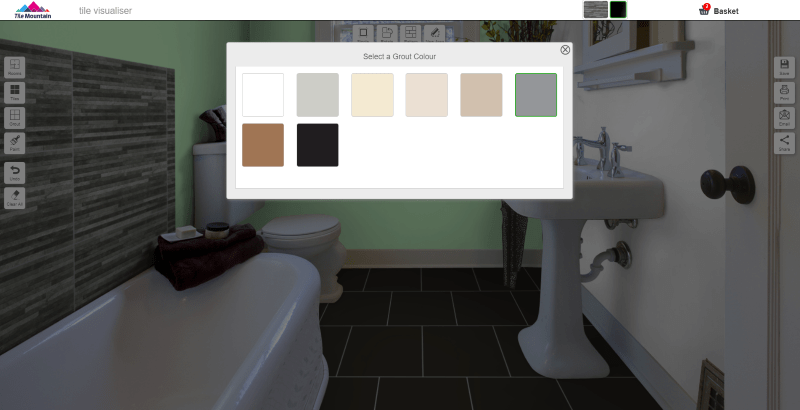
If you want to see how your chosen tiles will look with different coloured grout, you can! Simply click the ‘Grout’ icon on the left hand side of the screen, select a colour, then click on the tiled area to see your chosen colour in place.
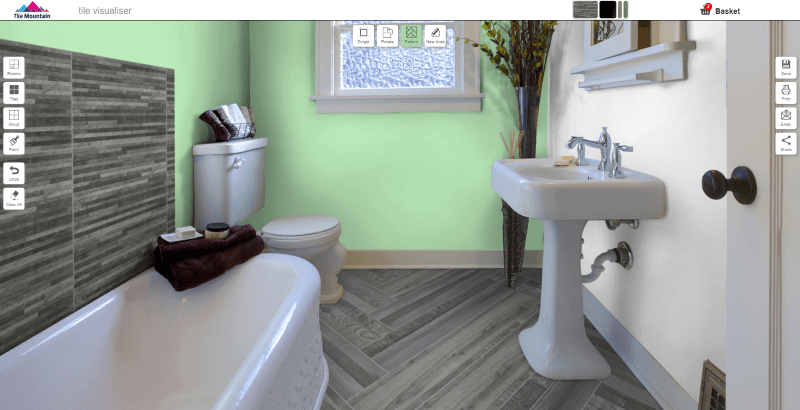
Step 8: Go Pattern Crazy!
There are loads of different ways you can lay tiles, and our visualiser tool lets you see how certain tiles look in different layouts. To play around with layout patterns, click the ‘Pattern’ icon at the top of the screen, select the pattern you want to see, then click the tiles in the roomscape you want laid in your chosen pattern.

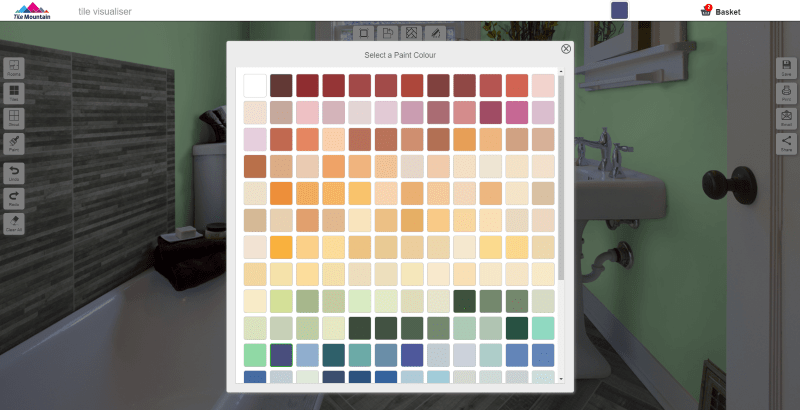
Step 9: Get Your Paint Brush Out
So you’ve done your (virtual) tiling but you’re wondering how they’ll complement the colours you have in mind for your walls, yeah? Well, we’ve even thought of that. To adorn the walls with a splash of your chosen colour, just click the ‘Paint’ icon on the left hand side of the screen, select a colour from the paint pallet, then click the walls you want to paint.

Step 10: Save & Share
Once you’re 100% happy with the roomset you’ve created, just hit the save icon on the right hand side of the screen to save. This allows you to revisit it later during the planning your renovation project – something that comes in especially handy if you want to go back and make a few adjustments on the fly. You can save as many rooms as you like too. If you’re ultra-proud of your virtual interior design prowess and want to share it with your social media followers, just click the ‘Share’ button and you’ll be given the option to post to Facebook, Twitter, or Pinterest.

And that, ladies and gentlemen, is how you use our Visualiser! Why not head there now and have a play about with it – there’s a whole world of tile styles out there to try, not to mention countless combinations. If you end up creating your dream room then take advantage of our free tile samples and order the real thing to really get a feel for the tiles before placing a full order.

Dean heads up the content team here at Tile Mountain, commissioning, editing and sometimes even writing some of the incredibly useful and entertaining content we bring to you on a regular basis. With a background in consumer journalism and a raft of content marketing experience gained from working with huge brands spanning mobile tech and automotive, right through to professional sports and lifestyle sectors, he knows a thing or two about creating content that people love to engage with. Dean also holds the mantle of being our resident grammar pedant, but when he’s not getting angry about dangling participles he spends his spare time going to gigs, watching his beloved Stoke City FC, and adding to his collection of deadstock adidas trainers.


