Plywood moves. Not dramatically, but enough that a rigid material like tile and grout, both designed to sit on something stable, can crack or debond if the board beneath them flexes, expands, or contracts with humidity changes. Solid concrete or a well-plastered masonry wall doesn’t have this problem to the same degree, which is why plywood needs specific handling that a standard subfloor doesn’t.
The other issue is moisture. Plywood is a timber product, and even the water-resistant grades will absorb moisture over time if they’re not sealed properly, which can cause swelling, delamination between the plies, or a weakened bond to whatever’s fixed on top.
Tiling onto a plywood floor
This is the situation plywood is genuinely suited to, provided a few things are right first.
- Use flooring-grade WBP plywood, and don’t skimp on thickness. WBP (weather and boil proof) plywood is the type generally specified for this job, and 15 to 18mm is a commonly used thickness range for a floor that’s going to carry tile. Thinner boards flex more underfoot, which is exactly the movement that leads to cracked grout lines later. Exact thickness needed does depend on your joist spacing and the tile you’re laying, so it’s worth checking the adhesive and backer manufacturer’s own span tables, or asking a qualified fitter, rather than guessing at a one-size figure.
- Check the subfloor is solid before you fix anything to it. A simple test worth doing: stand a container of water on the floor and jump near it. If it spills or the floor visibly deflects, there’s movement in the structure that needs sorting before tiling, since no amount of preparation on top will fix a subfloor that’s flexing underneath.
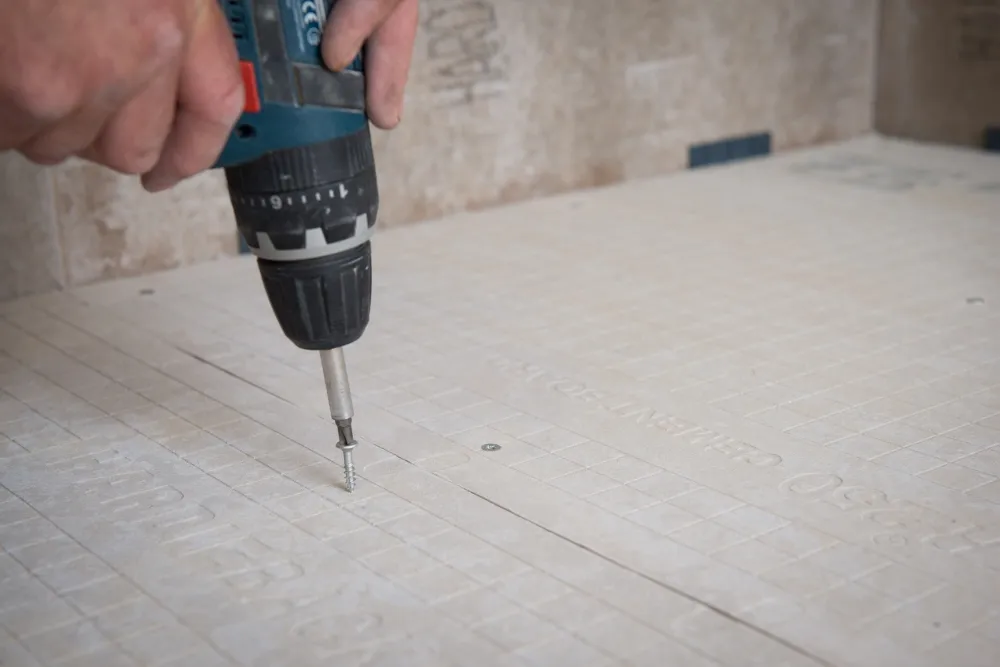
- Fix the boards properly. Screw plywood down in a staggered, brick-bond pattern rather than lining up every joint, at roughly 300mm centres, and leave a small expansion gap, commonly 2 to 3mm, around the room’s perimeter to allow for movement.
- Seal the boards before tiling. Coating the back and edges of the boards with an SBR-based sealer, such as the No More Ply SBR Primer, reduces how much moisture the plywood can absorb from the adhesive going on top of it and from the room generally.

- Use a flexible adhesive and grout. A flexible, S1-rated adhesive is designed to accommodate the small amount of movement a timber floor has, in a way a standard rigid adhesive isn’t, and a flexible grout in the joints does the same job for the finished surface.
Why plywood isn’t used for wall tiling
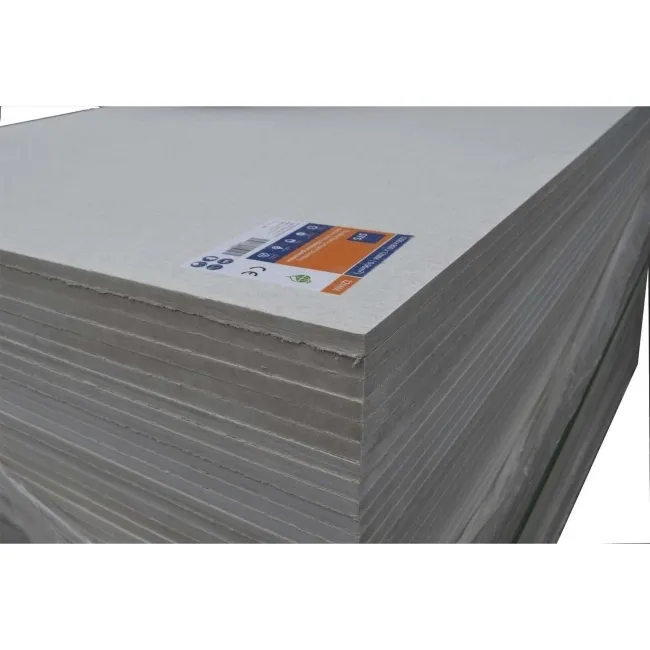
Wall tiling is a different proposition, since the tile isn’t just sitting on the surface, it’s relying on the wall to hold its full weight vertically, indefinitely. Plywood isn’t included as an accepted background for tiling under BS 5385, the British Standard covering tiling practice, so the general guidance across the trade is to fix a proper tile backer board over any plywood wall surface rather than tiling directly onto it. A pre-primed board, such as one from the No More Ply backer board range, gives you a background that’s actually designed to take tile adhesive and hold weight long-term, rather than asking a timber sheet material to do a job it wasn’t specified for.
Plywood and wet areas
Whatever the location, plywood on its own isn’t a suitable background in a genuinely wet area, a shower enclosure in particular. Even a sealed board isn’t a substitute for a proper waterproofing system, and the general recommendation is to use a waterproof tile backer board with a tanking or membrane system over it in these areas rather than plywood, sealed or otherwise. If you’re at all unsure whether a specific wall or floor build-up is suitable for a wet area, that’s worth checking with the backer board or waterproofing manufacturer, or a qualified tiler, before you commit.
Preparing plywood before you tile
- Let new plywood acclimatise to the room’s temperature and humidity for a few days before fixing it down, so it’s not still settling once it’s covered in adhesive and tile.
- Sand or fill any raised joints or screw heads so the surface is flat before you start, since a rigid tile will show every lump underneath it.
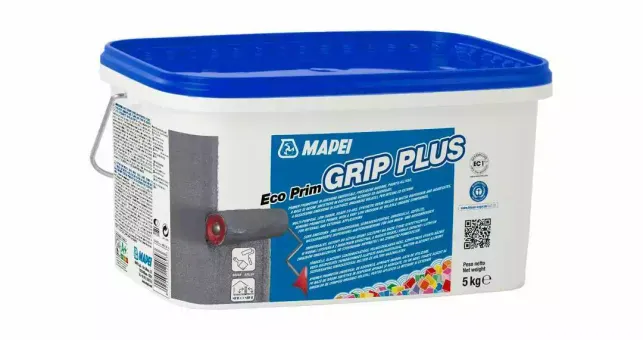
- Prime the face of the board, not just the back and edges, with a bonding primer suited to plywood, to control suction and give the adhesive something consistent to grip.
- Plan your layout before fixing anything permanently, particularly around expansion gaps and any doorways, so you’re not discovering a clash with the board joints partway through tiling.
Common mistakes to avoid
- Using standard interior-grade plywood instead of a WBP or flooring-grade board. Ordinary plywood isn’t built to cope with the moisture exposure tiling brings, and it’s a false economy against the cost of the job overall.
- Skipping the sealing step because the plywood “looks fine.” Unsealed plywood absorbs moisture from wet adhesive and grout, which is a common, avoidable cause of movement and cracking later.
- Tiling directly onto a plywood wall instead of overboarding it. This goes against standard tiling practice for a reason, plywood walls aren’t a recognised background for the ongoing weight and rigidity tiling needs.
- Ignoring a bouncy or under-specified subfloor. No adhesive or backer board fixes a structural movement problem underneath it, that needs addressing first.
- Using a rigid adhesive and grout on a timber floor. A flexible, S1-rated system is there specifically to cope with the small amount of movement timber has that solid concrete doesn’t.
FAQs
Can you tile directly onto plywood?
On a floor, yes, provided it’s WBP or flooring-grade plywood of an adequate thickness, properly fixed down, sealed, and tiled with a flexible adhesive and grout. On a wall, no, plywood isn’t a recognised background for wall tiling under BS 5385, and a tile backer board should be fixed over it instead.
What thickness of plywood do you need for tiling a floor?
15 to 18mm flooring-grade WBP plywood is commonly specified, but the right thickness for your job depends on joist spacing and the weight of tile you’re laying, so it’s worth checking the adhesive manufacturer’s guidance or asking a qualified fitter rather than assuming one figure covers every floor.
Do you need to seal plywood before tiling?
Yes. Sealing the back, edges, and ideally the face of the board with an SBR-based sealer or bonding primer reduces how much moisture the plywood absorbs from the adhesive and grout going on top, which helps prevent swelling and a weakened bond later.
Can you tile onto plywood in a bathroom or shower?
Not directly, and not in a genuinely wet area even if sealed. The general recommendation is a waterproof tile backer board with a proper tanking or membrane system in wet areas, rather than relying on plywood, sealed or otherwise, to keep water out.
What adhesive should you use on a plywood floor?
A flexible, S1-rated adhesive, along with a flexible grout in the joints. Both are designed to cope with the small amount of movement a timber floor has, which a rigid, standard adhesive and grout aren’t built to accommodate.
Why can’t you tile directly onto a plywood wall?
Plywood isn’t included as an accepted tiling background under BS 5385, the British Standard covering tiling practice, largely because a wall has to hold the tile’s full weight vertically over the long term, and plywood isn’t specified for that role. A tile backer board fixed over the plywood gives you a background that is designed for it.
In summary
Whether you can tile onto plywood really depends on where that plywood is. On a floor, the right grade, thickness, fixing, and sealing, combined with a flexible adhesive and grout, make it a workable background. On a wall, standard tiling practice is to overboard with a proper tile backer board rather than tile onto the plywood directly, and in any genuinely wet area, plywood on its own isn’t a substitute for a proper waterproofing system regardless of location.
Browse Tile Mountain’s tile backer boards and bonding primers to prepare your subfloor or wall properly before you start tiling.

Here at Tile Mountain, we not only have a huge range of tiles to suit every purpose, we also have a wealth of tiling knowledge gained from over 30 years in the tile industry, (which we’ll do or best to share with you across these very pages).
Whether you’re looking for the perfect tiles for your next home improvement project, are searching for some style inspiration, or simply need a bit of help and advice, you’re in the right place.