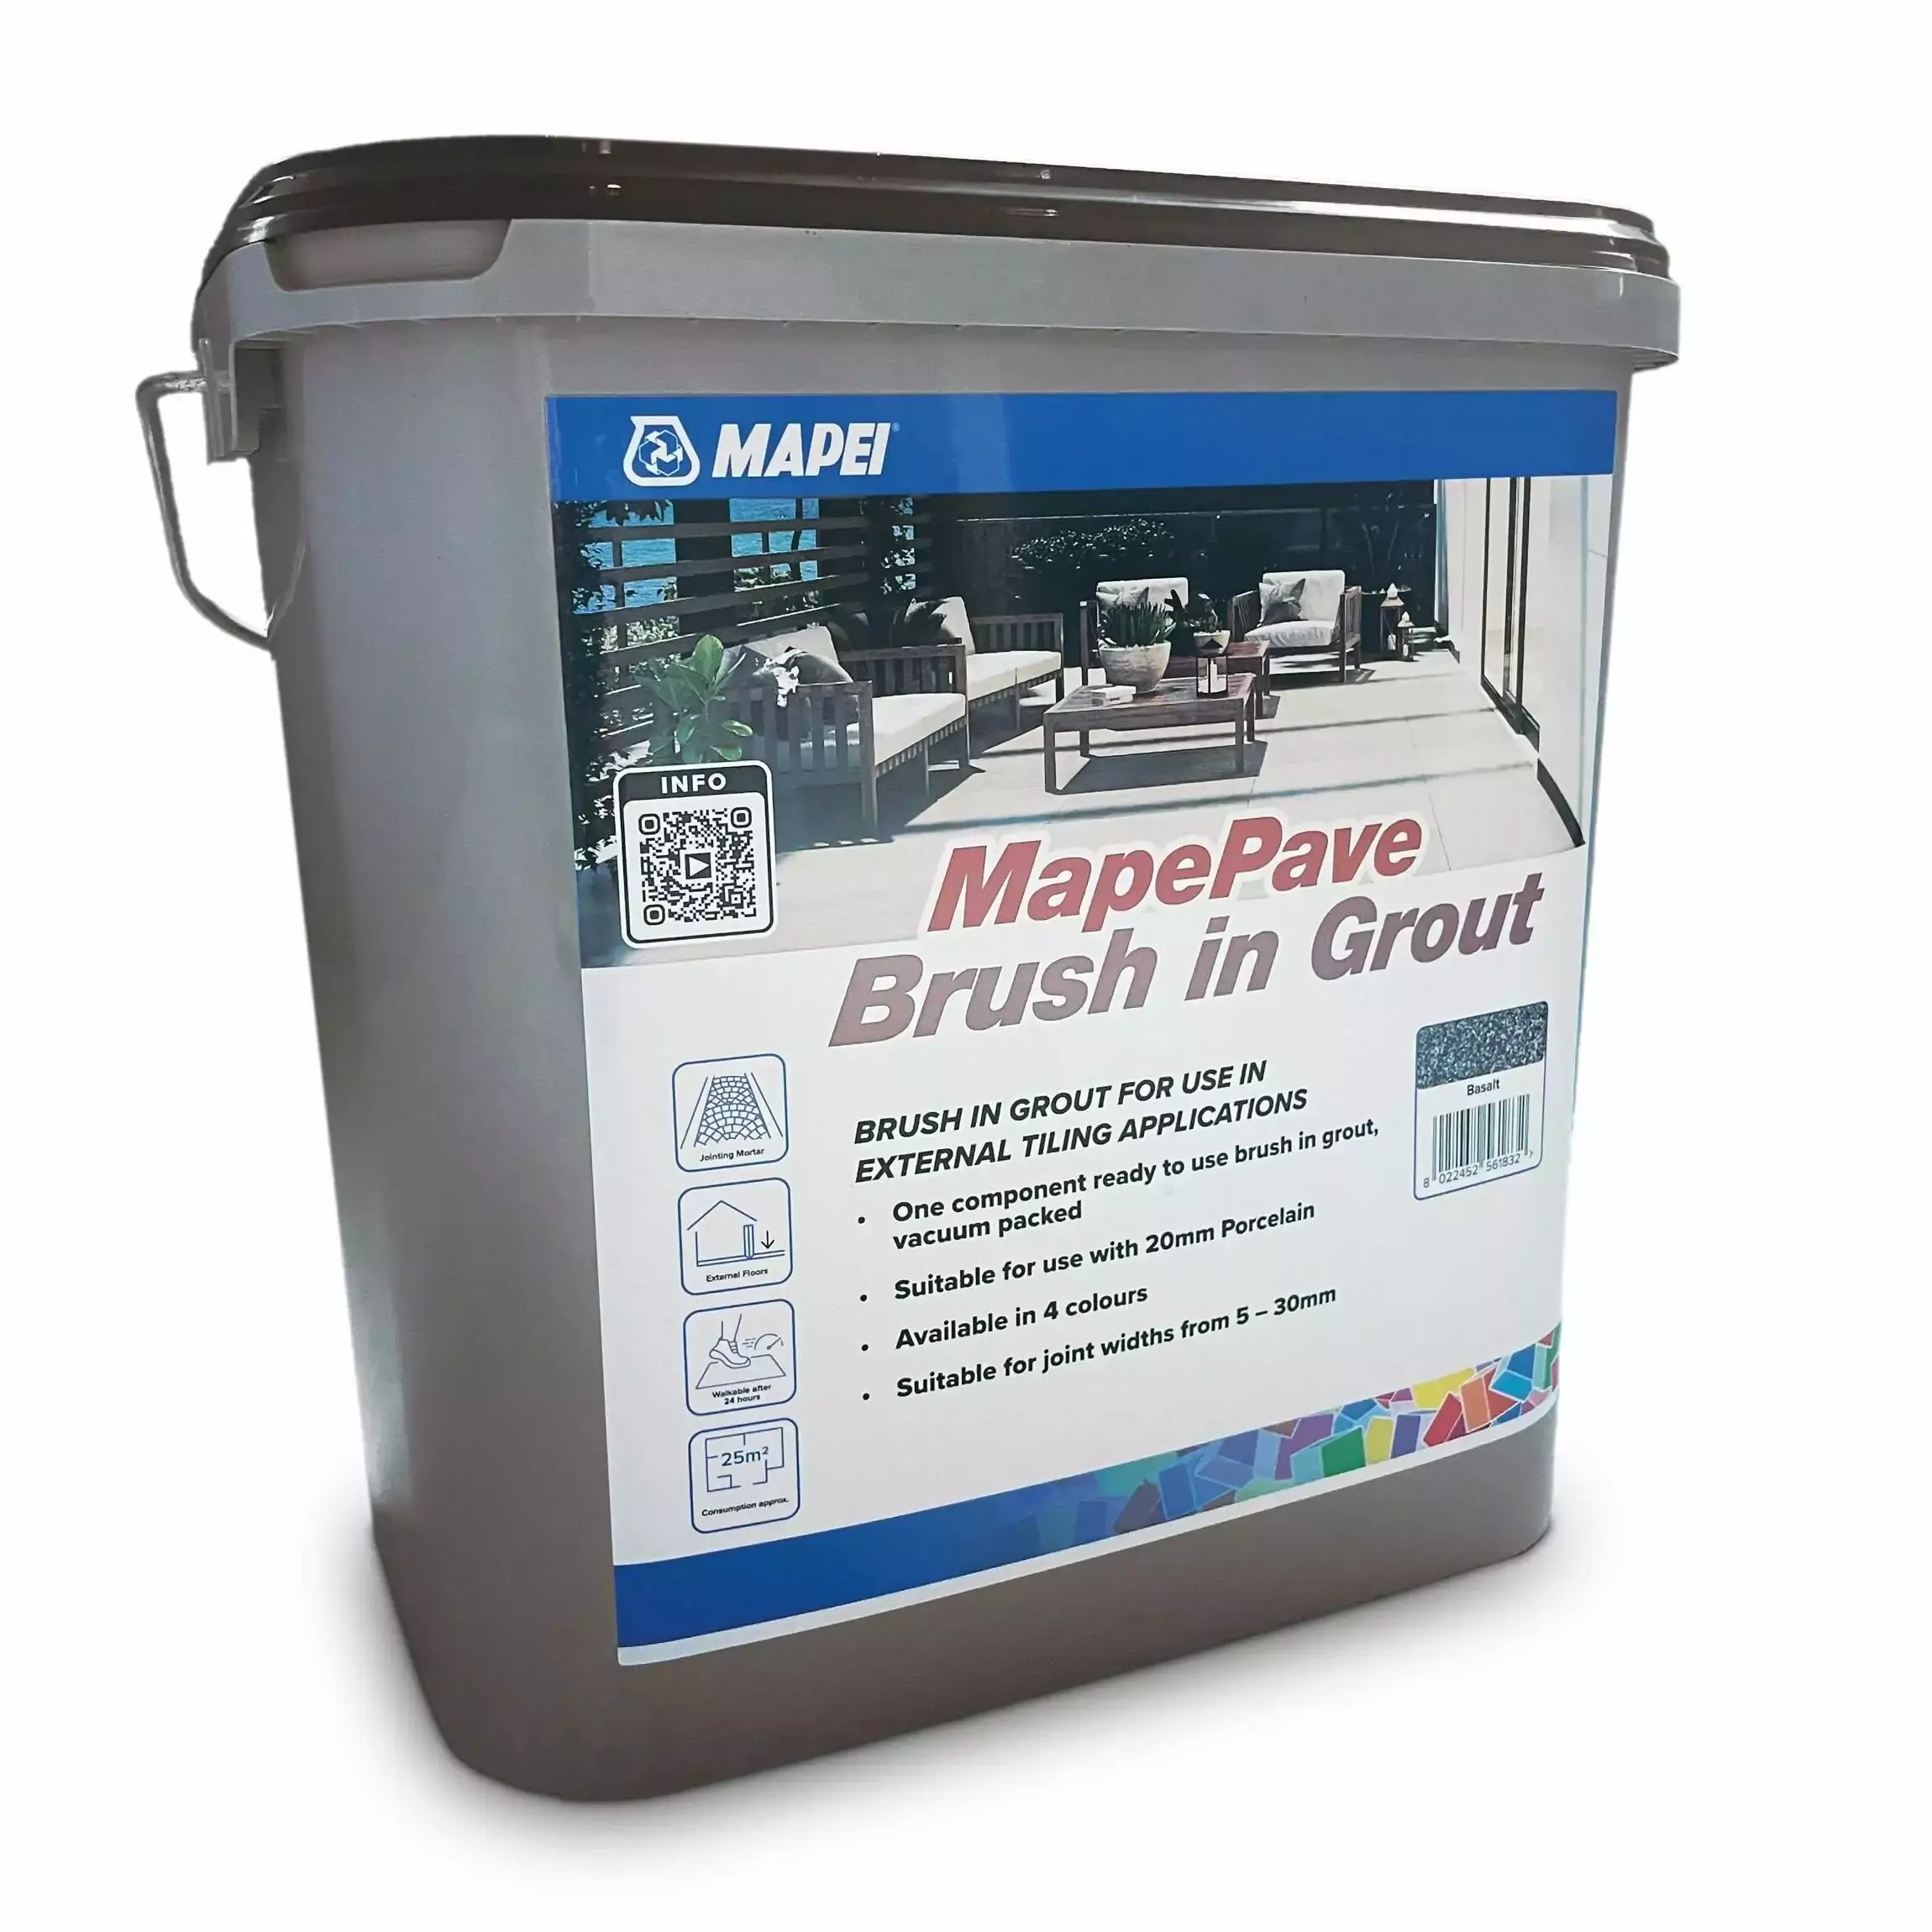
A stiff broom or brush, a bucket, a hose or pressure washer for cleaning, a pointing or raking tool for clearing old joints, kneepads if you’re doing a large area, and your chosen jointing product. For a brush-in compound such as Tile Mountain’s MapePave Brush In Grout, you’ll also want a watering can with a rose head for the curing stage. If you’re going the traditional route, add a mixing tub or mixer, a trowel, and a pointing iron for shaping the joints.
Step 1: Clear out the joints properly
Whether you’re grouting a newly laid patio or repointing an old one, the joints need to be clean and free of loose material before anything goes in. On a new patio, sweep out any dust or debris left from cutting and laying. On an older patio, use a raking tool or a pressure washer on a low setting to remove old sand, moss, and any crumbling grout down to a firm base, going roughly two-thirds of the way down the joint depth. A wet-and-dry vacuum or a stiff brush works well for lifting the loosened debris out afterwards.
Step 2: Let the patio dry fully
Most jointing compounds, including brush-in products, need a dry surface to bond properly, so this isn’t a step to rush. Pick a settled dry spell rather than working between showers, and give the slabs a full day of good weather if you can, since damp joints will stop the compound from curing evenly.
Step 3: Brush in the compound
Pour the jointing compound directly onto the dry slabs and use a stiff broom to work it into the joints, packing them fully rather than leaving pockets of air underneath the surface. Keep sweeping until the joints are properly filled and level with the top of the slab, then brush any excess compound off the face of the slabs before it starts to cure, since it’s much easier to remove now than once it’s set.
Step 4: Water it in to activate the cure
This is where a brush-in compound differs from paint-on jointing products: it needs a controlled amount of water to trigger the binding agent. Using a watering can with a fine rose head, water the joints evenly, following the specific product’s stated water quantity rather than guessing, since too little water leaves the joint under-cured and too much can wash the compound back out of the gap you just filled. You may see it darken and firm up within a short time, which is a normal sign the compound is setting.
Step 5: Clean the surface and let it cure
Once you’ve watered it in, give the slab faces a final clean with a hose to lift any remaining haze or residue, then leave the patio to cure fully before it takes any real use. Cure times vary by product and by weather, generally longer in cooler or damper conditions, so check the specific product’s guidance rather than a fixed number of hours, and keep the area free of foot traffic and rain protection where practical until it’s set.
Using traditional sand and cement instead
Some jobs, particularly natural stone paving or a look that calls for a more traditional pointed finish, still suit a mixed sand and cement mortar rather than a pre-blended brush-in compound. Mix building sand and cement in roughly a 4:1 ratio as a starting point, though always check guidance for your specific paving material since natural stone can be more sensitive to a strong cement mix than porcelain or concrete. Add water gradually until you reach a firm, workable consistency that holds together without slumping. Press the mortar into the joints with a trowel, working in manageable sections rather than mixing more than you can use before it starts to go off, then shape and smooth the joint with a pointing iron once it’s firm enough to hold its line. Brush off any smears from the slab faces before the mortar fully hardens, since dried cement residue is far harder to remove afterwards than a quick brush at the right moment.
Step 6: Seal the patio
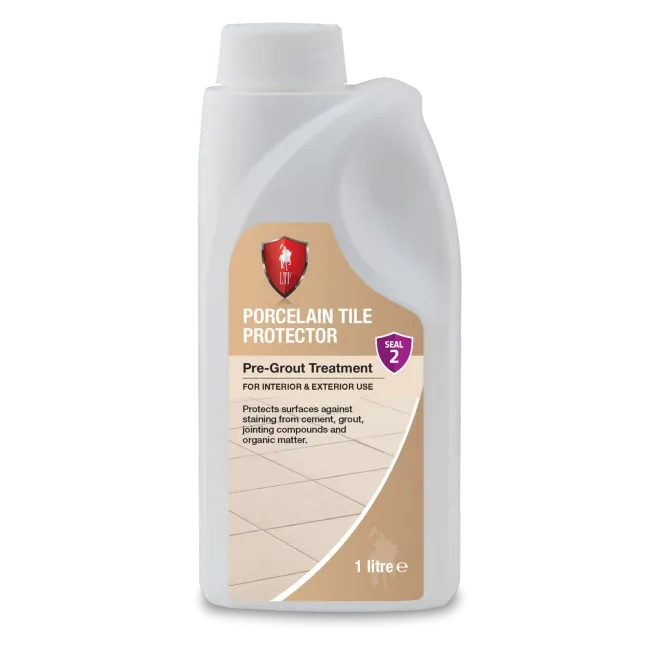
Once the grout or mortar has fully cured, and the whole surface is clean and completely dry, sealing is worth doing as a final step rather than an optional extra, particularly on porous natural stone. A sealer such as Tile Mountain’s LTP Porcelain Tile Protector locks the new joints and the slab surface against water ingress, staining, and the kind of organic growth that gives a patio black spots or a mossy joint line within a year or two of a fresh regrout. Apply it following the product’s own guidance, generally in thin, even coats on a dry surface, and avoid the area until it’s fully cured.
Common mistakes to avoid
- Grouting before the patio is properly dry. Damp joints stop most compounds curing evenly, which shows up later as crumbling or discoloured grout lines.
- Rushing the water-in stage on a brush-in compound. Too much or too little water at this step is one of the more common reasons a brush-in joint fails to set properly.
- Leaving old, failing joints half-cleared before regrouting. Any loose material left behind gives the new compound nothing solid to bond to underneath it.
- Skipping the sealing step. An unsealed joint, especially on natural stone, is far more likely to stain, discolour, or grow moss and lichen within the first year or two.
- Grouting in the rain, or just before it. Most jointing products need a proper dry window to cure, and rain shortly after application can wash uncured compound straight back out of the joint.
FAQs
How do you grout a patio?
Clear out old or loose material from the joints, let the patio dry fully, then brush a jointing compound into the gaps and pack them level with the slab surface. For a brush-in product, water it in with a fine rose to activate the cure, clean off any residue, then leave it to cure before sealing.
Can you grout a patio in the rain?
No, not effectively. Most jointing compounds, brush-in or traditional, need a dry surface to bond to and a dry period afterwards to cure properly. Grouting just before rain, or on a damp patio, is one of the more common causes of a joint failing shortly after it’s done.
What’s the best way to grout a patio, brush-in compound or sand and cement?
A brush-in jointing compound is generally quicker and more consistent for most modern porcelain or concrete paving, since it’s pre-blended and simpler to apply evenly. Traditional sand and cement still suits certain natural stone finishes or a more hand-pointed look, but takes more skill to get a neat, even joint.
How long does it take to grout a patio?
The grouting itself is usually a day’s work for an average patio, but full cure time before normal use varies by product and weather, often at least 24 to 48 hours and longer in cooler or damper conditions. Always check the specific product’s guidance rather than assuming a fixed time.
Do you need to seal a patio after grouting?
It’s strongly worth it, particularly for porous natural stone. Sealing protects the new joints and the slab surface from water, staining, and organic growth like moss and black spots, which otherwise tend to show up within the first year or two of a fresh regrout.
How do you regrout an old, failing patio?
Rake or pressure-wash the old joints back to a firm base, removing loose material, moss, and crumbling grout down to roughly two-thirds of the joint depth. Let the patio dry fully, then treat it the same as a new grouting job from that point, brushing in fresh compound or repointing with mortar before sealing.
In summary
Grouting a patio properly comes down to preparation as much as the grouting itself: clear the joints back to a firm base, work only on a dry patio, and follow the specific product’s guidance on water quantity and cure time rather than rushing either step. Seal the finished surface once it’s cured, and a patio grouted this way should hold up for years rather than needing attention again within the first season. Browse Tile Mountain’s jointing compounds and paving sealers to get the job done properly from start to finish.

Here at Tile Mountain, we not only have a huge range of tiles to suit every purpose, we also have a wealth of tiling knowledge gained from over 30 years in the tile industry, (which we’ll do or best to share with you across these very pages).
Whether you’re looking for the perfect tiles for your next home improvement project, are searching for some style inspiration, or simply need a bit of help and advice, you’re in the right place.