Tile adhesive is designed to bond to plaster, plasterboard, or masonry, not to a painted film sitting on top of it. Two things tend to go wrong when you tile directly onto paint without checking it first.
The first is emulsion. Standard water-based emulsion, the paint on most UK ceiling and wall surfaces, is designed to stay slightly soluble so it can be redecorated over easily. That’s exactly the problem: as soon as a wet, cement-based adhesive touches it, the moisture in the adhesive can reactivate the paint film underneath, softening the bond between paint and wall right as you need it to be at its strongest. The tile can end up held on by a layer of paint that’s no longer properly stuck to anything.
The second is the paint’s own condition. Even a paint type that bonds well in theory, a hard-wearing oil-based gloss, for instance, is only as good a base as its grip on the wall. Flaking, chalky, or peeling paint gives adhesive nothing solid to key into, whatever’s sitting on top of it.
How to test whether your painted wall is safe to tile onto
Before you decide either way, run a simple check across the area you’re planning to tile.
Press a strip of masking or duct tape firmly onto the painted surface, then pull it off sharply. If paint comes away with the tape, or you can scrape flakes off with a fingernail or a scraper without much effort, that paint isn’t a reliable base and needs dealing with before you go any further. Also check for a chalky residue on your hand after rubbing the wall, a sign of old, powdery paint that won’t give adhesive a proper key regardless of what primer you use.
Run a fingernail test on the finish itself too. A matt or standard emulsion finish that passes the tape test is a very different proposition to a hard gloss or satin finish, since gloss paint is smoother and less porous, which means adhesive has far less to physically grip onto even where the paint itself is perfectly sound.
Preparing a painted wall for tiling

If the paint passes the checks above, sound, well-bonded, and not a soft, unremoved emulsion, you can generally prepare it and tile directly onto it. Skipping any of these steps is where most painted-wall tiling jobs come unstuck.
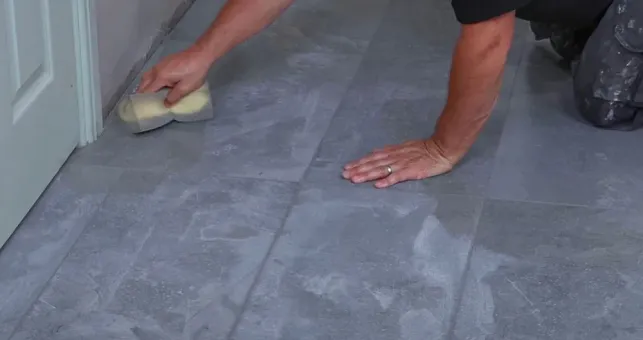
- Clean thoroughly. Wash the wall with a mild detergent and warm water to remove grease, dust, and any surface contamination, particularly around a kitchen wall that’s picked up cooking residue over the years. Adhesive needs a clean surface to bond to, not just a sound one.
- Key a gloss or satin finish. Rub the surface with medium-grit sandpaper to cut back the sheen and give the adhesive something to physically grip, rather than relying on the primer alone to do that job.
- Remove any loose or flaking material. Scrape back to a firm edge anywhere the tape test showed movement, feathering the edge so you’re not left with a sudden step in level once it’s primed.
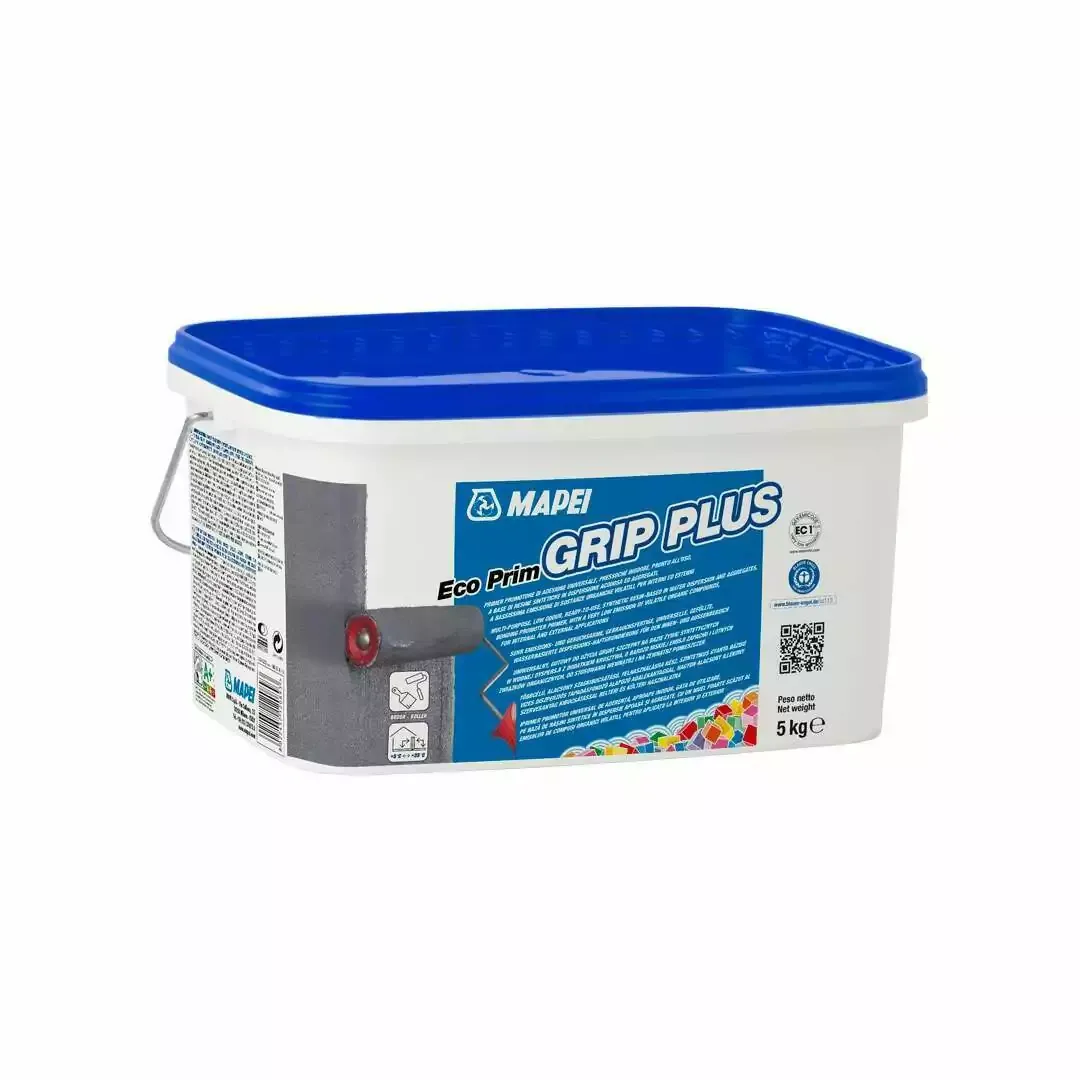
- Prime before you tile. A bonding primer made for exactly this situation, such as Eco Prim Grip Plus or Larsen Primer Grip 360, is designed to grip onto a smooth or previously painted surface and give the tile adhesive a proper key to bond to, rather than tiling adhesive straight onto bare paint. On a more porous painted plaster wall, a general-purpose primer such as the No More Ply SBR Primer helps control suction so the adhesive doesn’t dry out too fast as it cures.
When to strip the paint instead, or overboard over it

Two situations are worth handling differently rather than trying to prime your way through them.
Standard matt or standard emulsion that’s still soft, or fails the tape test across a decent portion of the wall, is usually better off removed rather than primed over. Steaming or scraping it back to bare plaster, then priming that plaster properly, gives you a far more predictable surface than trying to stabilise paint that’s already letting go of the wall.
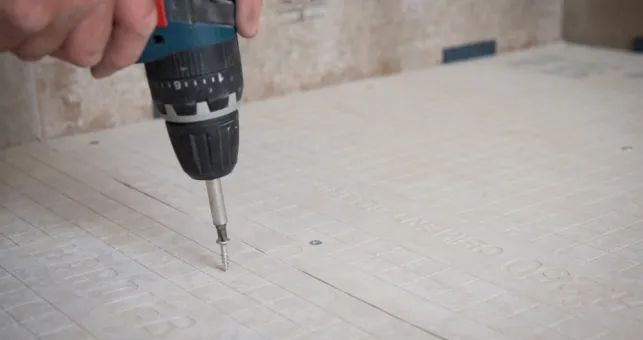
If stripping isn’t practical, uneven old plaster under multiple layers of paint, or a wall you’d rather not disturb, overboarding with a tile backer board is the more reliable route. A pre-primed board such as No More Ply’s tile backer board gives you a fresh, flat, purpose-made surface fixed over the top of the existing wall, which sidesteps the paint question altogether rather than trying to make an uncertain surface work.
Choosing the right adhesive
Once the wall is prepped, use a flexible, cement-based (powder) adhesive rather than a ready-mixed tub adhesive on a painted or primed surface, since the flex in a cement-based mix copes far better with the very slight movement a painted substrate can have compared with bare plaster. This matters more as tile size goes up: larger format tiles put more stress on the bond, so a painted wall carrying anything above a standard small-to-mid-size tile is exactly where a flexible cement-based adhesive earns its keep, rather than a ready-mixed adhesive that’s fine on a plastered wall but more marginal here.
Painted walls in wet areas
A painted wall behind a kitchen splashback or in a bathroom needs an extra layer of caution beyond the steps above. Even a properly prepped and primed painted surface isn’t a waterproof one on its own, and a bathroom wall in particular needs to cope with far more sustained moisture than a kitchen splashback does. Where the area is going to see regular water contact, a tanking or waterproofing membrane behind the tile is worth treating as a standard step rather than an optional extra, and it’s worth checking the adhesive and primer manufacturer’s own guidance for that specific wet-area use, since not every product in a range is rated the same way for constant moisture. If you’re at all unsure whether a particular wall build-up is suitable for a wet area, that’s a reasonable thing to run past a qualified tiler rather than guess at.
Common mistakes to avoid
- Tiling straight onto emulsion without testing it first. This is the single most common cause of tiles debonding months after the job’s finished, since the paint underneath was never a stable base to begin with.
- Skipping the primer because the paint “looks fine.” A primer isn’t just insurance, it’s what gives the adhesive a proper mechanical key on a surface that’s smoother and less absorbent than bare plaster or plasterboard.
- Using a ready-mixed adhesive on a painted wall with large format tiles. Ready-mixed tubs are convenient, but a flexible cement-based adhesive copes much better with the extra demands a painted substrate and a heavier tile put on the bond together.
- Assuming gloss paint behaves like matt paint. Gloss needs sanding back to key the surface before priming; treating it the same as a standard emulsion finish is a common reason adhesion fails specifically on kitchen gloss-painted walls.
- Ignoring wet-area requirements because the wall “looks dry enough.” A painted wall that’s fine for a hallway splashback of water isn’t automatically fine for a shower wall, and skipping a waterproofing layer there is a false economy.
FAQs
Can you tile directly onto emulsion paint?
Generally not without testing and preparing it first. Standard water-based emulsion is designed to stay slightly soluble, and the moisture in tile adhesive can reactivate it, weakening the bond right when it needs to be strongest. If the emulsion is sound and passes a tape test, priming with a bonding primer can work, but many trade sources recommend removing emulsion entirely rather than tiling over it.
Do you need a primer to tile over painted walls?
In almost all cases, yes. A bonding primer such as Eco Prim Grip Plus or Larsen Primer Grip 360 gives tile adhesive a proper key to grip onto a smooth or painted surface, rather than relying on the paint film itself to hold the tile in place.
Can you tile over gloss painted walls?
Only after sanding the surface back to cut the sheen and remove some of the gloss’s natural resistance to adhesion, then priming with a bonding primer suited to smooth, non-porous surfaces. Tiling straight onto an unsanded gloss finish is one of the more common causes of adhesive failure on painted walls.
Is it better to strip paint or tile over it?
It depends on the paint’s condition rather than a fixed rule. Sound, well-bonded paint that passes a simple tape and scrape test can usually be primed and tiled over directly. Soft, flaking, or failing paint is better stripped back to bare plaster first, since priming over an unstable surface just adds a layer of adhesive on top of a problem that’s still there underneath.
Can you tile over painted walls in a bathroom?
Only with extra care. The preparation steps are the same, but a bathroom wall needs to cope with far more sustained moisture than most other rooms, so a waterproofing or tanking layer behind the tile is worth treating as standard in a wet area rather than relying on the painted surface and primer alone to keep water out.
What adhesive should you use on a primed, painted wall?
A flexible, cement-based (powder) adhesive rather than a ready-mixed tub adhesive, particularly for anything above a small or standard tile size. The flexibility copes better with the slight movement a painted substrate can have compared with bare plaster or plasterboard.
In summary
Whether you can tile onto a painted wall comes down to what the paint is and how well it’s still bonded, not a blanket yes or no. Test it with tape and a scraper, strip anything that’s soft, flaking, or an unremoved emulsion, and prime and key anything sound with a proper bonding primer before you tile. Choose a flexible, cement-based adhesive over a ready-mixed one, treat wet areas with extra caution, and overboard with a backer board rather than force the issue on a wall you’re not confident about.
Browse Tile Mountain’s bonding primers and tile backer boards to prepare a painted wall properly before you start tiling.

Here at Tile Mountain, we not only have a huge range of tiles to suit every purpose, we also have a wealth of tiling knowledge gained from over 30 years in the tile industry, (which we’ll do or best to share with you across these very pages).
Whether you’re looking for the perfect tiles for your next home improvement project, are searching for some style inspiration, or simply need a bit of help and advice, you’re in the right place.