Grout haze is a thin layer of dried cement or resin residue left on the tile surface after grouting, rather than in the joints where it belongs. It happens because a small amount of grout inevitably transfers onto the tile face during application, and if that residue isn’t cleaned off within the right window, generally as the grout is going firm rather than long after it’s fully cured, it dries into a stubborn film that a normal wipe-down won’t shift. Porous or textured tiles pick up haze more readily than a smooth, dense porcelain, since there’s more surface for the residue to cling to, and epoxy grout, while more stain-resistant once cured, is notably harder to remove from the tile face if it’s allowed to fully harden compared to a standard cement-based grout.
How to remove grout haze, depending on how fresh it is
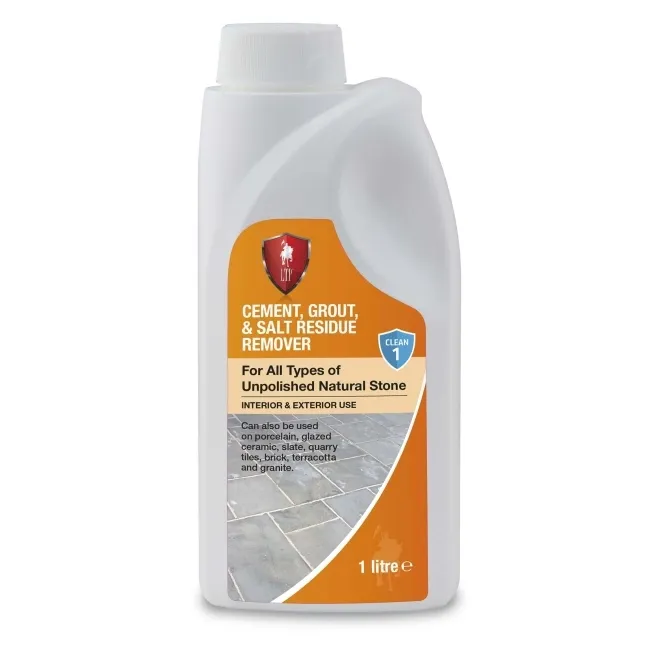
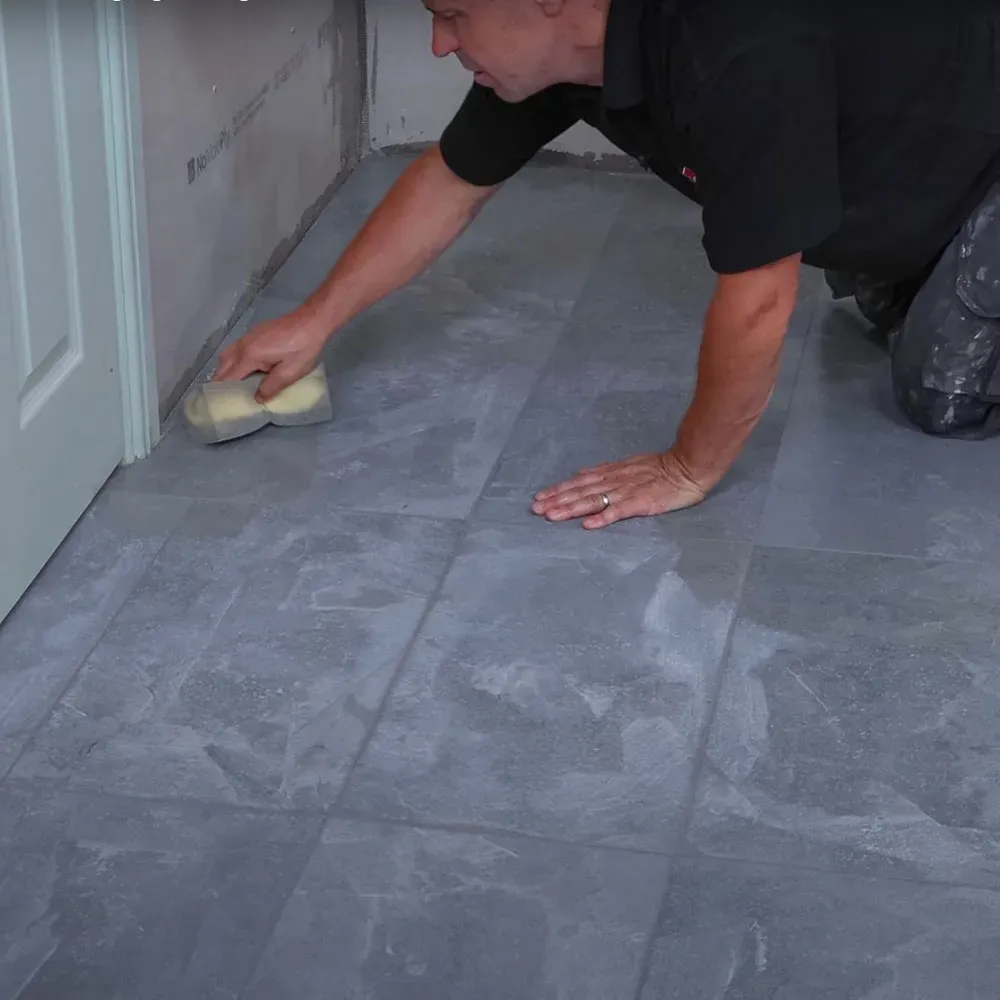
If the haze is still fresh (within the first day or so of grouting), a damp sponge or microfibre cloth, changed and rinsed frequently, is often enough. Work in a circular motion rather than long single wipes, and change your water regularly since a sponge loaded with residue just redistributes it across the surface instead of lifting it off. If the haze has fully dried and hardened, a dedicated grout haze remover is the more reliable option at this point, since water alone struggles to break down a cured cement film. A product such as Tile Mountain’s LTP Grout Haze & Limescale Remover is designed specifically for this job on porcelain and ceramic tiles: apply according to the product’s instructions, agitate gently with a soft brush or pad, then rinse thoroughly. If the tile is natural stone, be more cautious with your choice of product. Many standard grout haze removers are acidic, and acid can etch or dull polished natural stone, particularly marble and limestone. Always check the product is specifically rated safe for your stone type, and patch-test an inconspicuous area first, or use a stone-safe formulation rather than a generic tile cleaner. If you’re dealing with epoxy grout haze, standard cement-based haze removers often aren’t effective, since epoxy cures into a different, more chemically resistant film.
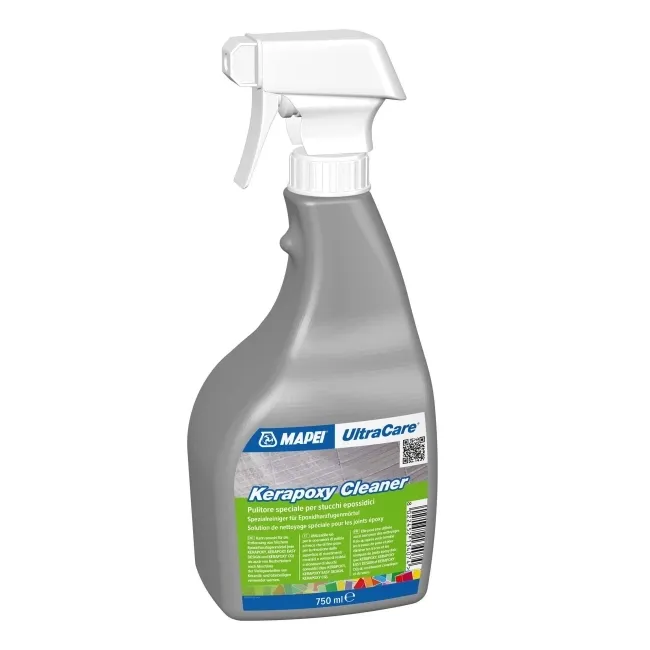
A cleaner formulated specifically for epoxy residue, such as Ultracare Kerapoxy Cleaner, is generally needed here, and timing matters even more with epoxy: it’s considerably easier to remove in the hours after application than once it’s fully cured.
Step-by-step: removing dried grout haze safely
- Test an inconspicuous area first, particularly on natural stone or a glazed decorative tile, to confirm the product doesn’t dull, etch, or discolour the surface.
- Apply the haze remover according to the product’s instructions, generally diluted rather than used at full strength for a first attempt.
- Agitate gently with a soft brush, pad, or cloth. Avoid anything abrasive enough to scratch the tile’s surface, particularly on polished porcelain or stone, since a scratched finish is a much harder problem to fix than haze itself.
- Rinse thoroughly with clean water to remove all traces of the cleaning product, since leftover residue from the haze remover itself can leave its own film if it’s not properly washed off.
- Dry and inspect the surface. If haze remains in patches, particularly in grout-adjacent areas, repeat rather than increasing the product’s strength, since a stronger concentration raises the risk of damaging the tile before it meaningfully improves the result.
- Reseal if the tiles or grout were sealed before grouting. A sealer can be affected by grout haze remover, particularly acidic formulations, so check whether it needs reapplying once the haze is gone.
How to avoid grout haze next time

Cleaning the tile face as you go, rather than waiting until the whole job is grouted, is the single biggest factor in avoiding haze altogether. Wipe down each section with a damp sponge once the grout in that area has started to firm up but before it’s gone fully hard, rinsing the sponge frequently so you’re lifting residue rather than smearing it further across the surface. A final light buff with a dry microfibre cloth once the grout has cured removes the last trace of any residual film. Applying a pre-grout sealer or tile protector before grouting also makes a genuine difference, since it stops grout residue bonding as strongly to the tile face in the first place, which makes any haze that does form considerably easier to wipe away.
Common mistakes to avoid
- Leaving haze to fully cure before attempting to clean it. Removing it during the correct window while grouting, once the grout has firmed but not hardened, is far easier than treating dried haze after the fact.
- Using an acidic cleaner on natural stone without checking first. This can etch or dull the surface permanently, turning a cosmetic problem into a much more expensive one.
- Scrubbing with an abrasive pad or scourer. This risks scratching the tile’s glaze or polish, especially on porcelain, which is more visible and harder to fix than the haze it was meant to remove.
- Using a standard grout haze remover on epoxy grout. Epoxy residue often needs a cleaner formulated specifically for it, since standard cement-based haze removers aren’t designed to break it down.
- Skipping a patch test on decorative or textured tiles. Some finishes react differently to cleaning chemicals than a plain glazed tile, so testing an inconspicuous spot first avoids a costly mistake across the whole floor or wall.
FAQs
What is grout haze?
A thin film of dried cement or resin residue left on the tile surface after grouting, rather than cleaned off within the window while the grout is firming up. It’s a common finishing issue rather than a fault with the tile, and it’s almost always removable with the right method.
How do you remove grout haze from porcelain tiles?
Fresh haze usually comes off with a damp sponge or microfibre cloth. Dried, hardened haze generally needs a dedicated grout haze remover formulated for porcelain and ceramic, applied, gently agitated, and rinsed thoroughly according to the product’s instructions.
Does vinegar remove grout haze?
Diluted white vinegar can help with light, fresh haze on some tile types, but it’s an acidic solution, so it isn’t suitable for natural stone such as marble or limestone, which it can etch or dull. For anything beyond light, fresh residue, a dedicated haze remover is generally more reliable.
Can grout haze remover damage tiles?
It can, particularly acidic formulations used on natural stone or polished surfaces, or an abrasive pad used to scrub at stubborn haze. Always check the product is rated safe for your specific tile material and patch-test an inconspicuous area before treating the whole surface.
How do you remove epoxy grout haze?
Standard cement-based grout haze removers often aren’t effective on epoxy residue, since it cures into a more chemically resistant film. A cleaner formulated specifically for epoxy grout, such as Ultracare Kerapoxy Cleaner, is generally the more reliable option, and it’s considerably easier to remove in the hours after grouting than once it’s fully cured.
How do you stop grout haze from forming in the first place?
Clean the tile face as you go rather than waiting until the whole area is grouted, wiping with a damp sponge once the grout has started to firm but before it’s fully hardened, and rinsing the sponge regularly. Applying a pre-grout sealer before you start also helps, since it stops residue bonding as strongly to the tile face.
In summary
Grout haze is a common, almost always fixable problem, but the right removal method depends on how long it’s been left and what your tiles are made of. Fresh haze usually lifts with a damp cloth, dried haze generally needs a dedicated remover matched to your tile type, and epoxy residue needs its own specific cleaner rather than a standard product. Clean as you go on your next job, and a pre-grout sealer will make the whole process considerably easier. Browse Tile Mountain’s grout haze removers and pre-grout sealers to finish your next tiling job cleanly the first time.

Here at Tile Mountain, we not only have a huge range of tiles to suit every purpose, we also have a wealth of tiling knowledge gained from over 30 years in the tile industry, (which we’ll do or best to share with you across these very pages).
Whether you’re looking for the perfect tiles for your next home improvement project, are searching for some style inspiration, or simply need a bit of help and advice, you’re in the right place.