Ordering too little adhesive part-way through a job means a delay waiting for more, and ordering too much wastes money on a product with a shelf life. Unlike working out how many tiles you need, adhesive quantity depends on a factor that’s easy to overlook: how much adhesive you actually spread per square metre, which changes with your trowel’s notch size and how flat your wall or floor is. This guide walks through the calculation step by step so you can order close to the right amount the first time.
What actually determines how much adhesive you need
Three things drive the calculation: the area you’re tiling, the trowel notch size you use to spread the adhesive, and the tile size and surface flatness, which between them affect how much adhesive sits under each tile. A bigger notch spreads a thicker bed and uses noticeably more adhesive per square metre than a smaller one, which is why the same floor can need very different quantities depending on which trowel you pick.
Step 1: Work out your area
Measure the length and width of the surface you’re tiling in metres and multiply them together for the area in square metres. For a room with alcoves, doorways, or an irregular shape, break it into simpler rectangular sections, calculate each separately, and add them together, which is more accurate than trying to average an odd-shaped room in one calculation.
Step 2: Choose the right trowel notch size for your tiles
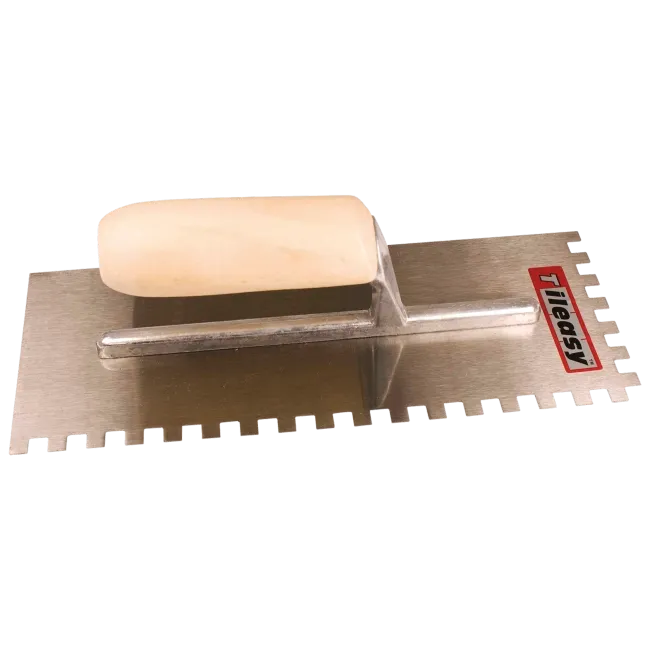
Trowel notch size should match your tile size, since a bigger tile needs a deeper adhesive bed to support it evenly and avoid hollow spots underneath. As a general guide, smaller mosaic and small-format tiles typically suit a 3mm to 6mm notch, standard-size wall and floor tiles commonly use a 6mm to 10mm notch, and larger format tiles generally need a 10mm to 15mm notch or a solid bed technique, sometimes combined with back-buttering the tile itself. Always check your specific tile manufacturer’s recommendation, since exact requirements vary by tile weight, size, and surface flatness, and a qualified tiler can advise if you’re at all unsure.
Step 3: Use the coverage rate to calculate bags needed

Adhesive coverage is generally quoted by the manufacturer as an approximate area per bag at a specific notch size, and this is the figure to work from rather than a generic rule of thumb, since coverage varies between products and formulations. As a rough general guide, a standard 20kg bag applied with a 6mm notch trowel often covers somewhere in the region of 4 to 5 square metres, while the same bag applied with a larger 10mm to 12mm notch, for bigger tiles, typically covers closer to 2.5 to 3.5 square metres, since more adhesive is being spread per square metre at the deeper notch depth. These figures are a starting point for budgeting, not a substitute for checking the coverage guidance printed on your specific product, which accounts for that adhesive’s exact formulation.
Divide your total area by the coverage-per-bag figure for your chosen notch size to get the number of bags you need before rounding up.
Step 4: Add a wastage allowance
Add roughly 10% to your calculated quantity to account for an uneven wall or floor needing a slightly thicker bed in places, adhesive left in the bucket at the end of a mix, and general on-site variation that a straight calculation doesn’t capture. It’s a smaller margin than the 10% typically recommended for tile quantity itself, since adhesive wastage tends to be more predictable, but it’s still worth building in rather than ordering the exact calculated figure and risking running short.
A worked example
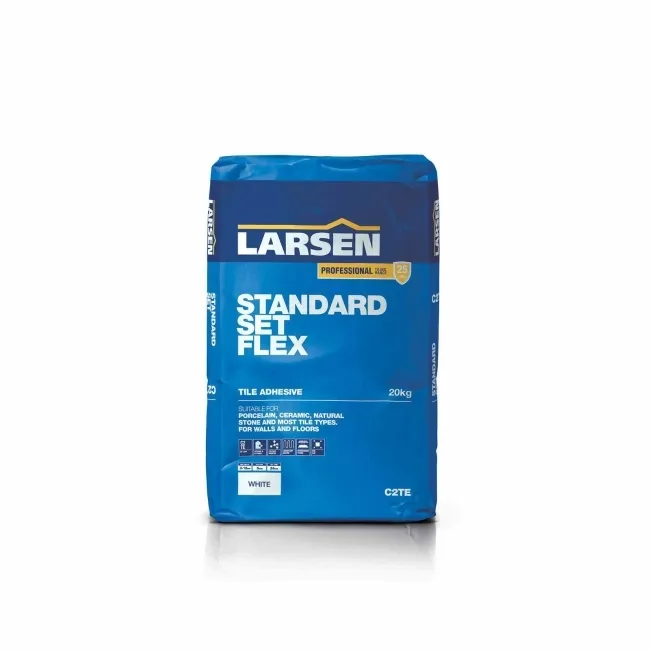
For a 12 square metre bathroom floor, using standard-size porcelain tiles with a 6mm notch trowel, and a coverage rate of 4.5 square metres per 20kg bag: 12 divided by 4.5 gives 2.67 bags, rounded up to 3 bags before wastage. Adding a 10% wastage allowance brings the working figure to roughly 3.3 bags, which in practice means ordering 4 bags of a product such as Tile Mountain’s Professional Standard Set Flex, so you’re not caught short mid-job with grout still to come.
Does tile back-buttering change how much you need?
Yes. Back-buttering, applying a thin layer of adhesive to the back of the tile as well as combing it onto the wall or floor, is common practice for larger format tiles to ensure full, even contact and avoid hollow spots. It increases total adhesive use, generally by a meaningful margin over spreading adhesive on the substrate alone, so factor this in if you’re working with large-format tiles or a manufacturer specifically recommends it.
Common mistakes to avoid
- Using a generic coverage figure instead of checking the specific product. Coverage rates vary between adhesive formulations, and the figure printed on your bag is more accurate than a general guide.
- Choosing too small a notch size for large tiles. This risks an uneven bed and hollow spots under the tile, which can lead to cracking under load later.
- Forgetting a wastage allowance entirely. Even a well-planned job rarely uses the exact calculated quantity, and running short mid-tiling means a delay while you source more.
- Not accounting for back-buttering when it’s needed. This step uses noticeably more adhesive than a single-sided spread, and skipping it in your calculation leads to under-ordering.
- Buying adhesive from more than one batch for a visible area. Not usually a coverage issue, but slight colour or consistency variation between batches can occasionally show through a light-coloured grout line.
FAQs
How do I calculate how much tile adhesive I need?
Measure your total area in square metres, choose a trowel notch size suited to your tile size, then divide the area by the manufacturer’s stated coverage per bag at that notch size. Round up to a whole number of bags and add roughly 10% for wastage.
How much does a 20kg bag of tile adhesive cover?
It depends on the notch size used and the specific product, but as a general guide, a 6mm notch often covers around 4 to 5 square metres per 20kg bag, while a larger 10mm to 12mm notch for bigger tiles typically covers closer to 2.5 to 3.5 square metres. Always check the coverage guidance on your specific bag.
What trowel notch size should I use for large format tiles?
Larger tiles generally need a deeper notch, often 10mm to 15mm, or a solid bed technique combined with back-buttering, to avoid hollow spots underneath. Check your tile manufacturer’s specific recommendation, since requirements vary with tile weight and size.
Does back-buttering use more adhesive?
Yes, noticeably more than spreading adhesive on the substrate alone, since you’re applying a layer to both surfaces. Factor this into your calculation if you’re working with large-format tiles or your manufacturer recommends it.
How much extra tile adhesive should I order for wastage?
Around 10% above your calculated quantity is a sensible allowance for an uneven substrate, adhesive left in the mixing bucket, and general on-site variation. It’s a smaller margin than the wastage typically allowed for tiles themselves.
Does an uneven wall or floor use more adhesive?
Yes, since a thicker bed is often needed in the low spots to keep the tile face level, which uses more adhesive than a flat, well-prepared substrate. A significantly uneven surface may be worth levelling first with a self-levelling compound or backer board rather than relying on adhesive alone to compensate.
In summary
Working out how much tile adhesive you need comes down to area, trowel notch size, and the coverage rate printed on your specific product, plus a modest wastage allowance on top. Getting the notch size right for your tile matters as much as the maths, since it affects both how much adhesive you use and how well the finished tiles are supported underneath.
Browse Tile Mountain’s tile adhesives to check coverage rates and order the right quantity for your project.

Here at Tile Mountain, we not only have a huge range of tiles to suit every purpose, we also have a wealth of tiling knowledge gained from over 30 years in the tile industry, (which we’ll do or best to share with you across these very pages).
Whether you’re looking for the perfect tiles for your next home improvement project, are searching for some style inspiration, or simply need a bit of help and advice, you’re in the right place.