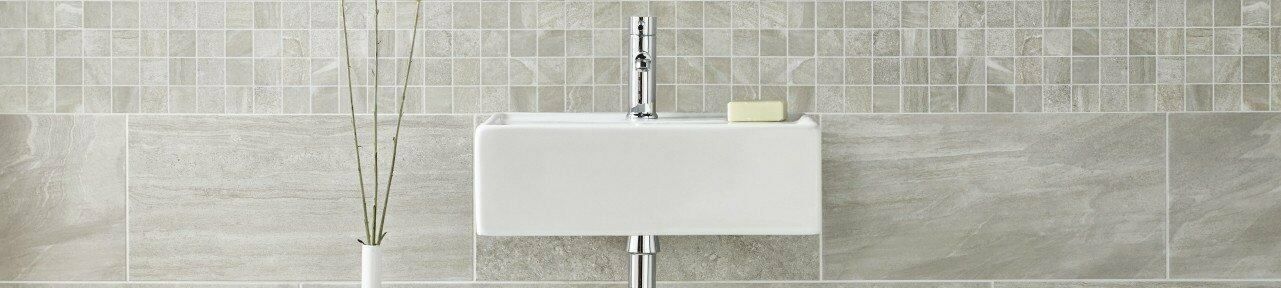
Tiling a flat, uninterrupted wall is straightforward. Tiling around a window is where a lot of otherwise competent DIY jobs start to look amateur, because you’re working around cuts on four sides of the recess plus a sill, often in a wet room where a poor seal actually matters. This guide walks through the whole job properly: planning the layout, cutting and fitting the recess (the “reveal”), tiling the sill, finishing the edge with or without trim, and the room-specific details that change depending on whether you’re working in a kitchen, a bathroom, or right inside a shower enclosure.
Tools and materials you’ll need

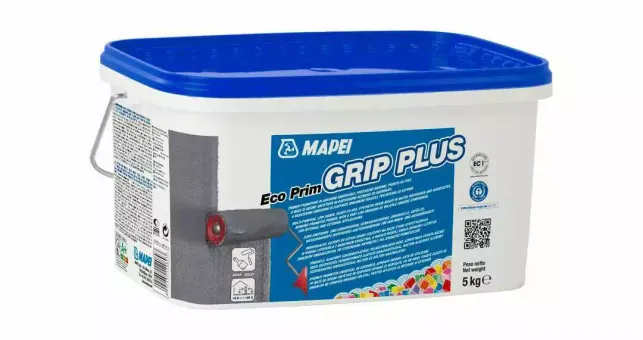
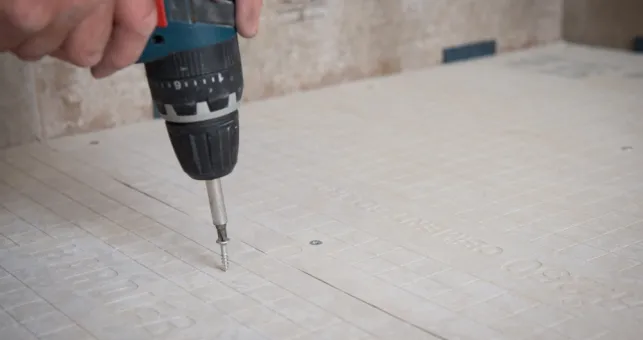
You’ll need a trowel, a spirit level, a manual tile cutter or a wet saw for straight cuts, tile snips or a grinder with a diamond blade for awkward L-shaped and curved cuts around the recess, tile spacers, and a pencil for marking. If you’re using trim, add a hacksaw and mitre block for cutting clean 45-degree corners. On the materials side: tiles (allow extra for wastage on cuts, this job produces more offcuts than a flat wall), adhesive, grout, flexible silicone sealant, and tile trim if you’re using it.
Planning your layout before you start tiling
Before any tile touches adhesive, do a dry run: lay tiles out along the wall without adhesive to see where your cuts will fall. This is the step most rushed jobs skip, and it’s the reason so many finished window recesses end up with an awkward sliver of tile at one edge.
Where you start matters more than it sounds. Working out from the centre of the window, rather than from a corner of the room, usually gives you the most symmetrical result, since any narrow cut pieces end up at the room’s corners where they’re less noticeable, rather than either side of the window where an uneven pair of cuts is the first thing anyone looking at that wall will see. Mark a level horizontal line to work up from, and a vertical centre line through the middle of the window, before you lay a single tile.
Step 1: Tile the main wall up to the window opening
Starting from your level line, tile the field of the wall in full tiles, working outward from the centre line and stopping cleanly at the edges of the window opening. Keep checking level and alignment every few rows rather than only at the end, since a small drift compounds the further you get from your starting point, and by the time you reach the window opening it needs to still be square to the recess.
Step 2: Cut and fit the tiles around the recess
This is the part of the job that actually decides whether it looks professional. The recess, or “reveal”, is the return wall inside the window opening: the top, and the two sides. Measure each cut individually rather than assuming both sides are identical, since window openings in older properties are rarely perfectly square, and a cut that’s spot on one side can be a couple of millimetres out on the other.
A story stick, a offcut of batten marked with your measurements, is a genuinely useful trick here: mark your reveal depth and tile positions on the stick once, then use it to mark every cut rather than re-measuring the opening each time. It’s faster, and it removes the small measuring errors that creep in when you measure the same thing a dozen times by eye.
Step 3: Tile the window sill
The sill is usually tiled after the reveal sides and top, since the sill tile sits underneath them, with the vertical reveal tiles resting on top of the sill tile’s edge for a neater, more weatherproof junction. If the sill has any slope to it (common on external-facing sills that need to shed condensation or rainwater), maintain that fall in your tiling rather than levelling it out, since a flat sill will pool water against the window frame instead of clearing it.
Cut the sill tile to fit tightly against the window frame on the inside edge, and slightly proud of the wall on the front edge if the sill projects past the plane of the wall, so water runs off the tile rather than tracking back into the wall below.
Step 4: Finish with trim, or a neat mitred edge without trim

There are two common ways to finish the exposed edge of tile where it meets the window reveal or the plasterboard return.
With trim: a PVC or metal edging trim is fitted into the adhesive bed as you tile, run alongside the tile edge rather than added afterwards, and corners are cut at 45 degrees using a mitre block for a clean joint. Trim protects the tile edge, covers any minor cutting imperfections, and is the easier option to get a consistently neat result from, especially for a first-time tiler.
Without trim: the tile itself is cut with a mitred (45-degree) edge so two tiles meet at a corner without any visible tile edge showing, similar to how a picture frame is joined. It gives a cleaner, more minimal look, but it depends on a very accurate cut, since even a slightly off angle leaves a visible gap at the mitre.
Step 5: Grout and seal
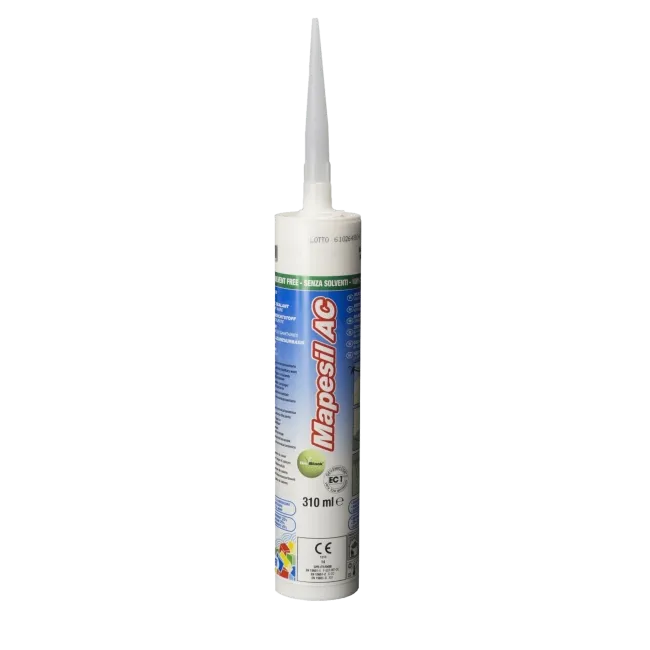
Grout the tiled surfaces once the adhesive has fully cured, following the adhesive manufacturer’s specified curing time rather than a fixed guess, since this varies by product and by how much water the wall has absorbed. The one detail worth getting right every time: the joint where tile meets the window frame itself should be filled with flexible silicone sealant, not rigid grout. Window frames expand and contract slightly with temperature, and grout in that joint will crack and eventually let water in behind the tile, while silicone flexes with the movement and keeps the joint sealed.
Tiling around a window in different rooms
The steps above are the same wherever you’re tiling, but the room changes what you need to think about alongside them.
Kitchen window
A kitchen window often sits directly above the sink, inside or adjacent to the splashback area. Where that’s the case, it’s worth carrying the same tile from the splashback into the window reveal so the whole area reads as one continuous surface rather than two different projects meeting awkwardly at the window. Keep the sill sloped away from the frame here too, since a kitchen window sill collects condensation from cooking and washing up as much as it does rainwater from outside.
Bathroom window
A bathroom window is in a room with consistently higher humidity than a kitchen, even if it’s not in a direct splash zone, so it’s worth using a mould-resistant silicone sealant around the frame rather than a standard one. If the window sits within a metre or so of a bath or basin where it could realistically get splashed, treat that section of wall the same way you would a shower splash zone: a waterproofing membrane behind the tile is worth the extra step, not just a “nice to have.”
Window inside a shower enclosure

This is the highest-stakes version of the job. A window inside a shower gets direct, repeated water contact, so the wall behind the tile needs a proper tanking or waterproofing membrane system, taken right up to and sealed around the window frame itself, before any tile goes on. Use a sanitary-grade, mould-resistant silicone at the frame joint rather than standard silicone, since it’s dealing with constant moisture rather than occasional splashing. It’s also worth checking whether the glass in a window located inside a shower enclosure needs to meet UK safety glazing standards for that location (this falls under the Building Regulations covering glazing safety, and the specific requirement depends on the window’s size and position), and getting a qualified glazier to confirm if you’re at all unsure, since this isn’t a detail to guess at.
Common tiling mistakes to avoid around a window
- Skipping the dry run. Going straight in with adhesive before laying tiles out dry is the single most common cause of an uneven or asymmetrical finish around a window, since you only spot a bad cut placement once it’s too late to easily change it.
- Ignoring tile and adhesive thickness against the window opening. Adding tile plus adhesive to a reveal that was already a tight fit can leave too little clearance for the window sash or a fitted shutter to open properly. Measure the finished thickness you’re adding, tile plus adhesive bed, against the window’s clearance before you commit to a tile that’s thicker than what was there before.
- Grouting the frame joint instead of siliconing it. Rigid grout at the tile-to-frame junction will crack as the frame moves with temperature, letting water track in behind the tile. That joint should always be flexible silicone.
- Not maintaining the sill’s fall. Levelling out a sloped sill so it looks neater is a common mistake that causes water to pool against the frame instead of draining away, which speeds up frame rot and mould growth over time.
- Under-specifying the sealant for a wet area. Standard bathroom silicone isn’t the same as a sanitary, mould-resistant silicone rated for constant moisture. Using the wrong grade around a shower window is a false economy, since it typically needs replacing, and can let water in, much sooner.
FAQs
Where do you start tiling a wall with a window?
Start from a level horizontal line and a vertical line through the centre of the window, working outward in both directions, rather than starting from a room corner. This keeps any cut tiles symmetrical either side of the window and pushes the least even cuts out to the room’s corners, where they’re far less noticeable.
How do you tile a window sill?
Tile the sill after the side and top reveal tiles are cut and ready, so the vertical reveal tiles sit on top of the sill tile’s edge for a neater, more weatherproof junction. Maintain any existing slope on the sill rather than levelling it flat, so water continues to drain away from the window frame instead of pooling against it.
Should you grout or silicone the gap between the tile and the window frame?
Always use flexible silicone at the joint between the tile and the window frame, never rigid grout. The frame expands and contracts slightly with temperature, and grout in that gap will eventually crack, letting water track in behind the tile.
How do you tile around a window with trim?
Fit a PVC or metal tile trim into the adhesive bed as you tile each row, running it along the exposed tile edge, and cut corners at 45 degrees with a mitre block for a clean joint. The trim protects the tile edge and is generally the easier route to a consistently neat finish.
How do you tile around a window without trim?
Cut the tile itself with a mitred 45-degree edge so two tiles meet directly at each corner without a visible tile edge, similar to a picture frame joint. It gives a cleaner, more minimal look than trim, but depends on a very accurate cut, since even a small error in the angle leaves a visible gap.
Does trim go on before or after tile?
Neither, exactly: trim is fitted during tiling, bedded into the adhesive alongside each tile as you work along the row, rather than added once all the tiles are already grouted in place. Trying to fit trim after the tiles have set makes it far harder to get a tight, even joint against the tile edge.
Can you tile around a Velux or roof window the same way?
The same core principles apply, working from a level line, cutting the reveal accurately, and sealing the frame joint with silicone rather than grout, but a Velux sits in a sloped ceiling rather than a vertical wall, so the reveal angles and water drainage paths are different. It’s worth checking the window manufacturer’s own guidance on tiling clearance before you start, since roof windows often have specific fitting tolerances around the frame.
In summary
Tiling around a window comes down to the same few things done properly rather than any special trick: plan your layout with a dry run before you commit to adhesive, measure each side of the recess individually rather than assuming they match, keep the sill’s drainage fall intact, and always finish the tile-to-frame joint in flexible silicone rather than grout. Get those right and the room you’re working in, whether that’s a kitchen splashback, a bathroom, or a shower enclosure that needs proper waterproofing behind the tile, is really just a variation on the same job.
Browse Tile Mountain’s tile trims and sealants to find the right finish for your window, and take the time to do a full dry layout before you cut a single tile.

Here at Tile Mountain, we not only have a huge range of tiles to suit every purpose, we also have a wealth of tiling knowledge gained from over 30 years in the tile industry, (which we’ll do or best to share with you across these very pages).
Whether you’re looking for the perfect tiles for your next home improvement project, are searching for some style inspiration, or simply need a bit of help and advice, you’re in the right place.