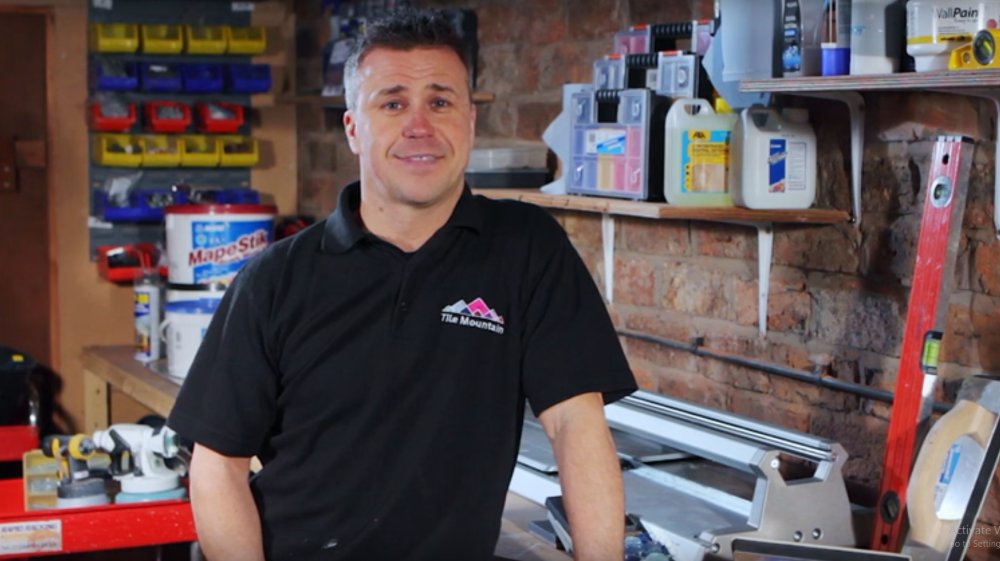
Craig Phillips started his working life as an apprentice bricklayer, and after several years of studying went on to set up his own successful construction company. In 2000, his life took a dramatic change when he won Britain’s first ever reality TV show, Big Brother. Craig put his new found fame to use, and went on to combine his knowledge of construction and media savvy to forge a brilliant career as one of the UK’s leading DIY and home improvement experts.
With his vast knowledge, we thought he’d be the perfect person to help create our series of ‘How To’ videos that are designed to answer the top ten most frequently asked questions that we receive about tiles and tiling.
In our third video, Craig takes you through the process of laying Quartz stone tiles and then grouting them with Mapei Epoxy Grout with Glitter.
So if you are looking for a way to give your tiles a little bit of sparkle, check out the video below.
A few things to bear in mind…
Epoxy grout is a two part system that has to be mixed together. Luckily, Mapei makes this easy by providing the correct quantities of each within the pot so that your mixture is always perfect. Once they are mixed, the chemicals react with one another, giving you a limited amount of time to set your tiles in place before the mixture goes off so you’ll need to work efficiently, getting everything prepared before you mix the grout.
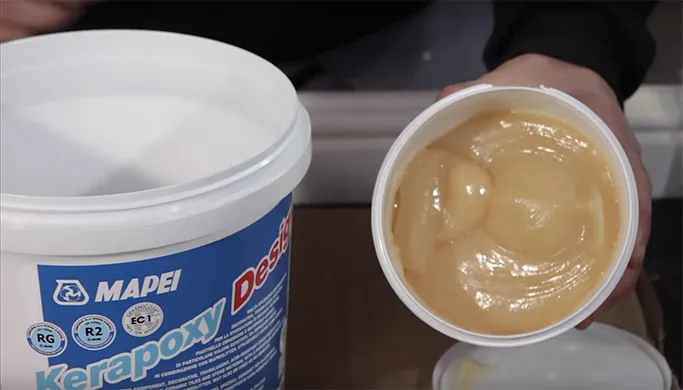
Be sure to wear gloves and safety goggles when mixing your epoxy and be sure to get all the product out of the smaller tub and into the larger one and then mix very well for around 5 minutes to ensure the two products are fully combined. When the epoxy looks like the image below, you are ready to start applying the grout.
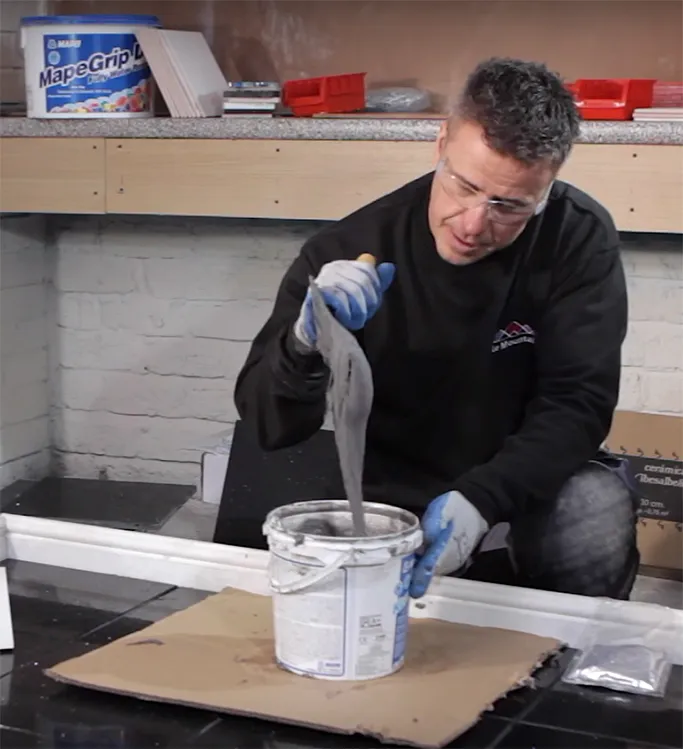
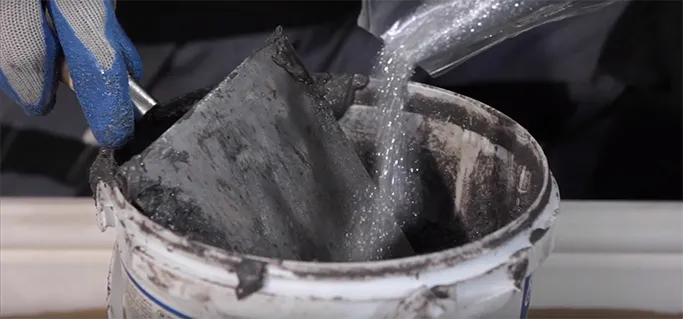
The amount of glitter you use is up to you. Include more for a high-impact shine or just a little for a subtle sparkle effect. In our video, we used about half a bag of glitter for a 3 litre bucket of grout but we’d recommend adding a small amount at a time – you can always add more but you can’t remove it once it’s been added!
Using a grout float, start applying your grout between the tiles and press the epoxy into the gaps to ensure it’s fully embedded between your tiles and there are no air bubbles. Remember, the thicker your tiles are, the deeper your cavity is going to be and depending upon what size spacers you used, you’ll have wider or narrower gaps between your tiles so these will play a part in how much grout you’ll be using.
Then using the edge of your float, press hard against the surface of the tile and scrape off the excess grout on both sides of your grout line.
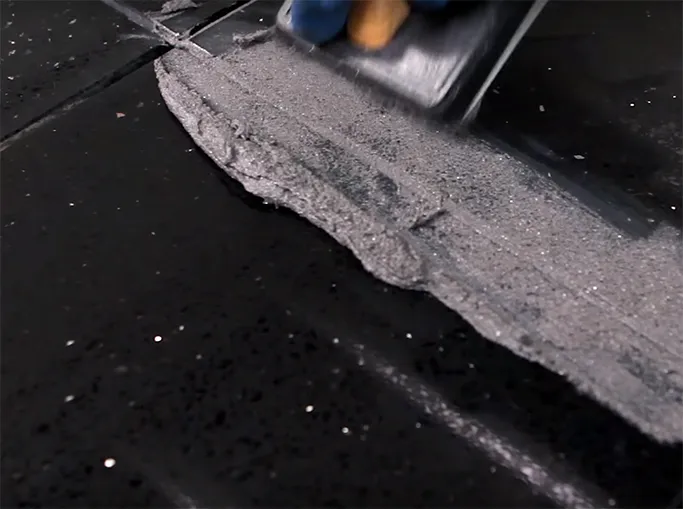
With a damp rag, use circular motions to go over your tiles, removing the excess grout from the top of the tiles as you go and pressing the grout between the tiles fully. Use Kerapoxy Cleaner to completely clean any grout from the top of the tiles before it dries.
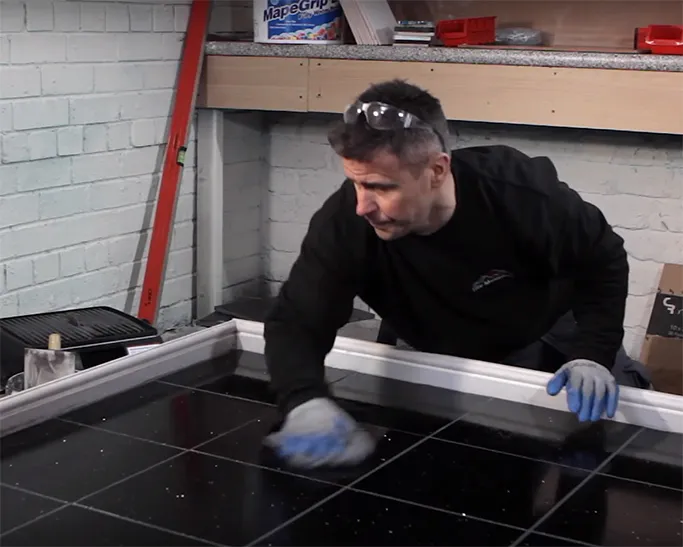
How much time you actually have before the grout sets will vary depending upon the temperature and time of year so check the manufacturer’s instructions to see exactly how much time you’ll have. Craig recommends not working more than a square meter at a time until you are familiar with the drying times.
We hope you’ve found this video helpful! If you are looking for the same look as in the video, check out our Quartz Stone Midnight tiles, Mapei Kerapoxy Design Grout and Silver Glitter.
As a multi-award winning interior design content creator, Kimberly Duran is an Interior Design-obsessed American ex-pat, who chronicles her decorating journey and dispenses interior design advice in her personal blog, Swoon Worthy. When she’s not helplessly drooling over all the latest trends in design, she’s adding things to the imaginary ‘shopping basket’ in her head, she likes to get messy tackling DIY projects with her partner in crime, Wayne, stalking eBay for vintage bargains and filling her home with her favourite neutral – gold.

